Einleitung
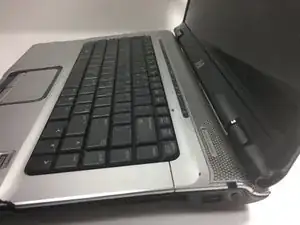
This guide contains the necessary steps to replace the HP Pavilion dv6500 trackpad.
Werkzeuge
-
-
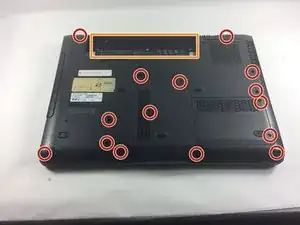
Remove fifteen 7.0mm PH0 screws.
-
Remove five silver 4.0mm PH 0 screws inside the cavity for the battery.
-
-
-
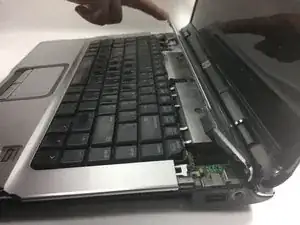
Gently lift the plastic panel on the top of the laptop at the divide until the two ribbon cables and cable leads are visible with their ports on left side on laptop.
-
-
-
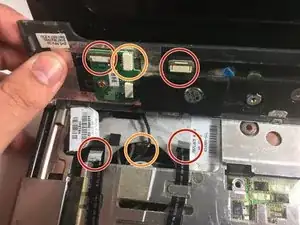
Gently pull on the 2 ribbon cables until they detach from the computer.
-
Unplug cables connecting the top keyboard assembly and computer body.
-
-
-
The top of the keyboard should be exposed enough to unclip and slide the keyboard out from the clips near the trackpad on the laptop.
-
Gently pull the flat black cable toward the monitor to remove the cable from the motherboard, freeing the keyboard.
-
-
-
Insert new keyboard by sliding it into place of original keyboard and clipping into place near top of trackpad.
-
-
-
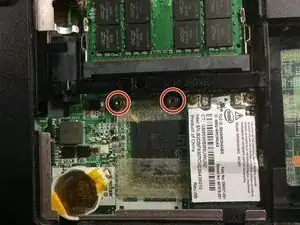
Using the size 5.0mm hex tool, unscrew the 2 brass screws located near the RAM cards under the laptop.
-
-
-
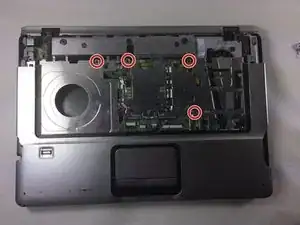
Remove the 4 7mm screws holding the metal plate to the rest of the laptop.
-
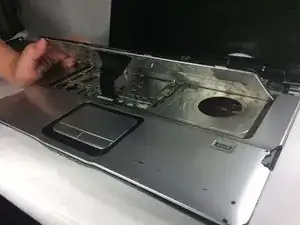
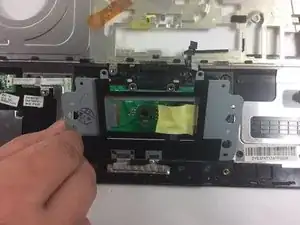
Lift the metal plate off the laptop and turn over to reveal the underside of the mouse pad
-
-
-
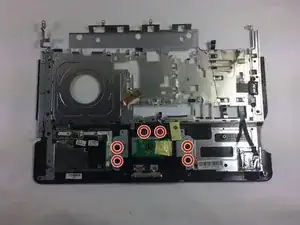
Flip the metal plate over to expose the screws holding the keypad in place.
-
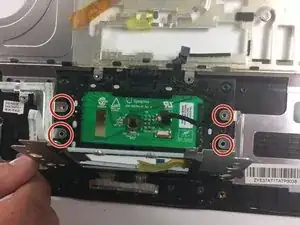
Remove the 6 7.0mm screws holding the mousepad in place.
-
To reassemble your device, follow these instructions in reverse order.
