Einleitung

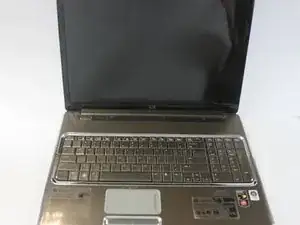
This guide provides instructions for replacing the motherboard of the laptop. If your laptop is not starting correctly, replacing the motherboard may provide a solution to these issues.

  1. RbhJNLLNhKe2sRAk
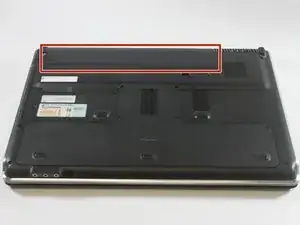
    • Make sure the computer is unplugged and turned off.

    • Place the computer front side down with the battery compartment farthest away.

  2. MKbvNLuMRJFloQj2
    MKbvNLuMRJFloQj2
    Gn4BPLqXdgjBjY1i
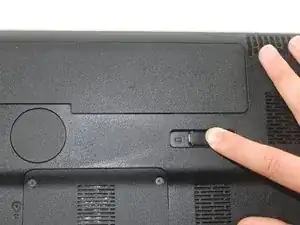
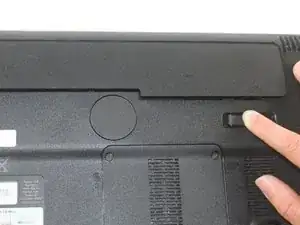
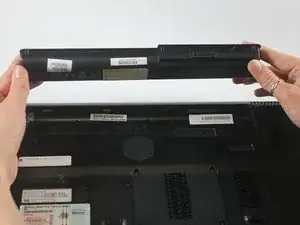
    • Slide the switch under the battery compartment to the left until the compartment opens. This may require some force.

  3. 4KRe1nwZ4XtoRXiI
    4KRe1nwZ4XtoRXiI
    RROYVHZYPZmJQY14
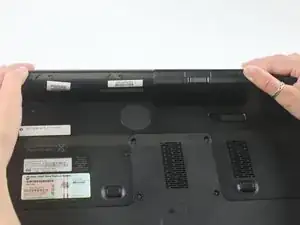
    • Lightly pry the battery upward to remove.

    • When reinserting the battery, match the latches along the backside of the battery with the corresponding slots in the computer in order to press it into place.

  4. Nmg1mGvT4mwvjShI
    Nmg1mGvT4mwvjShI
    RZZ5njapgNGgkqEm
    FVmdqcPScrODGRBK
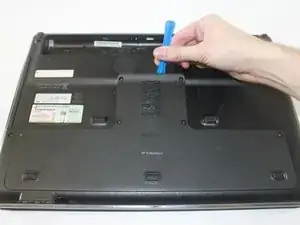
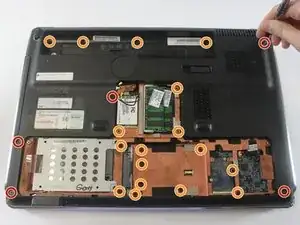
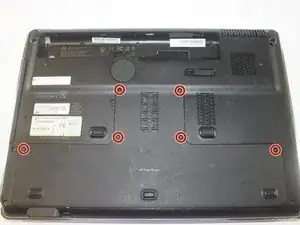
    • Unscrew the six Phillips PM2.5×6.0 captive screws with a Phillips #00 screwdriver.

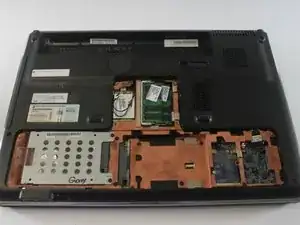
    • Pry the back casing up and away from the rest of the laptop with the plastic opening tool.

  5. vZAwJJYdYuNGKaju
    vZAwJJYdYuNGKaju
    s6WFrEnLOFAytT1i
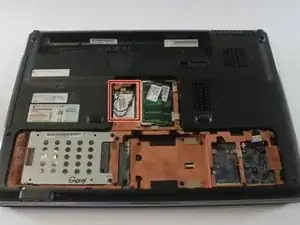
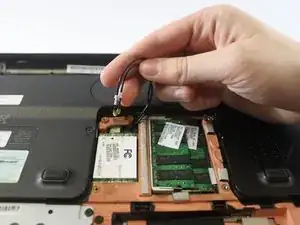
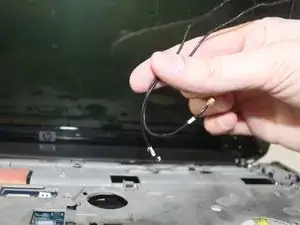
    • Disconnect the WLAN antenna cables.

  6. NNgXWDEOlca5Wnyu
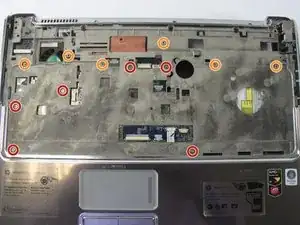
    • Remove the five Phillips PM2.5×7.0 screws with a Phillips #00 screwdriver.

    • Remove the 17 Phillips PM2.5×3.0 screws with a Phillips #00 screwdriver.

    • A magnet may be useful to help take out the screws.

  7. DIESrWYsCVYeYlyG
    DIESrWYsCVYeYlyG
    vUycGsuUViVBXf4Q
    KTBIPioleJYMFPjE
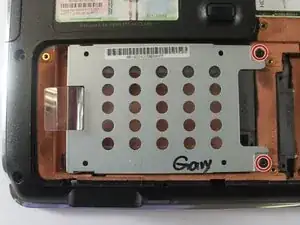
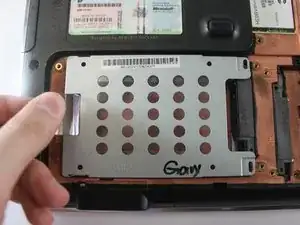
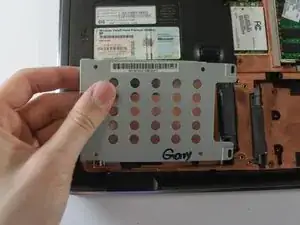
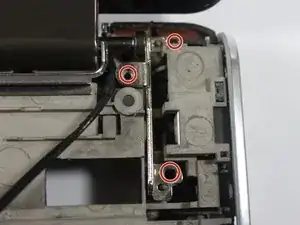
    • Remove the grey mounting bracket by unscrewing the two Phillips PM2.5×3.0 screws with a Phillips #00 screwdriver.

    • Slide the bracket to the left to remove.

  8. BWaJf5JAjPBdiIkT
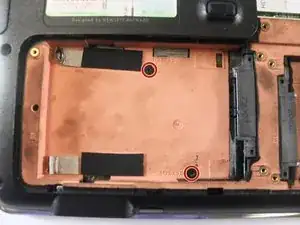
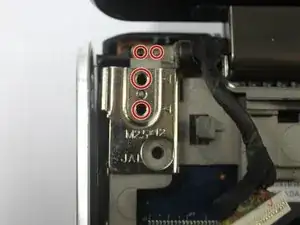
    • Remove the two Phillips PM2.5×4.0 broadhead screws with a Phillips #00 screwdriver.

  9. GUdFUNsNXUEkIvmd
    GUdFUNsNXUEkIvmd
    LD3yDTggFQReDAVj
    UGAjdOiBjyhVbgh1
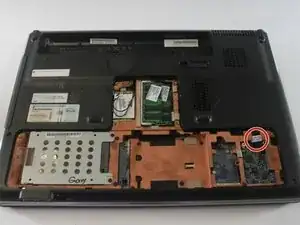
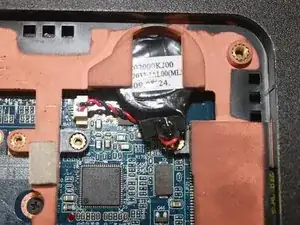
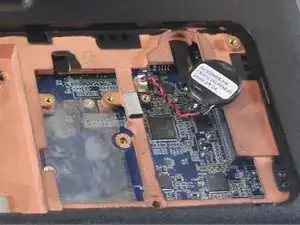
    • Slide out and remove the black watch battery.

  10. uTeKrDdB4heJXVq3
    uTeKrDdB4heJXVq3
    qCklywhIdEccM3WT
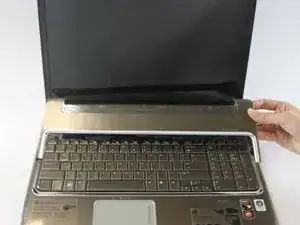
    • Turn the laptop over and open it so that the keyboard is exposed.

    • Lift off the speaker cover.

  11. dnRMucFlDH4jNtsu
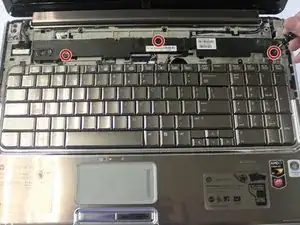
    • Remove the three Phillips PM2.5×3.0 screws, located on the speaker, with a Phillips #00 screwdriver.

  12. WkNaBtUoBhqXlJXf
    WkNaBtUoBhqXlJXf
    UmyBONISojIqBZSO
    • Unplug the white assembly cable.

  13. wgPaUfETiy2mDPYR
    • Lift off the speaker.

  14. ojDDAhkxpJDTSTYJ
    ojDDAhkxpJDTSTYJ
    uP4njweWGLFGTJ5Y
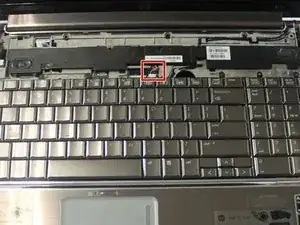
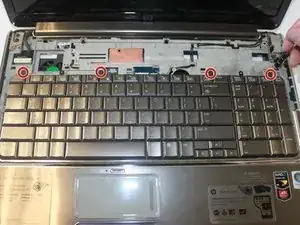
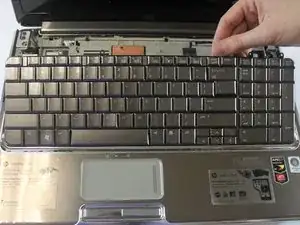
    • Remove the four Phillips PM2.0×4.0 screws with a Phillips #00 screwdriver.

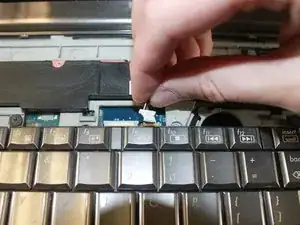
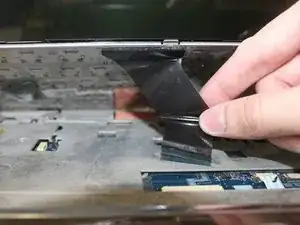
    • Partially lift the keyboard to access the ribbon cable underneath.

  15. dtWpM25cTbWGpSit
    • Disconnect the black zero insertion force connector in order to completely remove the keyboard.

  16. 6SIiDLJRWiTM2dyi
    6SIiDLJRWiTM2dyi
    xFOeAXAyGTaIY4V6
    KxOmhvYDGW2FO3Dm
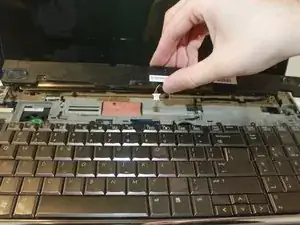
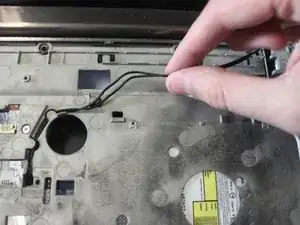
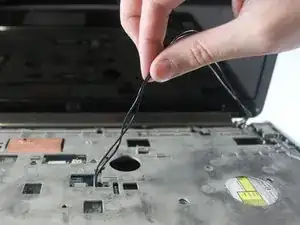
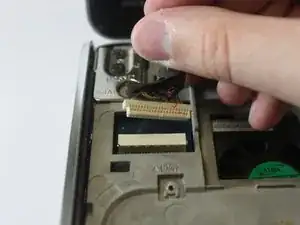
    • Unhook the black WLAN antenna cables from the clasps holding it in place.

    • Pull up to fully disconnect the ends of the WLAN antenna cables.

  17. ZJNoSGQFHRb5Xgu2
    • Disconnect the display panel cable.

  18. ZBAggUYXQZrQEXYR
    ZBAggUYXQZrQEXYR
    oEBoOQOFJQYy3RGW
    pvma6jkqoI4ZS1TF
    • Remove the seven Phillips PM2.0×4.0 screws from the base of the screen with a Phillips #00 screwdriver.

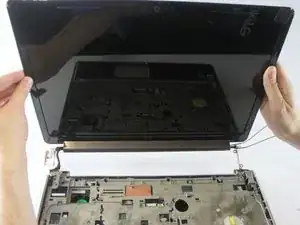
    • Lift up the screen to remove it from the rest of the laptop.

  19. 45lJJPXYoxvL6BqV
    45lJJPXYoxvL6BqV
    mlBIPsNXdYAGdOLY
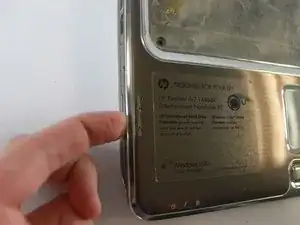
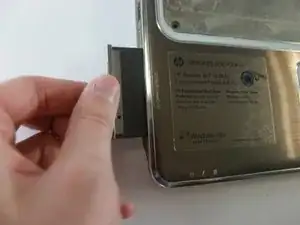
    • Press in on the silver cover in order to eject the dust cover.

    • Pull the plastic dust cover to completely remove it from the laptop.

  20. oDgJcbgcfJRpD2F2
    oDgJcbgcfJRpD2F2
    RHhVRTj2PerRHgWP
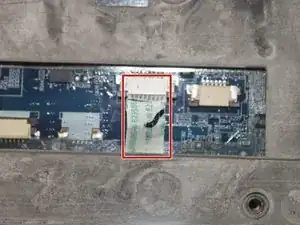
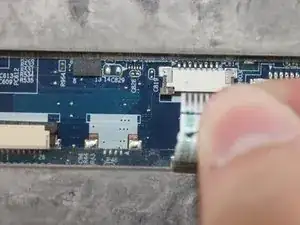
    • Disconnect the white ribbon cable.

  21. fCaMBxRgQMcnaW11
    fCaMBxRgQMcnaW11
    x6hVTHUeyyhUMygI
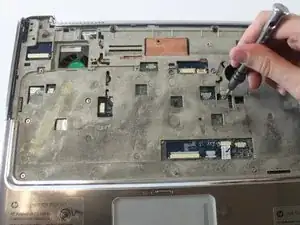
    • Remove the six PM2.5X5.0 screws with a Phillips #00 screwdriver.

    • Next, remove the six PM2.5X2.0 screws with a Phillips #00 screwdriver.

  22. M34qVlIbphjWCoBf
    M34qVlIbphjWCoBf
    fedKPMHXH3XZTJQe
    PncI6krdafUoKNT4
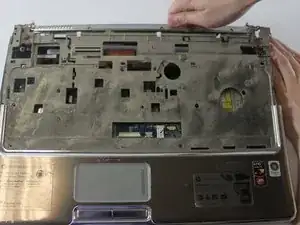
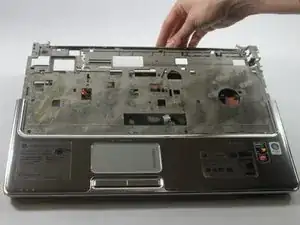
    • Pry up on the metal casing to fully remove.

  23. tWvY6FFcODBqRtpf
    tWvY6FFcODBqRtpf
    NPSirXL1kRrC6Akg
    JXjtQdEqKMmeXAVQ
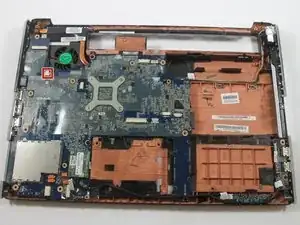
    • Disconnect the white cable near the bottom of the laptop.

  24. twTQeKIVsdneVLXR
    twTQeKIVsdneVLXR
    rMnWebLQcEoeTxGJ
    O3BPerPXfiDsK1WU
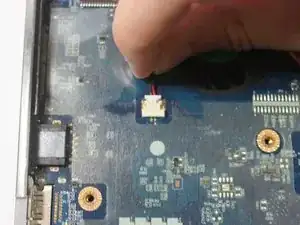
    • Disconnect the white fan cable.

  25. L1goAQwSVW5nlGpx
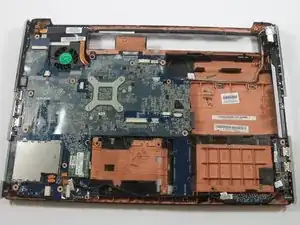
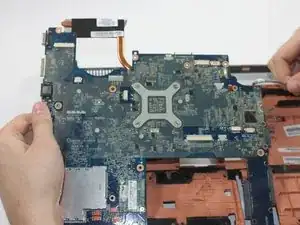
    • Lift the motherboard up and away from the rest of the laptop.

    • The motherboard is still not fully removed.

  26. 6lQkkKKrRhmIGxUK
    6lQkkKKrRhmIGxUK
    BXrowWUjvpPyhpPw
    I4FaevZf5QyGqyOU
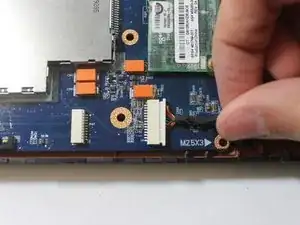
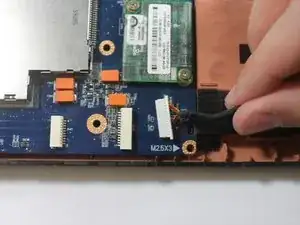
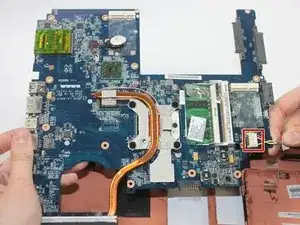
    • Rotate the motherboard so that the backside is now facing upward. It should still be connected by a single cable.

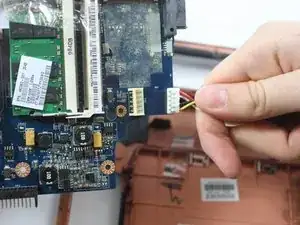
    • Unplug the white power connector cable. The motherboard is now fully removed.

Abschluss

To reassemble your device, follow these instructions in reverse order.

Kirsten Gilliland

Mitglied seit: 30/01/17

741 Reputation

Ein Kommentar

This gets the east repairable laptop award.
trogfield -