Einleitung

Please note that this device did not have a physical hard drive to work with, so some photos are missing.

  1. 2NfYpbrqFbOXOYbp
    2NfYpbrqFbOXOYbp
    lQOaUsIYu5v6IIYr
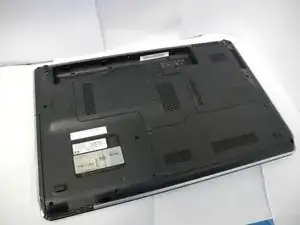
    • Turn off the device before removing the battery.

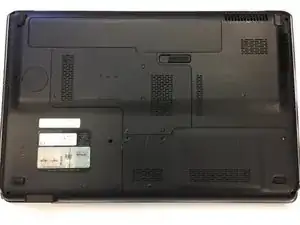
    • Place the laptop upside down on a flat surface so that the bottom is facing up.

    • The battery is the long rectangle above the latch.

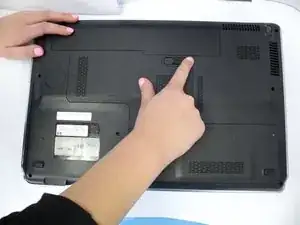
  2. 2BXKEP3Mpf6SXUgG
    • Slide the battery latch to the left to release the battery.

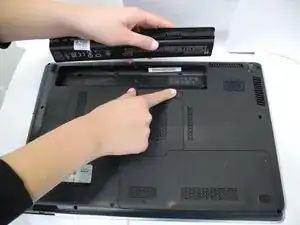
  3. C4jLBAIAljnLVsi4
    C4jLBAIAljnLVsi4
    gSZtYL2ZlYRTaXHS
    • Carefully pull out the battery while holding the latch to the open position with your finger.

    This guide was very helpful! I was able to replace the battery with ease and have virtually no complications. Thanks!

    Bailey York -

  4. 1ekdCword4SNEhMO
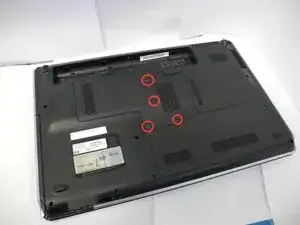
    • Loosen the four screws that secure the hard drive panel with a Phillips head screwdriver.

    • Do not completely remove the screws from the panel.

  5. SODoaTDLK2TQNYHL
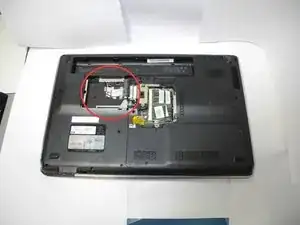
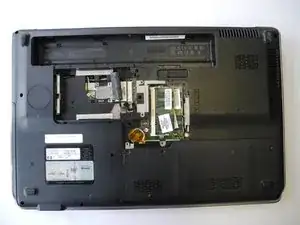
    • Lift the drive cover to expose the hard drive.

    • This device did not have a physical hard drive to work with.

    • Gently tug on the black tabs located on each end of the hard drive in order to loosen the hard drive from the motherboard.

    • Be careful when working with the hard drive cable.

    • Separate the hard drive from the cable by firmly gripping the hard drive and the black plug.

    • Remove the four Phillips screws that secure the hard drive to its carrier.

    • There are two screws on each side.

    • Lift and remove the hard drive from the metal surrounding its perimeter.

Abschluss

To reassemble your device, follow these instructions in reverse order.
Gabi Marino

Mitglied seit: 07/02/17

130 Reputation

0 Kommentare