Einleitung

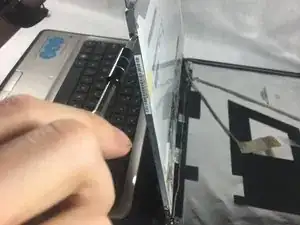
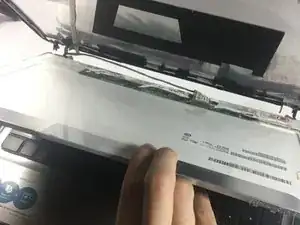
Although it does not have many prerequisites, the screen is without a doubt the most difficult part of the laptop to remove. There are several hidden screws and wire that need to be carefully removed.

  1. 5Gf6GkSkNFHKAZ1P
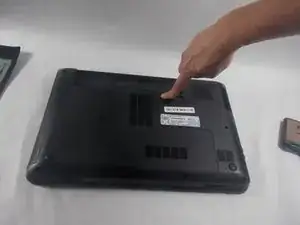
    • Slide pill shaped tab to the other side of the channel.

    • Remove battery while keeping the tab to the side.

  2. DapXlSJ6Xwd6oxN6
    DapXlSJ6Xwd6oxN6
    yDGMsCgiHGVOVBPm
    N6WW2R6GkadIqBJB
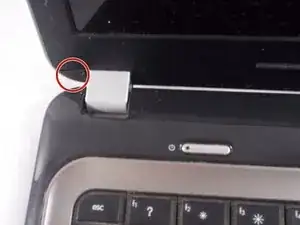
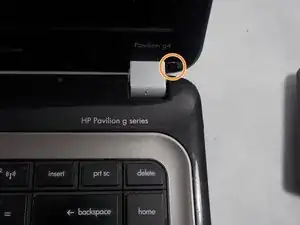
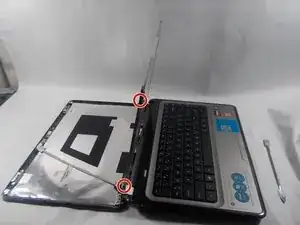
    • Remove two triangular shaped screw covers in the bottom corners of the monitor near the hinges.

    • Unscrew the two 4.0 mm JIS #0 screws holding the hinge covers.

  3. LwDXTGw6f2eKDyyU
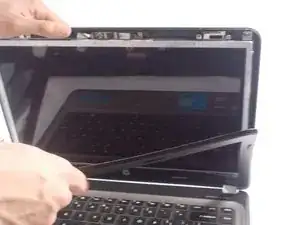
    • Pry off the monitor border cover.

  4. bVpNMuPQgDKTjAbn
    bVpNMuPQgDKTjAbn
    xF2K2JDg2XTSZJxt
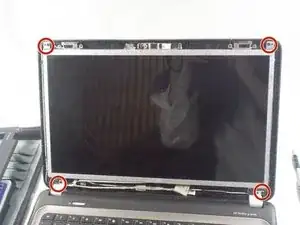
    • Remove four 4.0mm JIS #0 screws located at each corner of the monitor.

  5. KPLgDOXocurGhLEY
    KPLgDOXocurGhLEY
    bUMt1NJTsyGulUYJ
    Vte3XUZGpsFO1JwM
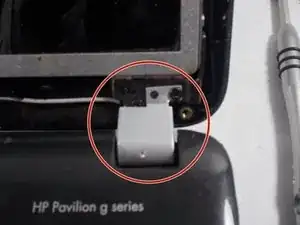
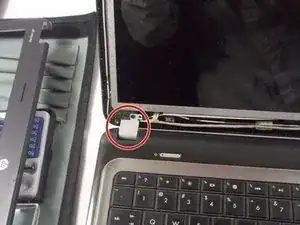
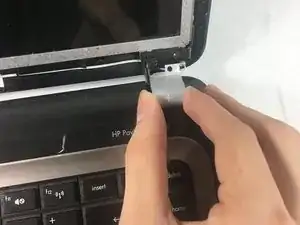
    • Remove the two silver hinge covers.

  6. NM43lRRKdbODO1wH
    NM43lRRKdbODO1wH
    UxwQWgByTRBGFtRU
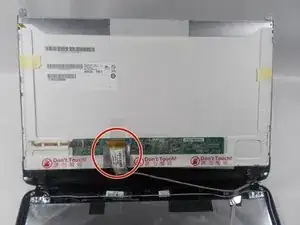
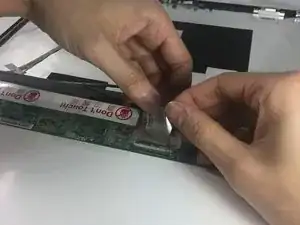
    • Unplug at golden connector.

  7. xZfGuYVY32cT16jI
    xZfGuYVY32cT16jI
    aSQTjAZlUwrbwrnA
    Iry2WkMoUFBCvBe5
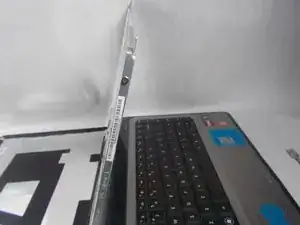
    • Remove four 3.0mm JIS #0 screws, two on each side of the screen.

  8. og1TElltc4CiEPtX
    • Carefully remove the screen.

Abschluss

To reassemble your device, follow these instructions in reverse order.

Robert Hamilton

Mitglied seit: 01/03/18

1072 Reputation

Ein Kommentar

nice very informative

S i n o for pc -