Einleitung

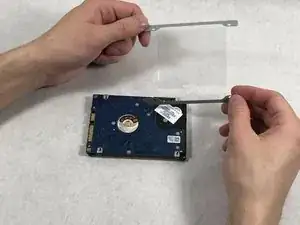
There are a few reasons to replace the hard drive mounting bracket. Your hard drive mounting brakcet is faulty, or you want to replace your hard drive with a new hard drive. Whatever the reason, this guide will show you how to replace the hard drive mounting bracket. You can decide what hard drive you want to replace your in your device so long as the hard drive is a 9.5 mm (0.37 in) × 6.35 cm (2.50 in) SATA Hard Drive.

  1. hgbOWnuXMwtvHKgN
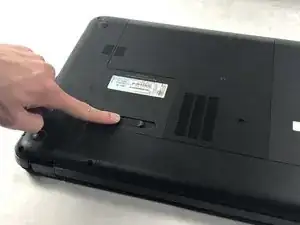
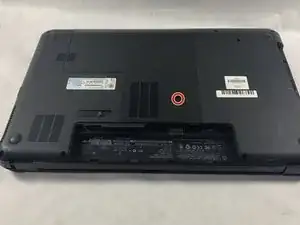
    • Shut off your device and disconnect the power cord. Disconnect any external devices connected to the device.

    • Place your finger on the battery lock slider, press toward the center of the laptop to unlock the battery.

    • The lock will make a click sound letting you know that the battery is unlocked.

  2. YCRZwhIJOy5aBgOW
    YCRZwhIJOy5aBgOW
    GJxjogJ1PkwMgNiV
    c2Wy43laNSmdcQnK
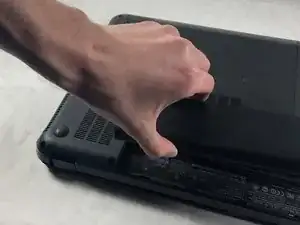
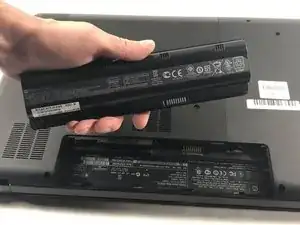
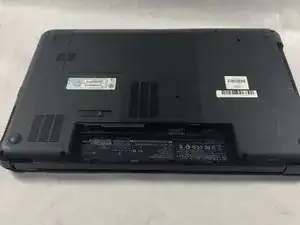
    • Use your thumb to pry up the edge of the battery and lift it out of the device.

    • When replacing the battery, align the notch on the battery with the battery lock on the device. Gently press down on the battery until you hear the lock click, which signals that the battery is secure.

  3. u4UEjNMAbrR4dDn5
    u4UEjNMAbrR4dDn5
    GMWuVjPsfBEPLaug
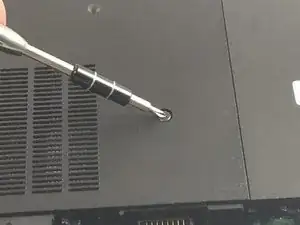
    • Using a Phillips #0 screwdriver, loosen the service door screw.

    • This is a captive screw that will remain attached to the service door.

  4. dyJZD5vjAZCwgToY
    dyJZD5vjAZCwgToY
    AL6TT2nF6g6cYmVb
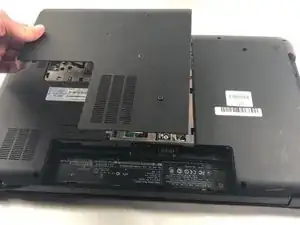
    • Lift the service door up and away from the device.

  5. NH3ZFKWXd4GaFgC5
    NH3ZFKWXd4GaFgC5
    nOprJglJHxyOXqBq
    gNveLPRtVJU6S2tS
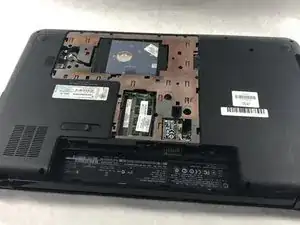
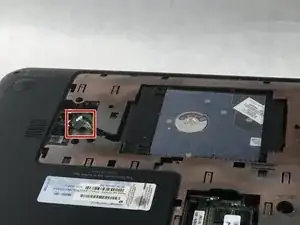
    • Locate the hard drive cable connector pull tab.

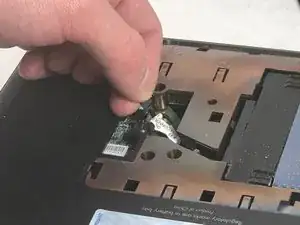
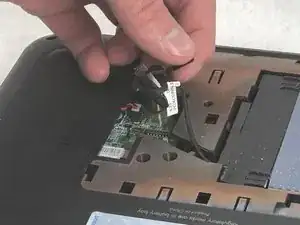
    • Pinch the pull tab pulling upwards from the motherboard to disconnect the hard drive cable.

    • To reconnect the cable, align it so that the cable from the connector is facing the battery and the cable lays in the groove of the base enclosure.

  6. RB5E4Bt5CC2K2ENX
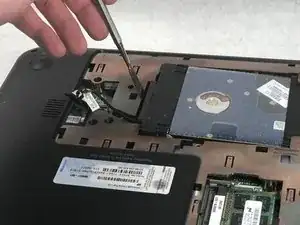
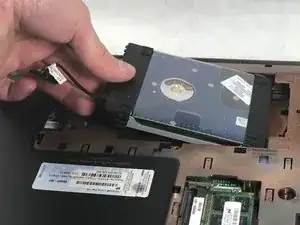
    • Use a spudger or other ESD-safe prying tool to lift one side of the hard drive up and out of the base enclosure.

    • You may be able to lift up the hard drive with just your fingers.

  7. pwmM3ONDKtur65xJ
    pwmM3ONDKtur65xJ
    yGNTaYJ3bxNOVQ33
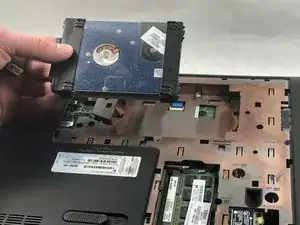
    • Grab the end of the hard drive.

    • Pull the hard drive out of the base enclosure at an angle.

    • To replace the hard drive, insert it at the same angle you removed it from and slide it back into the base enclosure until it lays flat.

  8. g1lvm2OugICRHB1G
    g1lvm2OugICRHB1G
    VA2ZMfLFDaOxbsyt
    6KnRk53skaAkdiED
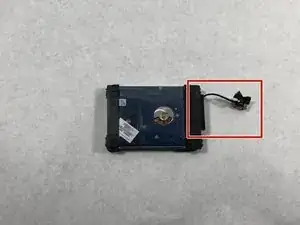
    • Locate the hard drive cable.

    • Disconnect the hard drive cable.

  9. rTZC2WeYRKCdalhi
    rTZC2WeYRKCdalhi
    y1jbDytvNTkoHePt
    vfxrygvjsK3iM1XO
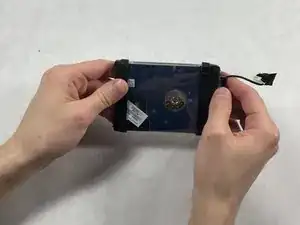
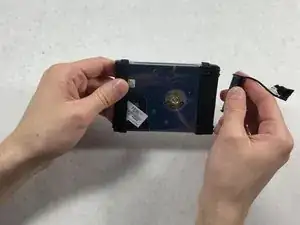
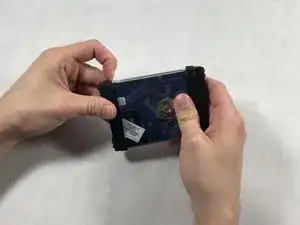
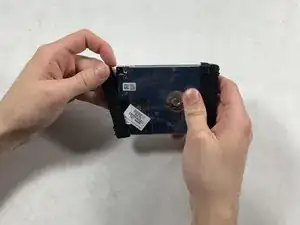
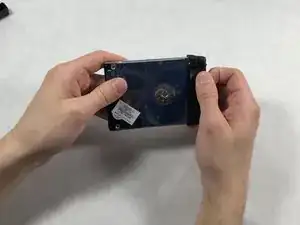
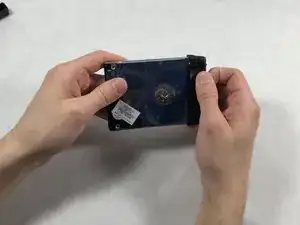
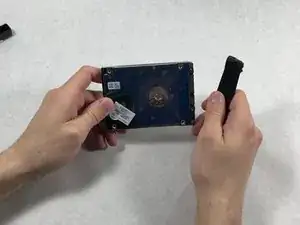
    • Remove the bumper by simply pulling it off with your fingers.

  10. hEPiVjhWryO6S54n
    hEPiVjhWryO6S54n
    NcvjETJIKrgaM6wP
    • Remove the other bumper the same way as the last one.

  11. W2CjtaWAgdCfhGvH
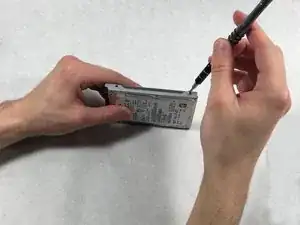
    • Using a Phillips #0 screwdriver, remove the four Phillips M3.0×3.5 screws (two on either side of the hard drive).

  12. 26RTtOLVsDnmt4Y4
    26RTtOLVsDnmt4Y4
    WhVCVhrcFtaTgMcN
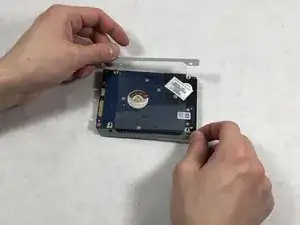
    • Remove the mounting bracket.

Abschluss

To reassemble your device, follow these instructions in reverse order.
Thomas Maloney

Mitglied seit: 22/03/19

1060 Reputation

0 Kommentare