Einleitung

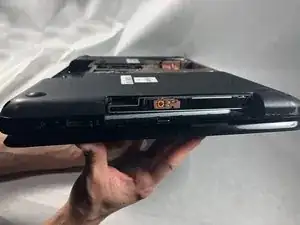
There are a few reasons you may want to replace your optical drive. You lost the bezel (drive face), the optical drive doesn’t open, the optical drive no longer works, or you want to upgrade to a blue ray drive. Whatever the reason, this guide will show you how to replace the optical drive.

The parts listed in the guide include the compatible DVD and Blue-ray optical drives. The instructions in this guide work for replacing either optical drive in the device. You must decide which drive you want to replace in this optical drive location.

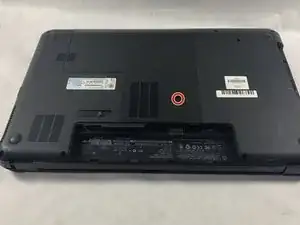
  1. hgbOWnuXMwtvHKgN
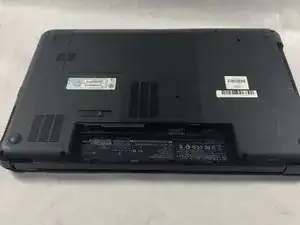
    • Shut off your device and disconnect the power cord. Disconnect any external devices connected to the device.

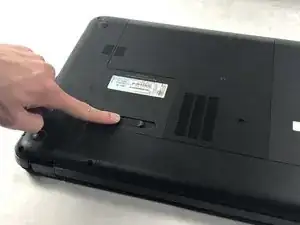
    • Place your finger on the battery lock slider, press toward the center of the laptop to unlock the battery.

    • The lock will make a click sound letting you know that the battery is unlocked.

  2. YCRZwhIJOy5aBgOW
    YCRZwhIJOy5aBgOW
    GJxjogJ1PkwMgNiV
    c2Wy43laNSmdcQnK
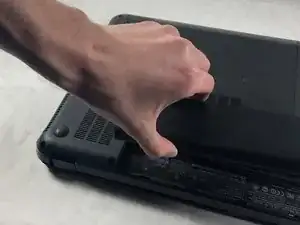
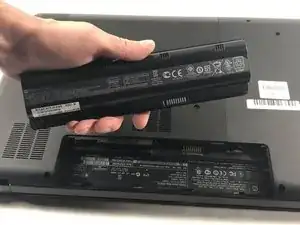
    • Use your thumb to pry up the edge of the battery and lift it out of the device.

    • When replacing the battery, align the notch on the battery with the battery lock on the device. Gently press down on the battery until you hear the lock click, which signals that the battery is secure.

  3. u4UEjNMAbrR4dDn5
    u4UEjNMAbrR4dDn5
    GMWuVjPsfBEPLaug
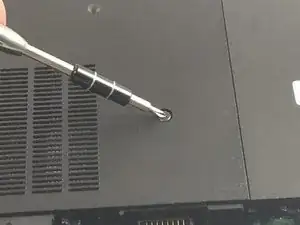
    • Using a Phillips #0 screwdriver, loosen the service door screw.

    • This is a captive screw that will remain attached to the service door.

  4. dyJZD5vjAZCwgToY
    dyJZD5vjAZCwgToY
    AL6TT2nF6g6cYmVb
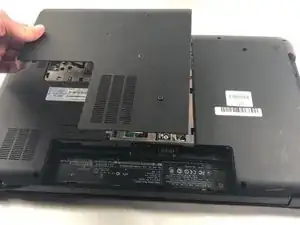
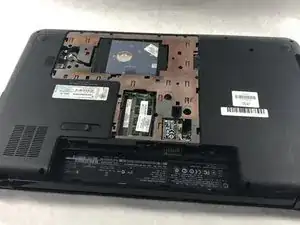
    • Lift the service door up and away from the device.

  5. 4wPrVxALUGehAssH
    4wPrVxALUGehAssH
    OTQLYfOGnT11MVUN
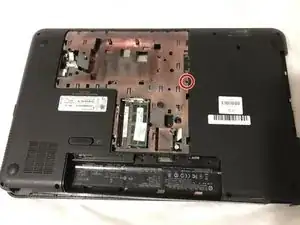
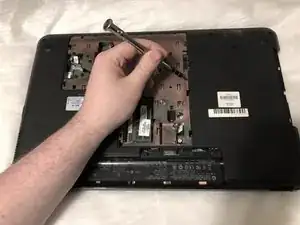
    • Using a Phillips #0 screwdriver, remove the optical drive anchor screw.

  6. xG1BEuxaTuLe2oWR
    xG1BEuxaTuLe2oWR
    jBfjYAMst3GnOqxZ
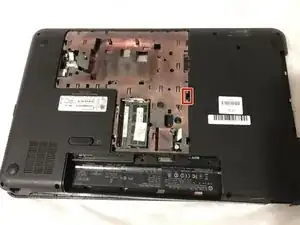
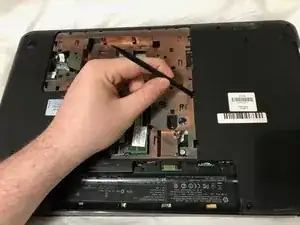
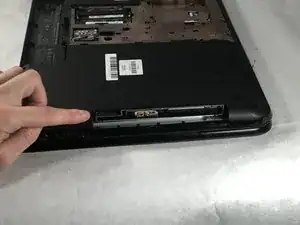
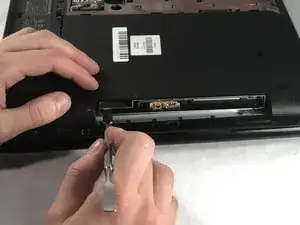
    • Insert the flat end of a spudger into the optical drive release access hole.

  7. ujRGDjqV1EUEgfky
    ujRGDjqV1EUEgfky
    uqvrBhfafvMO1sEv
    lBXSqiw2LDbMYtln
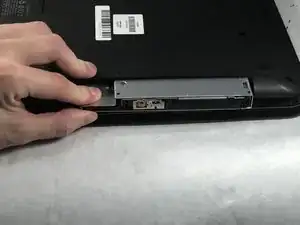
    • Orient the device so that you can remove the optical drive.

    • If you are missing the bezel (face of the optical drive) or have the bezel these same steps work to remove the optical drive.

    • Using a spudger, slide out the optical drive enough so that you can grab it with your hand.

  8. Dvep3ncjIgwAuJxR
    Dvep3ncjIgwAuJxR
    1aJPSF3TNZXTbeMP
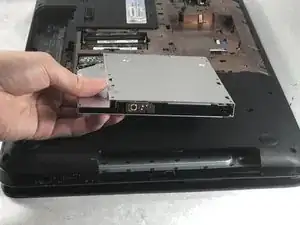
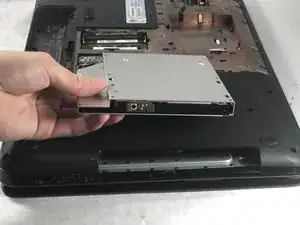
    • Remove the optical drive by pulling it out of the device.

    • When replacing the optical drive, slide it completely back into the slot so that it fits flush.

Abschluss

To reassemble your device, follow these instructions in reverse order.
Thomas Maloney

Mitglied seit: 22/03/19

1060 Reputation

0 Kommentare