Einleitung

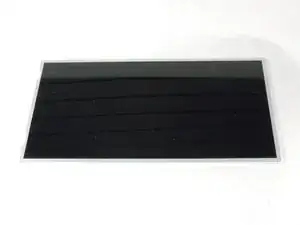
Is your screen flickering, unreadably dim, shattered, or have lots of little black dots? Replacing your screen may solve these problems.

  1. LpUmbaBmFsHvSeyZ
    • Working on your device while it is turned on may result in electric shock. Make sure to shut down and unplug your device before you begin.

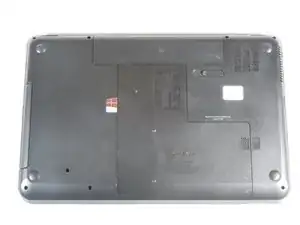
    • Flip your device over so the bottom panel is facing up.

    There is no realistic risk of electric shock on a laptop. However, is it still advisable to disconnect power plug and battery before opening as there is a real risk of accidental damage by short-circuit.

    antoniotavares -

  2. KMQLlhuhaNeJTtQV
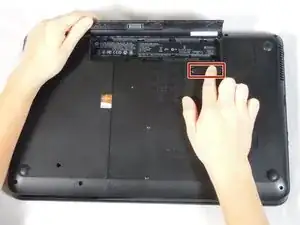
    • The battery is held in by a latch in the front and tabs in the back.

    • Slide the lock switch left, towards the center of the computer.

    • Lift up the battery, rotating it up and away from you, then pull it out.

    • To put the battery back in, line it up with the battery bay and the holes for the tabs. Then let the battery rotate towards you and press down until the latch engages and you hear a click.

  3. hFfPDtwIAJlKO2X6
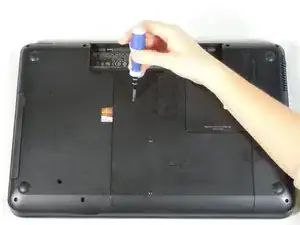
    • Unscrew one Phillips #1 screw from the back panel.

    • The screw is on a spring and attached to the panel. It will pop up, but will not separate from the back panel.

  4. d3nOOKoWVQsUh5G5
    d3nOOKoWVQsUh5G5
    YUZwsOaagB6XSbFU
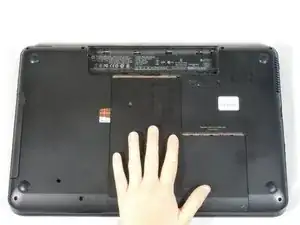
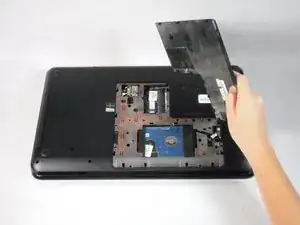
    • Slide the back panel down and pull it up.

  5. bG3BwjpWtkBV3dJm
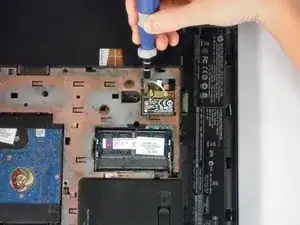
    • Use a Phillips #1 screw driver to unscrew the black 4 mm Phillips #1 screw on the wireless card.

  6. MBiaZbCneM2H1YZZ
    MBiaZbCneM2H1YZZ
    ZxMeFx3Zsx23kDtN
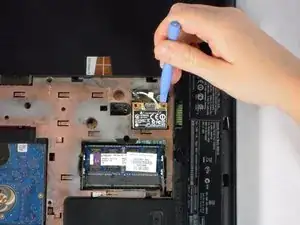
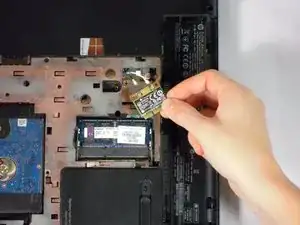
    • Use a plastic opening tool to lift the wireless card out of its slot.

    In replacing the wireless card, I found it easiest to insert the wireless card and screw down before reattaching the wires. A strong pair of forceps or tweezers helped align the male and female connectors, which are quite small.

    jawolf3 -

  7. x2vKrOMShkNrDGDs
    x2vKrOMShkNrDGDs
    RNysN2yx61qB4WK2
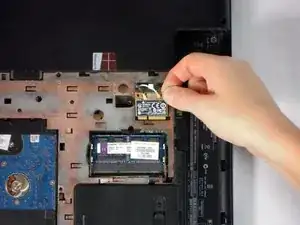
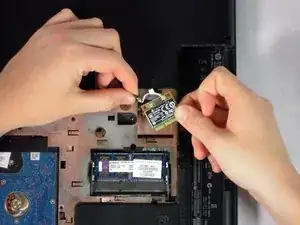
    • Pull the black and white wires up and off of the wireless card.

    • Remove the wireless card.

  8. scBS4fcEFgV1ZNoC
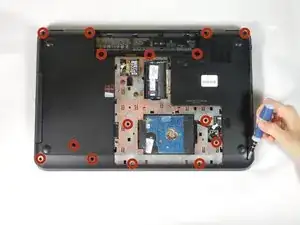
    • Remove sixteen 7 mm Phillips #1 screws.

  9. E3oWHOHb6EFRSaL4
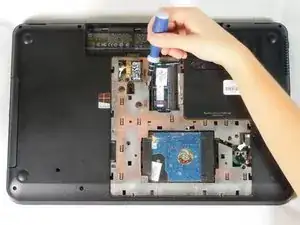
    • Unscrew the 7 mm Phillips #1 screw next to the keyboard icon.

    The CD/DVD drive can also be removed at this point to prevent it from slipping out of the case during repair. Simply slide it out. (remember to re-install before replacing the back panel screws)

    Kip Bunn -

  10. vZv2BYXcEJr3UDZB
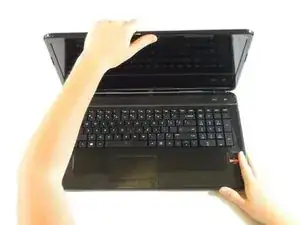
    • Flip the laptop over and open the screen.

  11. tXr2pScHY3HIZyPu
    tXr2pScHY3HIZyPu
    ZNo6WXhNPv4ouYWY
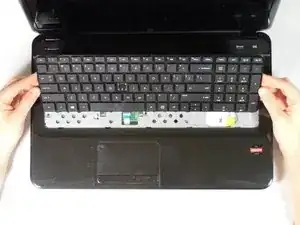
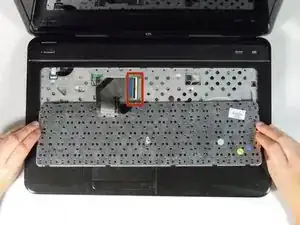
    • A ribbon cable is attached to the back of the keyboard. Avoid lifting or moving the keyboard more than a couple inches before you disconnect the ribbon cable or you may damage it.

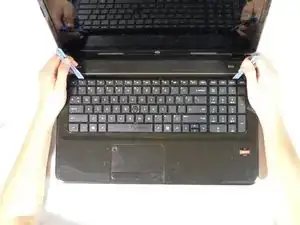
    • Carefully pry up one of the top corners of the keyboard with a prying tool. Slide the tool along the top of the keyboard to release it from the housing. Pull the top of the keyboard towards you an inch or two.

    • The keyboard may make some cracking noises as you pry it from the casing. This is expected.

    • Pull the keyboard up and away from you, as it is held in by clips in the front. It is not yet disconnected.

  12. HHDjSlAAZWKYPaUS
    • Gently turn keyboard over, towards you, to reveal the silver cable ribbon.

  13. yeKIAHgaAC1RxPGU
    yeKIAHgaAC1RxPGU
    GnQPhyQV1QFJb2mZ
    HZy3L2hFYr32LMUB
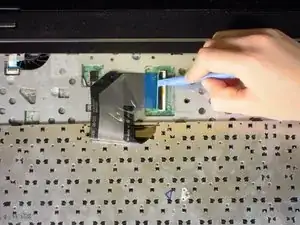
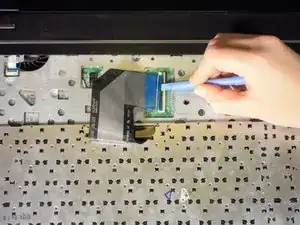
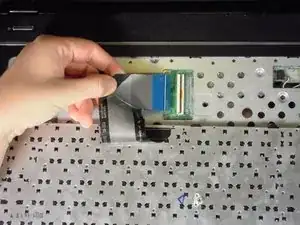
    • Using a prying tool, flip the black clip up and to the right. Pull the silver cable out and to the left, the keyboard is now detached from the laptop.

  14. ZYi42GurB3vGlhUX
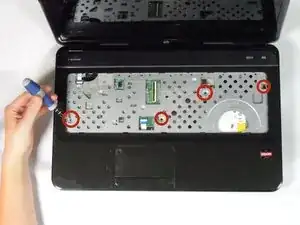
    • Unscrew the four 7 mm Phillips #1 screws on the board.

  15. onZeOyMy3L5TsZHv
    onZeOyMy3L5TsZHv
    McT1fjkY1LyGJQEA
    AfXELhFGrFOi4I3D
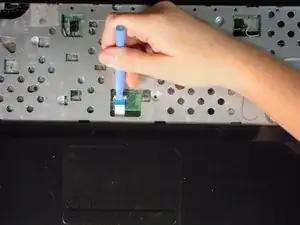
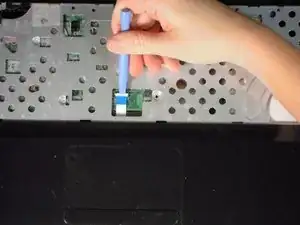
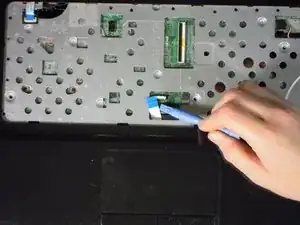
    • Use a plastic opening tool to lift the white clip up, towards the screen.

    • Pull the white cable with blue head, away from the clip.

    Petit oubli: Il faut aussi déconnecté la nappe qui se trouve en haut à gauche.

    Jay -

  16. TmlRePgJFb45mENu
    TmlRePgJFb45mENu
    1RudKp52jGwjrWQO
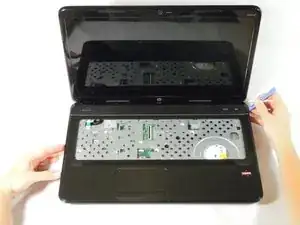
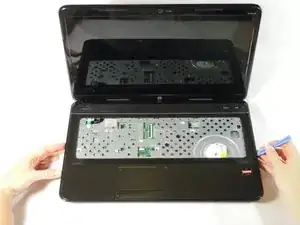
    • With a plastic opening tool, pry open a side or corner of the top panel. Slide the tool around the rest of the panel to release it from the clips.

    • If you have to use a large amount of force, you may not have removed all the necessary screws. Double check to ensure you have.

    • You should hear clips releasing from the board.

  17. HKalrhtgKXRTaHfB
    • Lifting the top panel too quickly or forcefully may damage the speaker cable, which is still attached underneath.

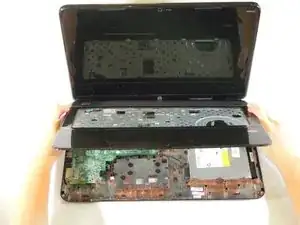
    • Rotate the top panel away from you, keeping the back near the hinge of the laptop to avoid damaging the speaker cable.

  18. CJqGPI5YIWywOURS
    CJqGPI5YIWywOURS
    YFJ2Kg4utbaqFvX3
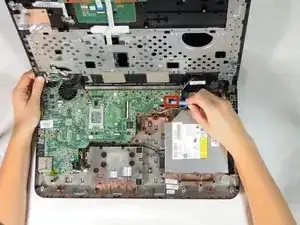
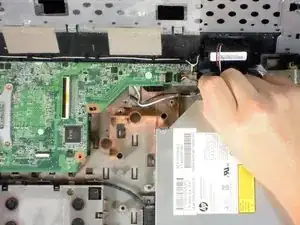
    • Using a plastic opening tool, disconnect the black speaker connector from the top right of the motherboard.

    • Set aside the top panel until your are ready to reassemble your laptop.

  19. soQArp2g1XxqOdOH
    soQArp2g1XxqOdOH
    UZlHJUIjJjZr4Q4W
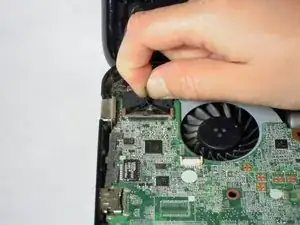
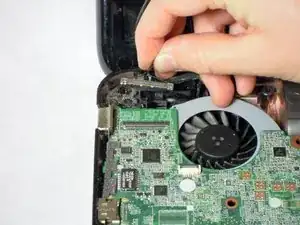
    • In the top left hand corner, disconnect the monitor cable from the motherboard by pulling up on the black tab.

  20. HrmhoWPVrI3aQMtk
    HrmhoWPVrI3aQMtk
    orUCTSSxweTHQs2k
    htB3LeEcHKbegCvK
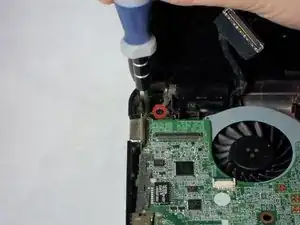
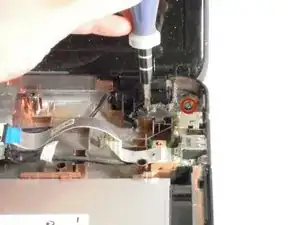
    • Unscrew the four black 7 mm Phillips #1 screws that attach the hinges to the case.

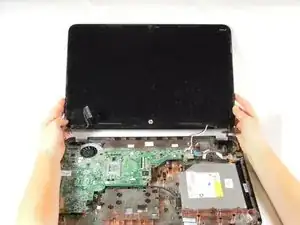
    • Remove the screen assembly from the laptop.

  21. qCWEeP3cQD3WURPB
    qCWEeP3cQD3WURPB
    MnVmUJkTMofjs5Cx
    HLXDeVorOE3OM55M
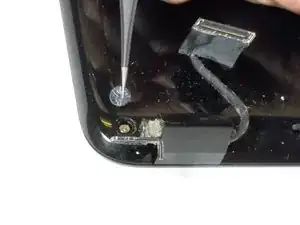
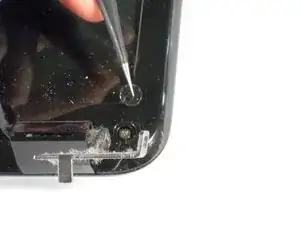
    • Using tweezers, remove the two screw covers at the bottom of the screen.

    • Unscrew the two 6 mm Phillips #1 screws from the bottom of the screen.

  22. lHegums51PaJOpPc
    • Firmly pry the front screen cover off. Slide the prying tool around the front screen.

  23. yXfqUdwOqnVJIWr2
    yXfqUdwOqnVJIWr2
    ExquLhCaxGDUNVIP
    ciIhJjNmCNUotQgn
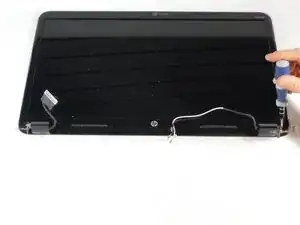
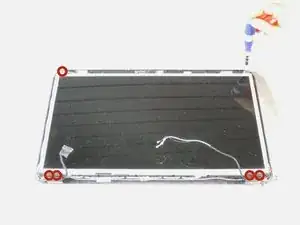
    • Unscrew the six 5 mm Phillips #1 screws.

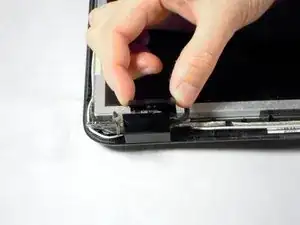
    • Remove the two black hinge covers.

  24. YsQqZ3eUDVFJJehW
    YsQqZ3eUDVFJJehW
    raeYB3ciHKxfjqnh
    qjAxOKAROiSKLDeT
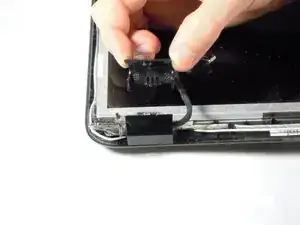
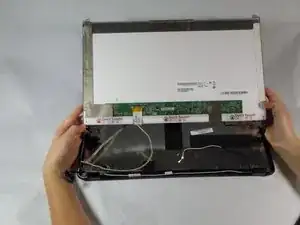
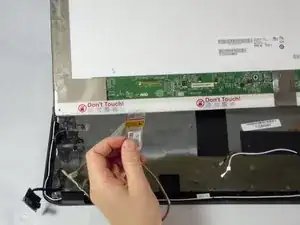
    • Be careful when moving the screen, you may damage the monitor and webcam cable.

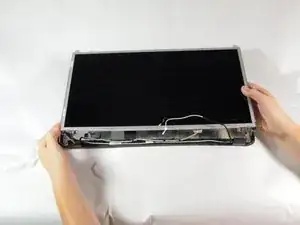
    • Gently remove the screen from its housing. Turn the screen over (parallel to you) and disconnect the webcam cable.

    • Separate the webcam cable from the screen.

  25. jTeKSkAFonviHyqf
    jTeKSkAFonviHyqf
    FefKxOnqr2H2JOOt
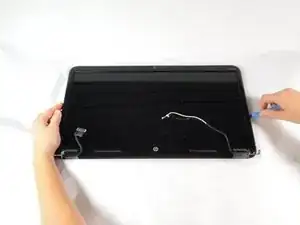
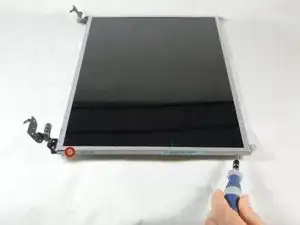
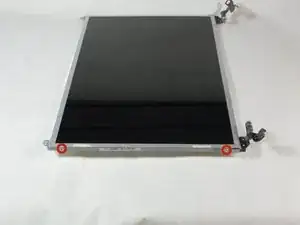
    • Remove the four 4 mm Phillips #1 screws from the sides of the screen.

    • Remove the two hinge assemblies.

Abschluss

To reassemble your device, follow these instructions in reverse order.

John Sutton

Mitglied seit: 24/04/14

1560 Reputation

2 Kommentare

or you could just pop of the plastic bezel and unscrew the LCD and then unplug the screen from the back and be done with it. You made way more work for yourself then what is needed.

Gordon Geddins -

Thank you for this guide! I was working on a screen replacement for an HP G7-1260us, but it was built so similarly to the one in your guide that I was able to follow the guide and successfully replace the screen.
Nhan Nguyen -