Einleitung
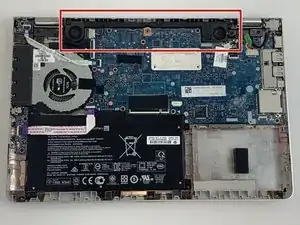
This guide will help you replace the speakers in your HP Pavilion x360 14m-ba114dx laptop. The speakers are responsible for taking electronic signals from the computer and turning them into audible noise. If your laptop will not produce any sound or if the sound it produces is muffled, garbled, or distorted, there may be a problem with your laptop’s speakers. Please visit this troubleshooting page for possible solutions to the problem. If none of these solutions work, use this guide to replace the speakers.
A prerequisite to replacing the speakers is to remove the laptop’s battery. If you notice once the laptop is open that the battery is swollen, remove it with caution. If swollen, do not charge the battery, keep the battery at a stable room temperature, and dispose of it properly at a recycling center. This page will help you deal with a swollen battery.
Also, make sure that you unplug your device from any external power sources and completely power it off before beginning this replacement.
Werkzeuge
-
-
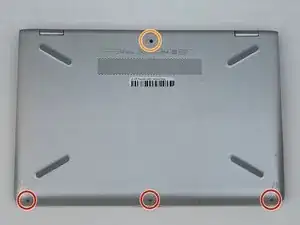
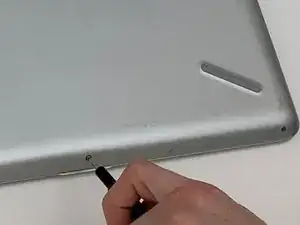
Using a #0 Phillips-head screwdriver, remove the three 5 mm screws along the bottom of the back cover.
-
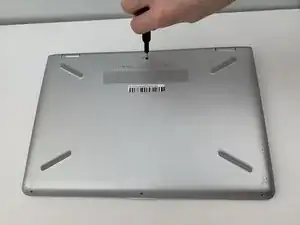
Using a #0 Phillips-head screwdriver, remove the 6 mm screw at the top of the back cover.
-
-
-
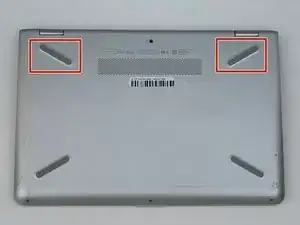
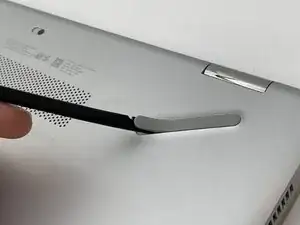
Using the flat end of the Spudger, pry up the two rubber feet on the top of the laptop's back cover.
-
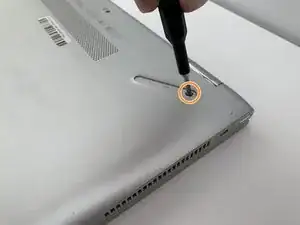
Using a #0 Phillips-head screwdriver, remove the 8 mm screw under each of the rubber feet.
-
-
-
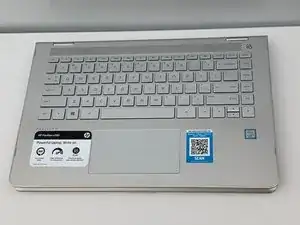
Open the laptop, with the display fully extended to 360 degrees so that the screen is on the table.
-
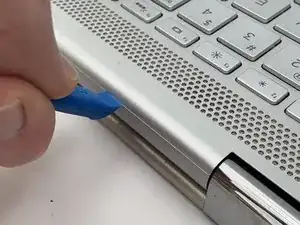
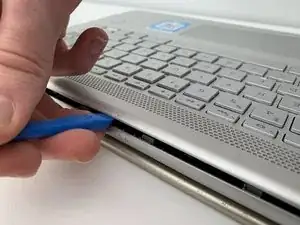
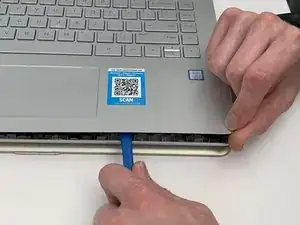
Using the thinner end of an iFixit Plastic Opening Tool, pry open the keyboard panel from the base of the laptop near the screen hinges.
-
-
-
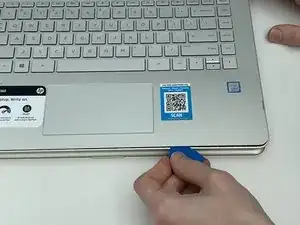
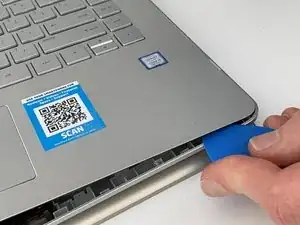
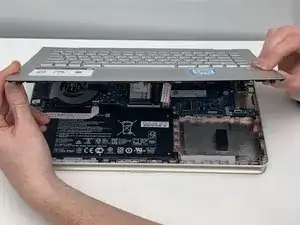
Using the iFixit Plastic Opening Tool and the iFixit Opening Picks, work your way around the rest of the keyboard and pry it out of the base.
-
-
-
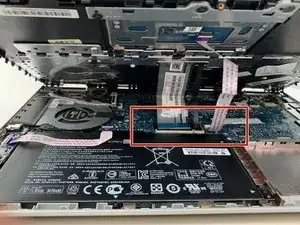
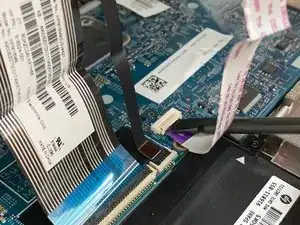
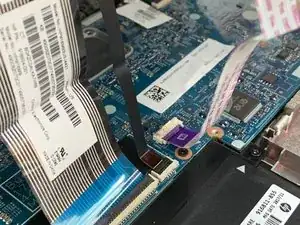
Using a plastic Spudger, remove the ZIF connectors that attach the motherboard to the touchpad and the keyboard. Use the flat end of the Spudger to pop up the cap on top of the connector. The connector will then slide out of place.
-
Repeat this step for all three connectors.
-
-
-
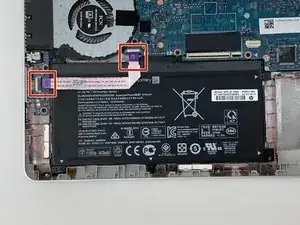
Using the flat end of the plastic Spudger, remove the ZIF connector attaching the volume button and headphone jack to the motherboard.
-
-
-
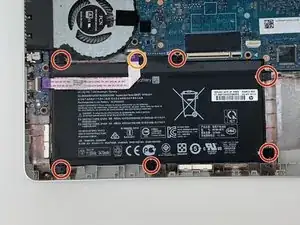
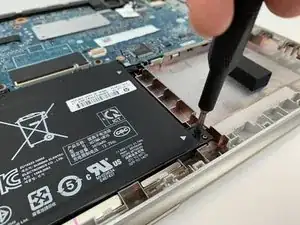
Using a #1 Phillips-head screwdriver, remove the seven 4 mm screws around the battery.
-
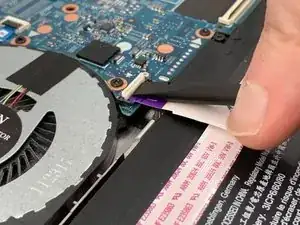
Gently move the ZIF connector out of the way to reach the screw marked in orange. Then use the #1 Phillips-head screwdriver to unscrew it.
-
-
-
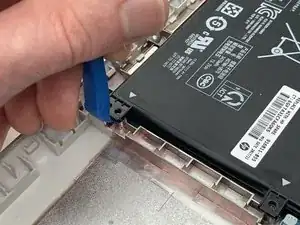
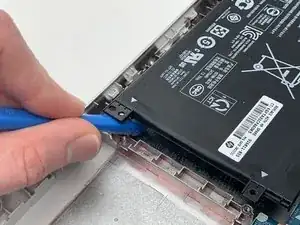
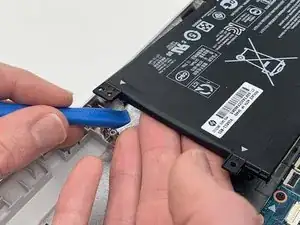
Using the thin end of the iFixit Plastic Opening Tool, pry the battery out of its place inside the laptop's base.
-
Next, use your fingers to pull the battery out of its position.
-
-
-
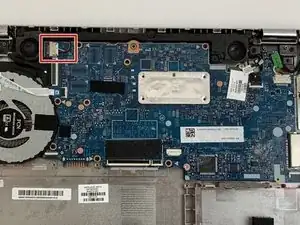
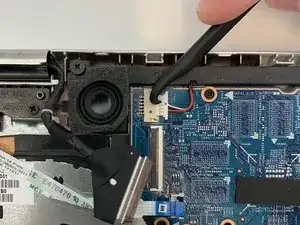
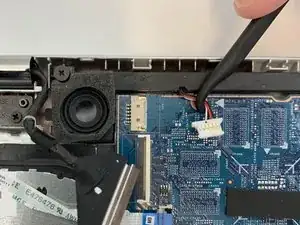
Using the curved end of the Halberd Spudger, disconnect the Speaker Cable from the port that connects it to the motherboard. To complete this step, use the curved end of the spudger to pry the plug out of the port.
-
-
-
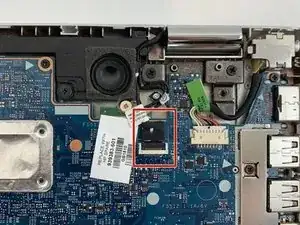
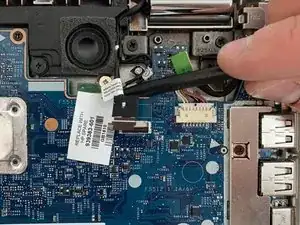
Using the plastic Spudger, remove the touch screen ZIF connector by popping the cap up on top of the connector and sliding it out of its slot.
-
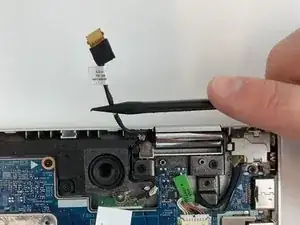
Move the wire away from the connection point to disconnect the touch screen cable from the motherboard.
-
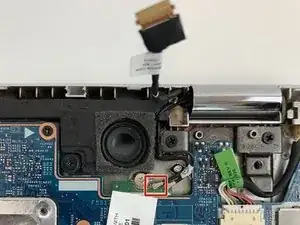
Pull the wire out from its track next to the speaker.
-
-
-
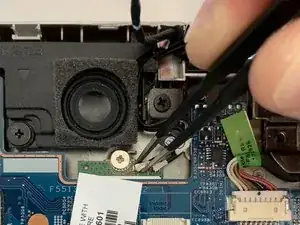
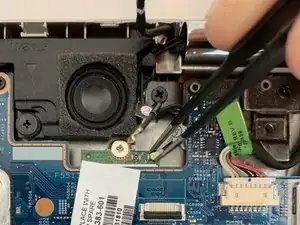
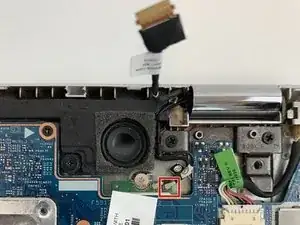
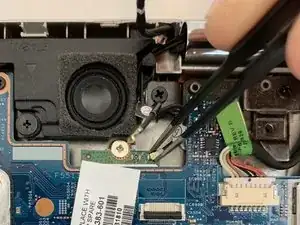
Use the Blunt Tweezers to disconnect the Wireless Card Antenna Cables. Start with the cable labeled M2, which is connected to Port #2. To disconnect he cable, grab it on both sides with the tweezers and pull up.
-
-
-
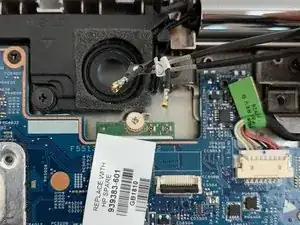
Use the Blunt Tweezers to disconnect the Antenna Cable labeled A1, which is connected to Port #1. To disconnect he cable, grab it on both sides with the tweezers and pull up.
-
Using the Blunt Tweezers, unwind the cables from the track to the right of the speaker. The cables are held in place by two black hooks.
-
-
-
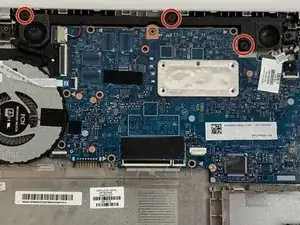
Using the #1 Phillips-head screwdriver, remove the three 5 mm screws that connect the speakers to the laptop base.
-
-
-
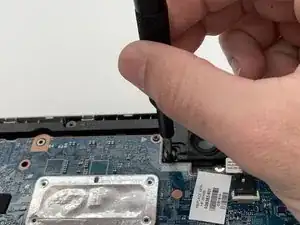
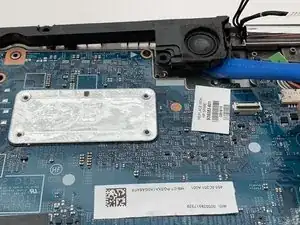
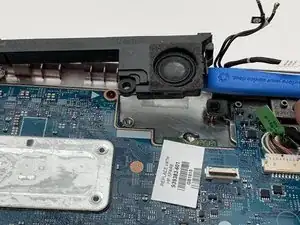
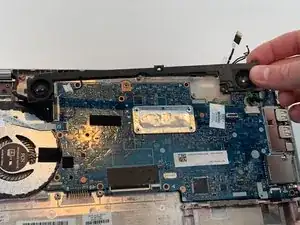
Using the thin end of the iFixit Plastic Opening Tool, pry the speakers out of their place inside the laptop's base.
-
To reassemble your device, follow these instructions in reverse order.
