Einleitung

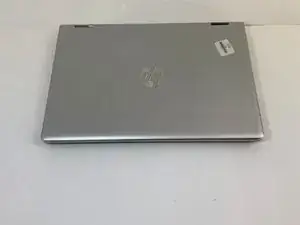
Use this guide to aid in the removal and replacement of the fan and heat sink to any HP Pavilion x360 14m-cd0005dx laptop. Replace the fan if the computer cannot stay cool during use. For further information as to whether the fan and heat sink should be replaced, look at this troubleshooting guide.

The fan and heat sink are essential parts of any laptop. After replacing the fan, an increase in computer performance can occur as components that were formerly overheating are now able to run at full capacity. If the fan and heat sink needs to be replaced but are not, further damage to the system can quickly happen. Device components may break down and melt if they are not cooled properly. It is far easier for a laptop to overheat when the fan and heat sink aren't functioning correctly.

  1. 5OkMHr6XirvdNC2d
    • Turn off and shut down the computer.

    • Disconnect the power adapter and all external devices connected to the computer.

    • Do not work with the device powered on. It may result in bodily harm through electric shock.

  2. nkPhHyOF3USs3aGL
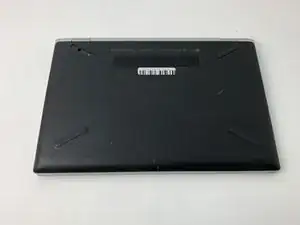
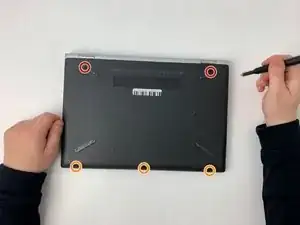
    • Flip the device with the backplate up and with the hinge on the far side.

  3. EXZQAOiKNnlVcLRh
    EXZQAOiKNnlVcLRh
    LK1GixwfrYxbWYcW
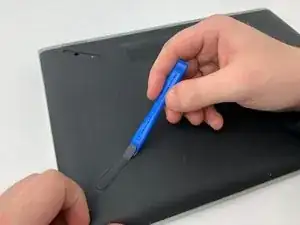
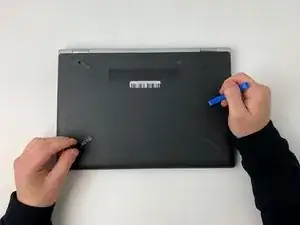
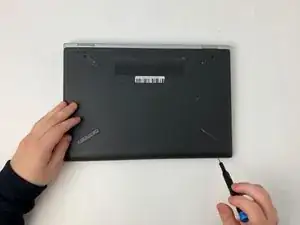
    • Use the opening tool to remove the rubber feet attached to the bottom of the device.

  4. yQF5N3CVyqTNmsCD
    yQF5N3CVyqTNmsCD
    yCq6wQHWJksRhcEW
    • Remove all screws located on the bottom of the device:

    • Two Phillips #0 7.0mm screws

    • Three Phillips #00 4.5mm screws

    • Make sure to keep track of all screws removed from the device.

  5. VvWHWQMQopbb22iZ
    VvWHWQMQopbb22iZ
    O4EVIjyIZFmiYnKT
    qIKQwmKNBySDAPPF
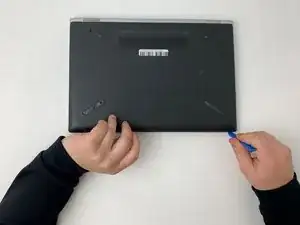
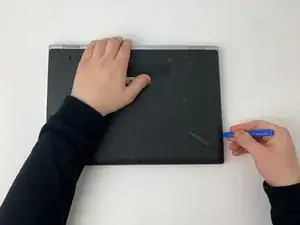
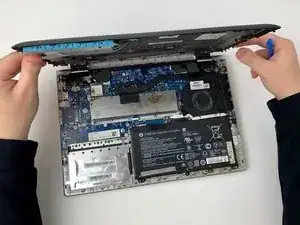
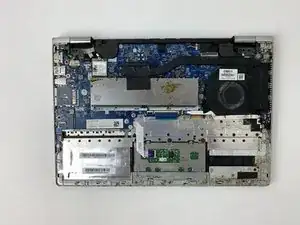
    • Using the opening tool, carefully remove the bottom cover from the device.

  6. rrrykhRBnkvEtJMs
    rrrykhRBnkvEtJMs
    bkNfjYYHELcY3qp1
    ViNHGy4mXsWISibc
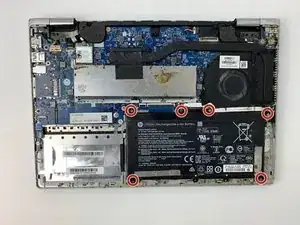
    • Use a #00 Phillips screwdriver to remove:

    • Six 2.5 mm screws

  7. SaaQRCcThXT4xMKH
    SaaQRCcThXT4xMKH
    eJQJU2g2xE2GJyKi
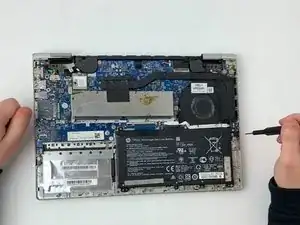
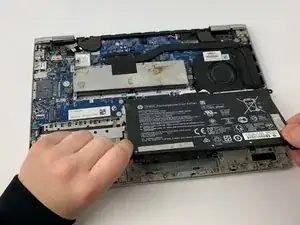
    • Carefully lift from the base and remove the battery.

  8. HFLFyeHJGx4UmFYF
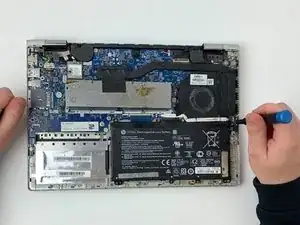
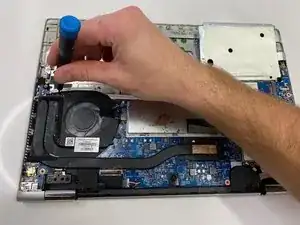
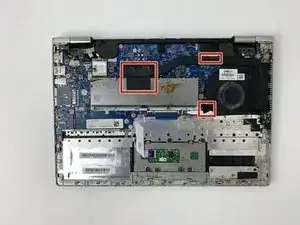
    • Remove the tape that secures the fan to the computer.

  9. FXybSdracDbYCJYA
    FXybSdracDbYCJYA
    1sh6GB62BctQXfOg
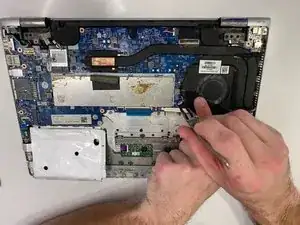
    • Find the fan cable

    • Use the Reverse Tweezers to unplug the fan cable

  10. rIcjGEnsKXHYlkKb
    rIcjGEnsKXHYlkKb
    UoBRaErBRNQCKOBK
    ESx2OMBoLIqxkN1Z
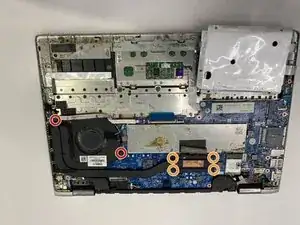
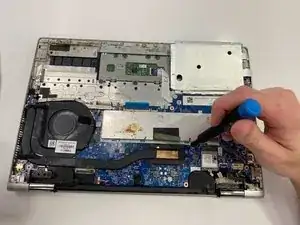
    • Remove all screws securing the fan to the device:

    • Two Phillips #00 4.5mm screws

    • Four Phillips #00 4.5mm screws

  11. AUyhYVut2JymY1OE
    AUyhYVut2JymY1OE
    WevXG5KRu5cUqIA3
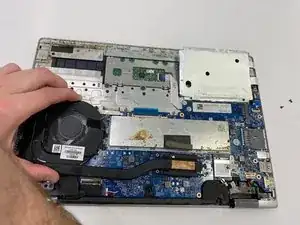
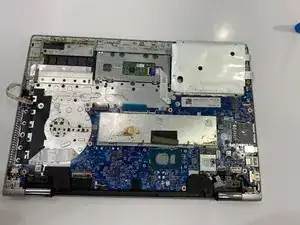
    • Lift and remove the fan and heat sink from the device.

    • When removing the fan, there will be an adhesive strip attached to the bottom. There may be some resistance as the device is being removed. Use a spudger to hold the adhesive down during removal.

Abschluss

To reassemble your device, follow these instructions in reverse order.
Jacob Richardson Earl

Mitglied seit: 14/01/20

966 Reputation

0 Kommentare