Einleitung
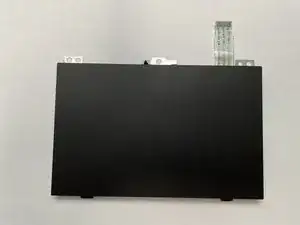
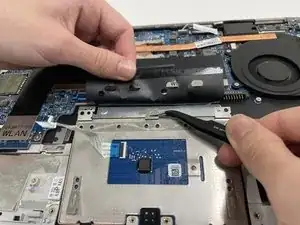
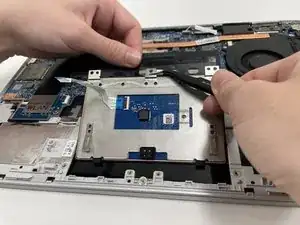
If the touchpad is not responding, learn how to access and remove the part with this guide. The trackpad controls the pointing on a laptop's display screen and can be replaced if it is not picking up your finger movements or downward pressure.
The tools used are the Phillips head screwdriver #0 and #1, the opening picks, tweezers, and the spudger.
This guide involves a number of moving parts, but the steps are easy to follow for someone inexperienced with computer repairs. Keep in mind, organizing the pieces removed allows for an easier reconstruction of the device.
Werkzeuge
-
-
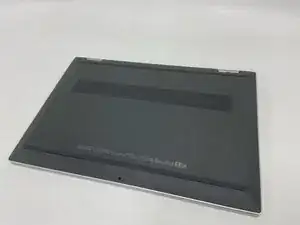
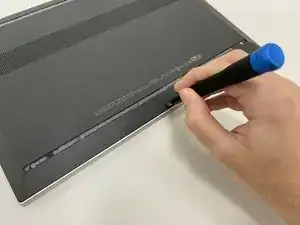
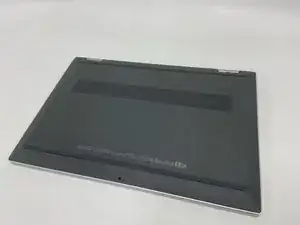
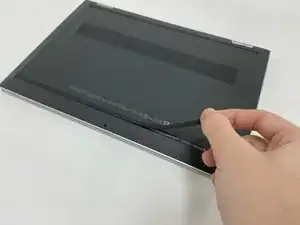
Turn off the device and set it upside down. Orient the hinges away from you.
-
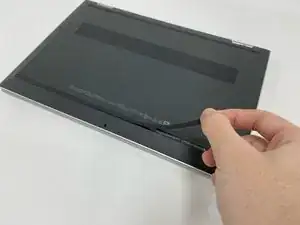
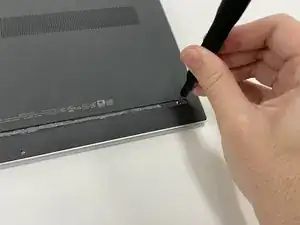
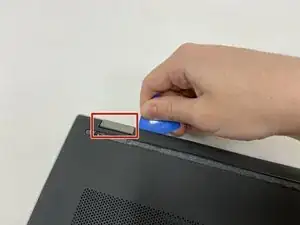
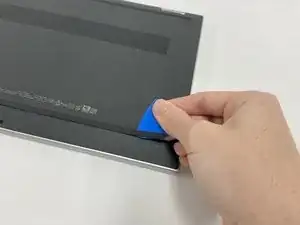
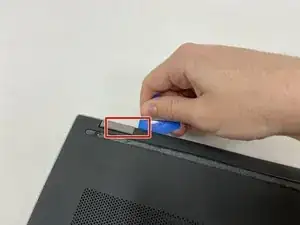
Wedge the opening pick under the grip. Lift the end of the grip.
-
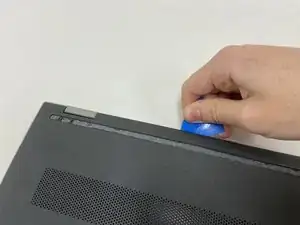
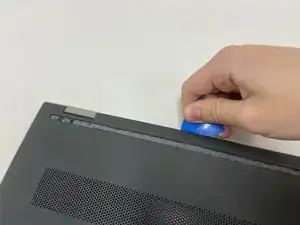
Pull the grip off all the way. Repeat for the second grip.
-
-
-
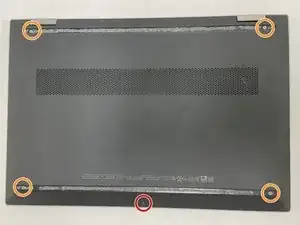
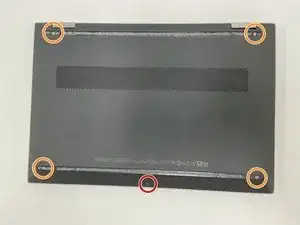
Use a Phillips #0 screwdriver to remove the 3 mm screw from the center bottom.
-
Use a Phillips #1 screwdriver to remove the 6 mm screw from all four corners of the bottom cover.
-
-
-
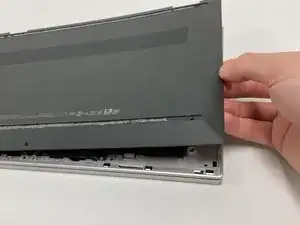
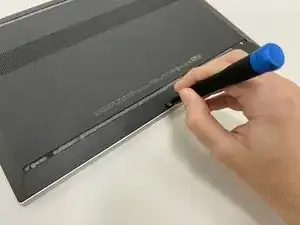
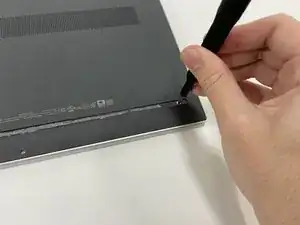
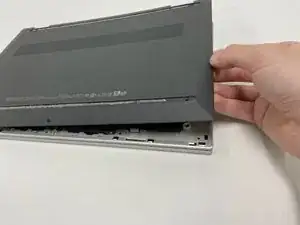
Use the opening pick to separate the back panel from the device.
-
Begin near the hinge and carefully follow the perimeter until you have taken the pick around all four sides.
-
Lift the panel off.
-
-
-
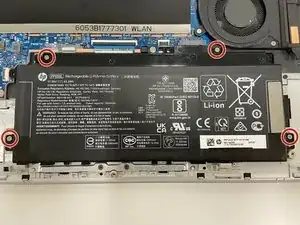
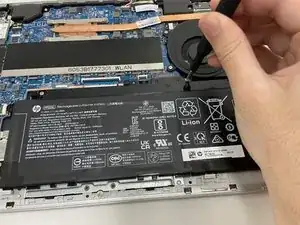
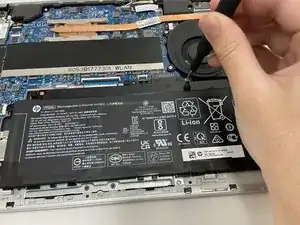
Use a Phillips #1 screwdriver to remove all four of the 4 mm screws that secure each corner of the battery.
-
-
-
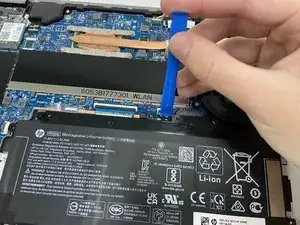
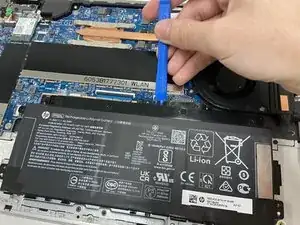
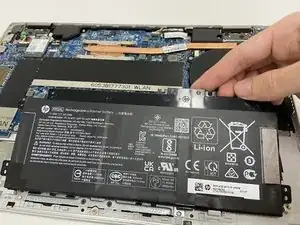
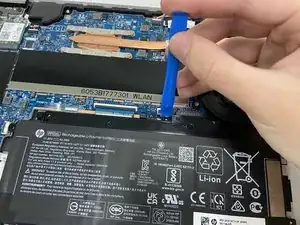
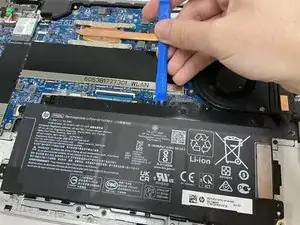
Use the opening tool near the connector to gently apply pressure and lift the battery away from the device.
-
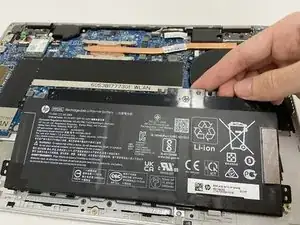
Once loose, lift the battery from the connector side to separate it from the device.
-
-
-
Turn off the device and set it upside down. Orient the hinges away from you.
-
Wedge the opening pick under the grip. Lift the end of the grip.
-
Pull the grip off all the way. Repeat for the second grip.
-
-
-
Use PH0 to remove the 3mm screw from the center bottom.
-
Use PH1 to remove the 6mm screw from all four corners.
-
-
-
Use the opening pick to separate the back panel from the device.
-
Begin near the hinge and carefully follow the perimeter until you have taken the pick around all four sides.
-
Lift the panel off.
-
-
-
Use the opening tool near the connector to gently apply pressure and lift the battery away from the device.
-
Once loose, lift the battery from the connector side to separate it from the device.
-
-
-
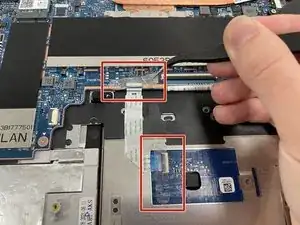
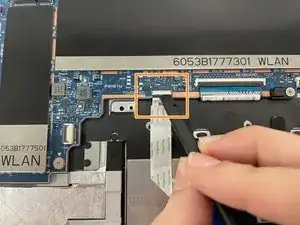
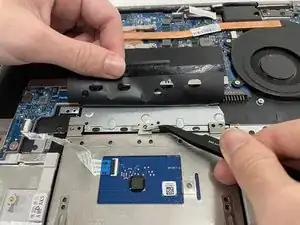
To unplug the trackpad, remove both stickers with angled tweezers.
-
Lift the connector clasp with spudger.
-
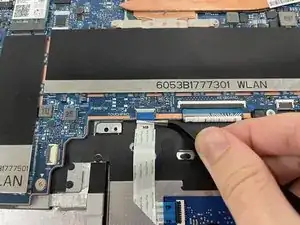
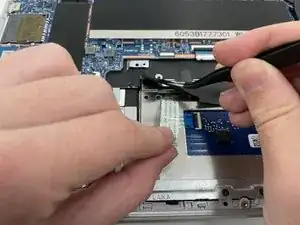
Use angled tweezers to lightly grip the ribbon cable and pull it out to lift cable off of black cover
-
-
-
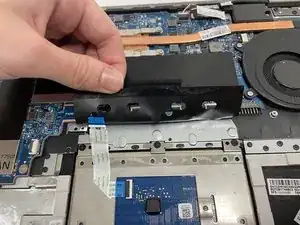
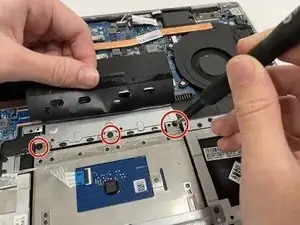
Hold back the black cover with one hand.
-
Use the PH0 screwdriver to remove three black screws (2.5mm) located at the top of the trackpad.
-
-
-
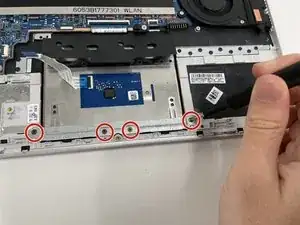
Using the PH1 screwdriver, remove four screws (3mm) at the bottom of the trackpad.
-
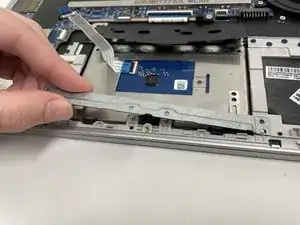
Lift the metal cover off.
-
-
-
Hold back the black cover.
-
Use the angled tweezers to grip the metal screw tab located in the middle of the trackpad.
-
Lift up and away to remove the trackpad part.
-
To reassemble your device, follow these instructions in reverse order.
