Einleitung
This guide gives step by step instructions to replace the motherboard in a HP Pavilion x360 m3-u103dx. This can be a difficult task if you are inexperienced or this is your first time taking apart a laptop. Some of the ribbons and clips involved can be fragile so it important to be careful throughout this guide. It also important to make sure there is no power into the laptop to reduce risk of shock or electrical damage to the laptop.
Werkzeuge
-
-
Power the device off.
-
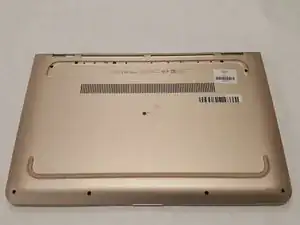
Flip the device over.
-
Using the plastic spudger, remove the rubber bumper to reveal 5 screws.
-
-
-
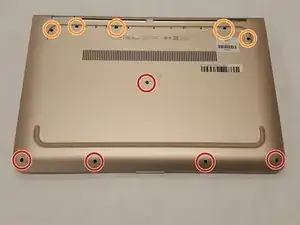
Using a Phillips screwdriver, remove 10 screws from the back plate.
-
Five 2.4 x 5.7 mm screws.
-
Five 2.8 x 5.0 mm screws.
-
-
-
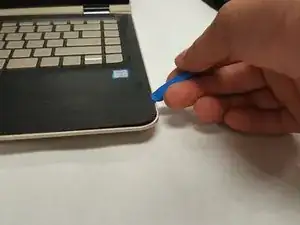
Using the plastic opening tool, pry the keyboard upwards at the opening shown.
-
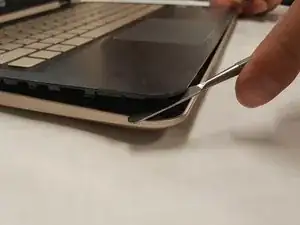
Then, using the metal spudger, pry around the rest of the keyboard until it is completely free.
-
Slowly, lift the entire keyboard up and away from the screen to reveal the connections and internals.
-
-
-
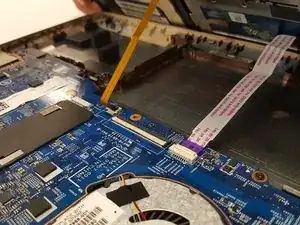
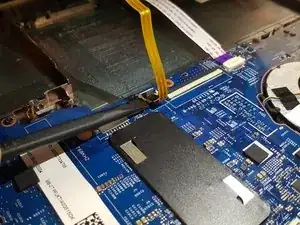
Using the black nylon spudger, lift the retaining clip for each ribbon shown.
-
Lift the keyboard out of the device and out of the way.
-
-
-
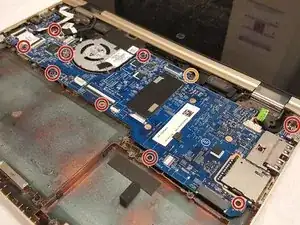
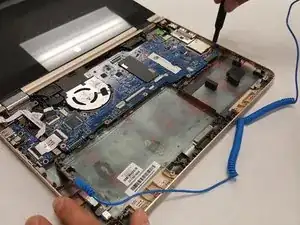
Using a J000 screwdriver, remove 9 screws from the motherboard.
-
Using a Y1 screwdriver, remove the 10th screw from the top of the motherboard.
-
-
-
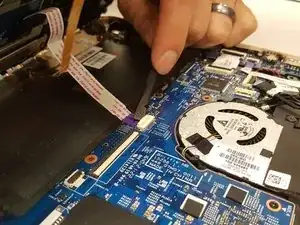
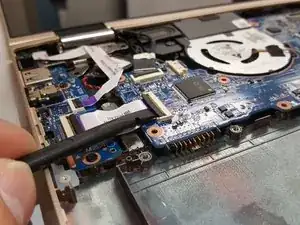
Using a spudger, flip the retaining clips for these two ribbons and gently pull them away from their sockets.
-
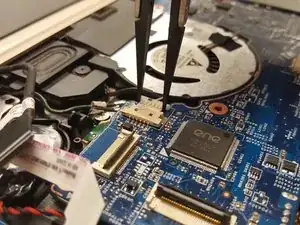
Using tweezers, gently pull this connector away from its socket.
-
-
-
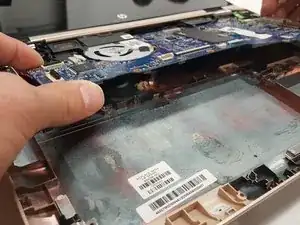
Gently lift the entire motherboard while tilting it to the left side of the laptop.
-
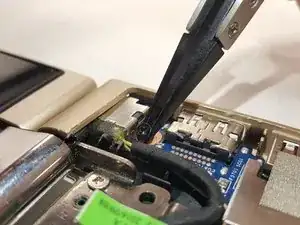
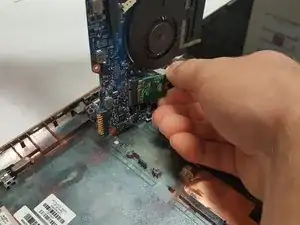
Disconnect the final plug from underneath the motherboard.
-
Lift the old motherboard from the laptop completely.
-
To reassemble your device, follow these instructions in reverse order.
