Einleitung

This guide will explain how to replace the keyboard of the device. The process should be rather simplistic but proceed with caution since some parts of the device are fragile.

  1. K1NcVhQNBUyTVfg4
    K1NcVhQNBUyTVfg4
    iUvnMQLplJIFRi3G
    usAcVENk6Hs2iVu6
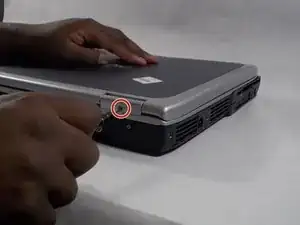
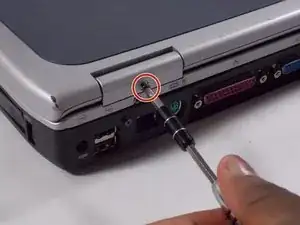
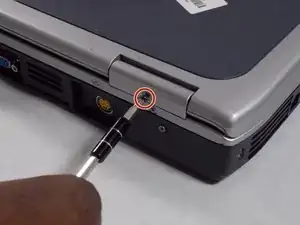
    • Remove the two 5mm Phillips #0 screws from the hinges

  2. LKXIbnWAoqudT6cv
    LKXIbnWAoqudT6cv
    Y5vVHqcv6PZK6cQQ
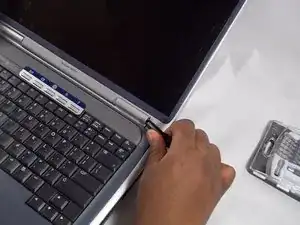
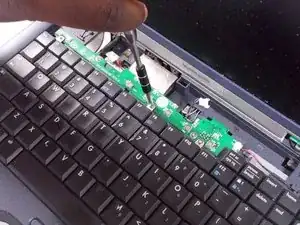
    • Open the device as if you were going to use the device. Using Tweezers, pry the hinges from underneath the screen

    • Not much force is needed to pull the hinges off once the tweezers are properly positioned

  3. VkleSZC1s2ACW4IU
    VkleSZC1s2ACW4IU
    w2FF6lpWxKkReoM5
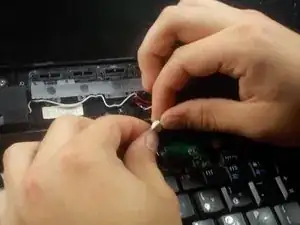
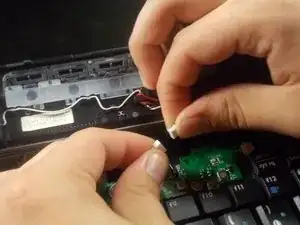
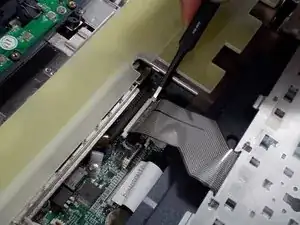
    • Remove the wire connection by gently pulling on the fuse and connection itself.

    • Do not pull on the wires, as this can remove the wires from the connection, destroying the fuse.

  4. SHZrYPcDRFQJiaEY
    SHZrYPcDRFQJiaEY
    iVN4itCnRvrX3CJi
    nDbgLG5LN1CsFcxp
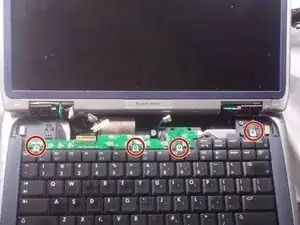
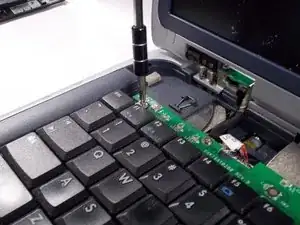
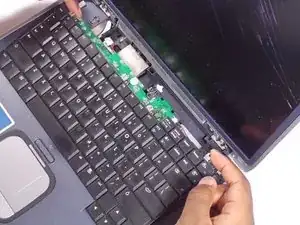
    • Remove the four 4.0 mm Phillips #0 connecting the keyboard to the frame

  5. LIIh6b1hJyAExBXH
    LIIh6b1hJyAExBXH
    coG22FiGogUyeAfX
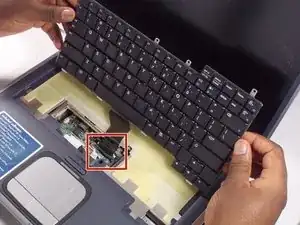
    • Gently lift the keyboard up from the frame so that you can see the ribbon still connected.

  6. aG5dlmgSu6ILkbN2
    aG5dlmgSu6ILkbN2
    lGmFe3AZgEPRuSmK
    CenyQ5TqGMUwREMV
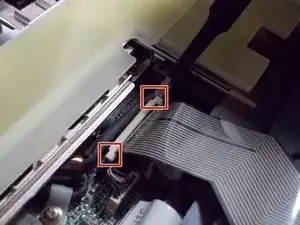
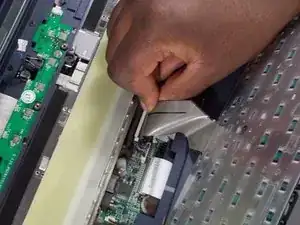
    • Remove the ribbon by gently pulling up the ends of the white receiver it is inserted in to.

    • You may need to use tweezers for this part.

    • During reassembly, when inserting the ribbon, you will hear a quiet, clicking sound when pushing down on the ends of the receiver. Hearing this ensures the ribbon is in place.

Abschluss

To reassemble your device, follow these instructions in reverse order starting at step 5.

Eric Beaudry

Mitglied seit: 07/03/18

823 Reputation

0 Kommentare