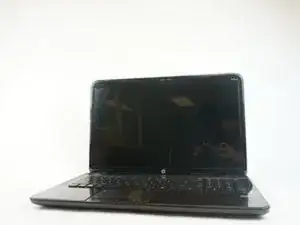
Einleitung

  1. SEdMGERyHDGmtfcp
    • Before beginning, make sure the computer is turned off and the charger is disconnected.

    • Flip the computer over, so that the bottom is facing up.

  2. 2BnL2RcYvdvH5sBA
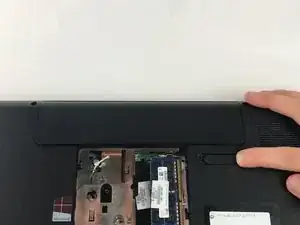
    • To remove the battery, slide the battery switch to the left.

  3. GNHuFpSTjL3XnLQX
    GNHuFpSTjL3XnLQX
    CXMDeER5fhiLMqJf
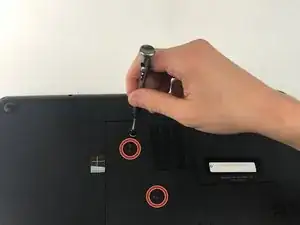
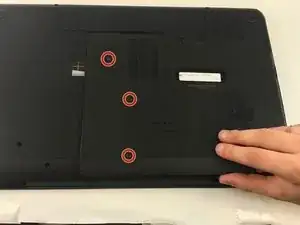
    • Using a PH Screwdriver, remove the three 7.25mm screws located on the bottom panel.

    • After removing all screws, remove the panel by sliding down.

  4. w3bKKTwSSEYYDnD4
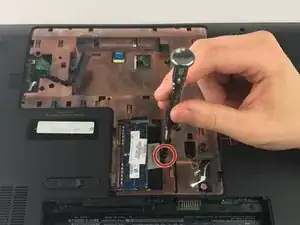
    • Using a PH screwdriver, remove the screw adjacent to the white labels.

    • There is a keyboard icon next to the screw

  5. KVj4NtRNcwZnd3Xy
    • Flip the laptop over, and open it.

  6. quIiJNnATyMjeQgw
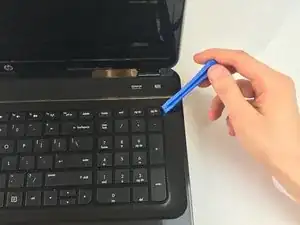
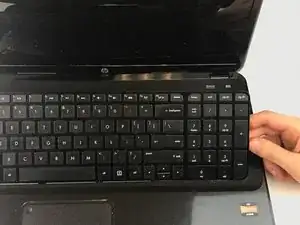
    • Using a plastic spudger, pry beneath the keyboard near the "delete" key, and pop the keyboard up from the laptop.

    • From the open gap, continue to pry around the perimeter of the keyboard, separating it from the laptop.

  7. S5LWvRiOA4SmoTWK
    S5LWvRiOA4SmoTWK
    qp1XONIEXIiBH6KW
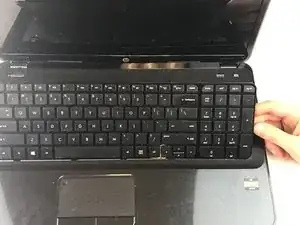
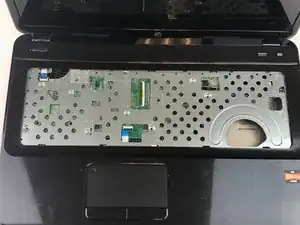
    • Using both hands, carefully lift the keyboard off of the laptop.

    • There may be a ribbon attached. If so, gently pull the ribbon cable up and away from the connector.

Abschluss

To reassemble your device, follow these instructions in reverse order.
Bre'Anna Sanders

Mitglied seit: 11/10/16

68 Reputation

0 Kommentare