Einleitung

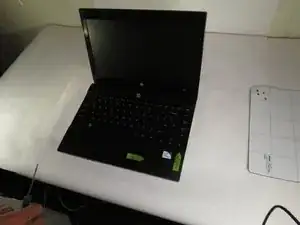
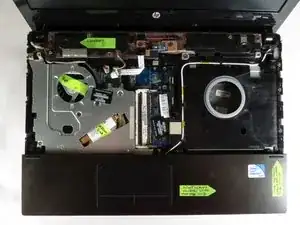
Replacing the touch pad panel can seam challenging without the proper instructions. There are many components that need to be removed before the touch pad panel. The panel needs to be removed in order to access other components.

  1. eJPQWwWwfpLmmrPo
    eJPQWwWwfpLmmrPo
    2TYHTHnYZJipYWSQ
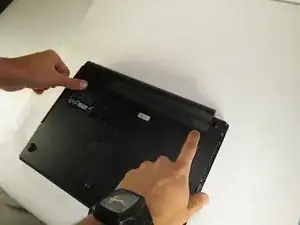
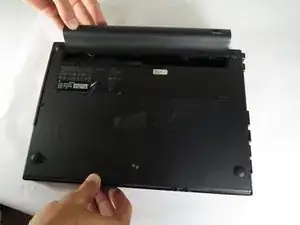
    • Flip the laptop upside down and remove battery by pressing inward on the two latches holding the battery in.

  2. QDwMx1ZRBpZkEkNr
    QDwMx1ZRBpZkEkNr
    HwTZpyrDus6ipZEI
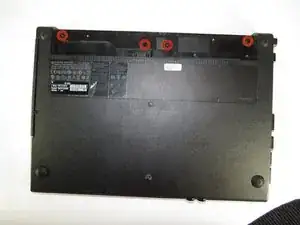
    • Unscrew the four (2.5 mm Phillips) screws (Use Phillips #0 Screwdriver).

  3. vfDtHGboeVeDUPmR
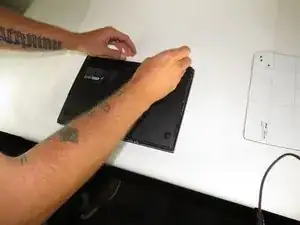
    • Flip laptop over and open it.

  4. 2RPAPievNLWkMjln
    • Slightly push up while lifting up on the power button panel to release the panel.

  5. wQ1PKuNqRsyPH4em
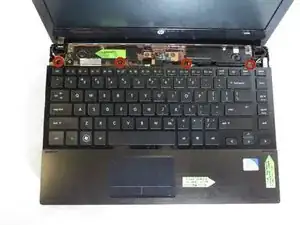
    • Unscrew the four (2.5 mm Phillips) screws holding the keyboard in (Use Phillips #0 Screwdriver).

  6. QWfMpR2gLrbvQK4a
    QWfMpR2gLrbvQK4a
    kXbFftDixY46Wdxt
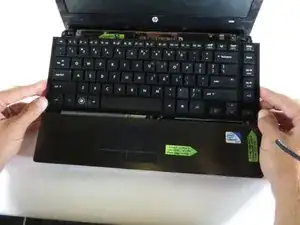
    • Carefully (holding both sides of the keyboard), push up and lift slightly.

    • Keyboard is still connected via a ribbon cable.

    • Move the keyboard slightly to the left to have access to the keyboard ribbon cable.

  7. 4JYKaoI3xmpGFTaJ
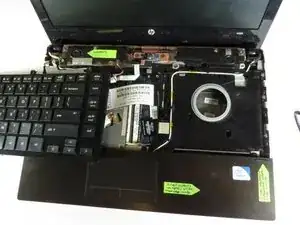
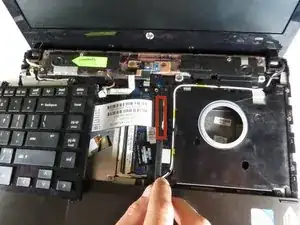
    • Use the black spudger to lift the black latch holding the keyboard ribbon cable.

  8. VJ14TQZviqZGvLqJ
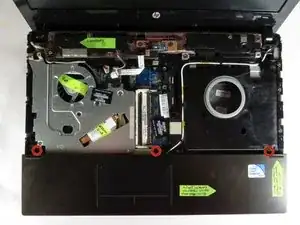
    • Unscrew the three (2.5 mm Phillips) screws holding the bottom touchpad panel.

  9. h4xiOyYUuAIoDHKx
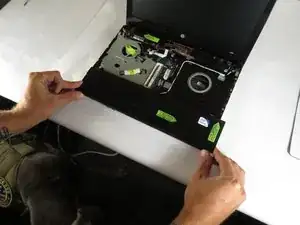
    • Carefully slide the bottom panel to the right.

    • Keyboard is connected via a wire to the back of the panel.

  10. vLdYshY2a32TAmfx
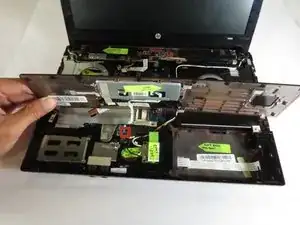
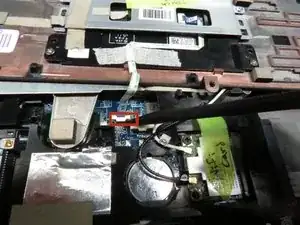
    • Flip the bottom touchpad panel directly towards the screen, being sure to not lift it too high.

    • Keep an eye on the ZIF connector underneath, make sure it is not pulled accidentally.

  11. hWFxqSRyPYtLqvNf
    • Using the black spudger, slightly pry up on the ZIF connector and lift out the wire carefully.

Abschluss

To reassemble your device, follow these instructions in reverse order.
Joshua

Mitglied seit: 23/09/14

134 Reputation

0 Kommentare