Einleitung
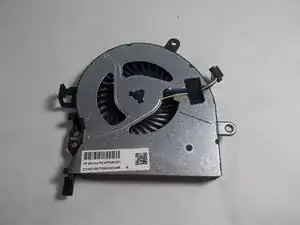
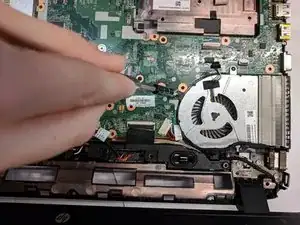
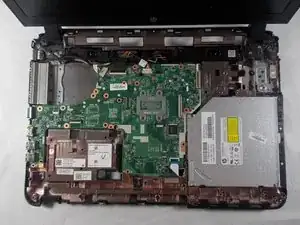
A computer fan is a part that is constantly in use while the computer is on. This can cause it to eventually fail. This guide will show you how to replace your fan in order to extend the life of your laptop.
Werkzeuge
Ersatzteile
-
-
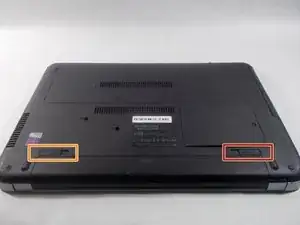
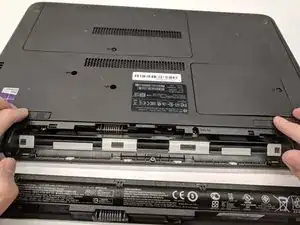
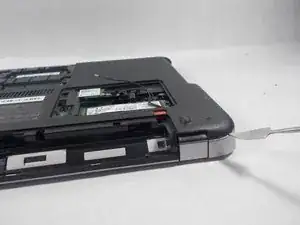
Push the release on the right side of the computer to the center.
-
Push and hold the release on the left side of the computer towards the center.
-
-
-
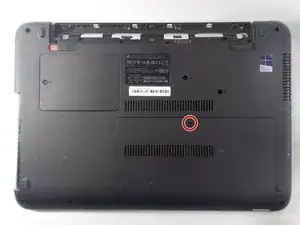
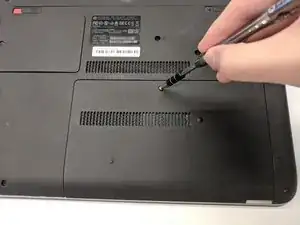
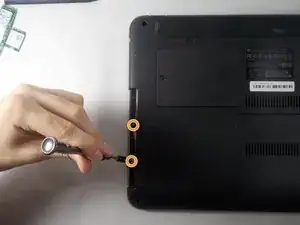
Unscrew the 2.5 mm screw with PH00 screwdriver.
-
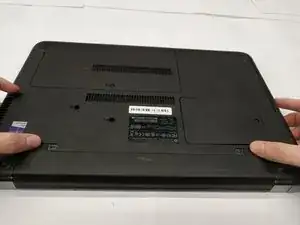
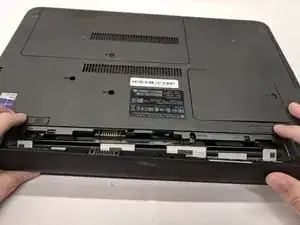
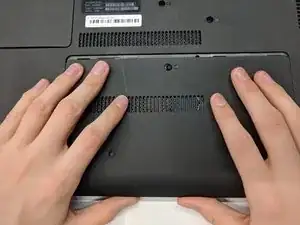
Pull the cover off the computer using two hands.
-
-
-
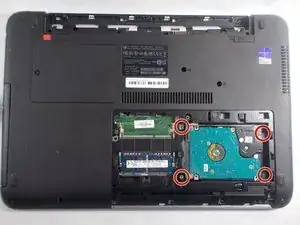
Unscrew the all four 2.5 mm screws with the PH00 screwdriver.
-
Then carefully pull to the right the hard-drive. It should release from its container.
-
-
-
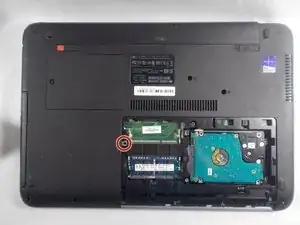
Remove the 2.5 torx screw.
-
Pivot the spudger between the hard-drive and the optical drive. Push the optical drive away from the center of the computer.
-
-
-
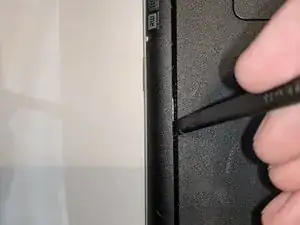
Using the spudger carefully place the pointed end into the gap that covers the optical drive.
-
-
-
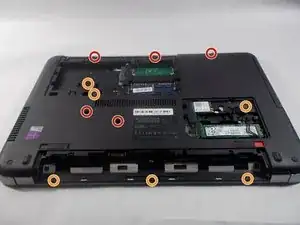
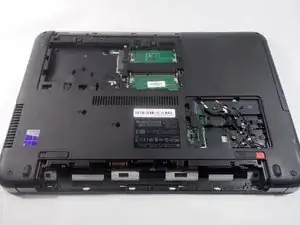
Once the battery, hard drive, and optical drive cover are removed, begin removing all of the screws on the bottom plate of the laptop.
-
These are Phillips 00 5mm screws.
-
There are also several Phillips 00 2.5mm screws under the battery, optical drive cover, and hard drive.
-
-
-
Once all of the Phillips 00 screws are removed, use a spudger to remove the four rubber stops in each corner. Underneath, there will be four Torx bit 8 size 5mm screws that need to be removed.
-
-
-
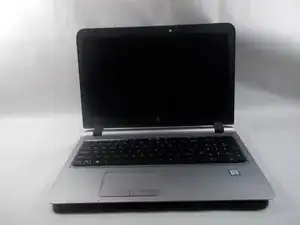
Once all of the screws on the bottom are removed, flip your laptop over and open it so the keyboard is visible.
-
-
-
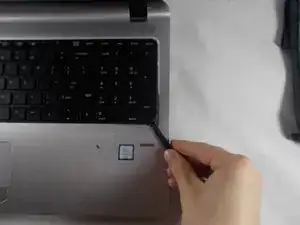
To remove the keyboard, gently insert the spudger underneath it along an edge and work it around to unsnap
-
-
-
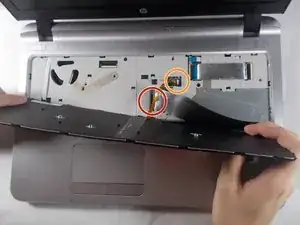
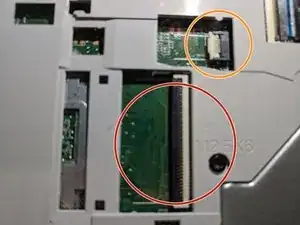
Once keyboard is removed, there will be two ribbon cables connecting the keyboard to the laptop. there will be two latches holding the cables in place on the laptop. to undo these latches, insert a spudger underneath the latch and lift up to free the cable.
-
-
-
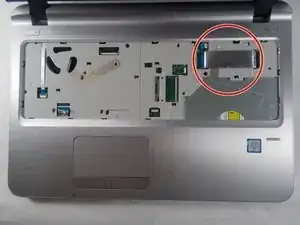
Do the same for the removal of the ribbon cable connecting the motherboard to the wireless card.
-
-
-
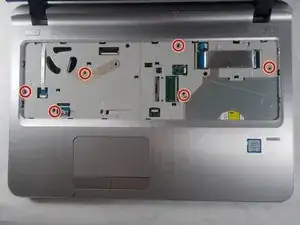
Underneath where the keyboard was, there will be more Phillips 00 5mm screws. Remove all of them.
-
-
-
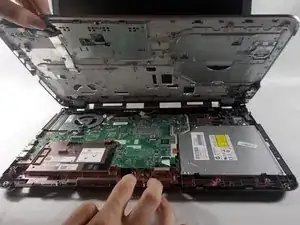
Once all of the screws are removed, you can open the laptop case itself. Begin by inserting a metal spudger between the top and bottom halves of the case. work your way all the way around slowly, unsnapping the snaps that hold the case together.
-
-
-
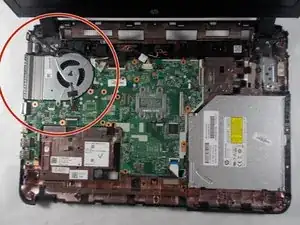
Once the top part of the case is removed, you can access the fan, as well as other internal parts.
-
-
-
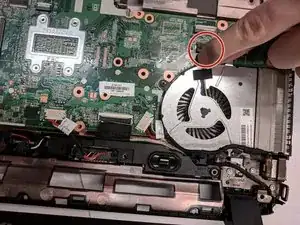
Once this cable is undone, there will be a Phillips 00 2.5mm screw holding the fan in place. Remove it and the fan will be removable.
-
To reassemble your device, follow these instructions in reverse order.
2 Kommentare
Multiple mistakes with the screws, the one’s underneath the Keyboard are T9’s, many screw positions are wrong or missing, changed were already made.
The 4 screws in the corners under the black rubber pads are missing in this guide!
