Einleitung
Your computer’s DVD/CD drive may become damaged after prolonged use or age. One of the ways you can fix this is by replacing the drive itself.
Werkzeuge
-
-
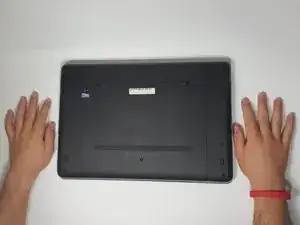
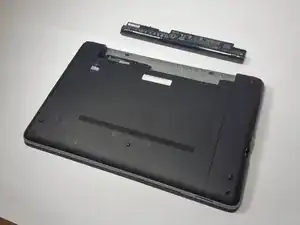
Turn the computer upside down on a flat side, so that you are seeing the underside of the laptop.
-
-
-
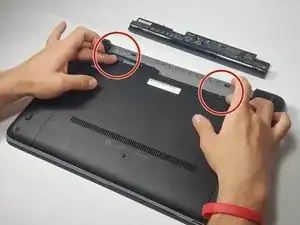
Slide the two battery release latches towards the center of the laptop to release the battery.
-
-
-
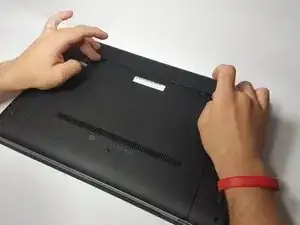
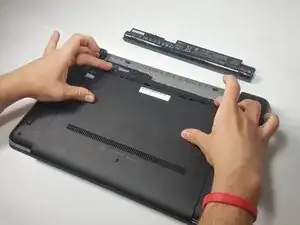
Slide the two release latches that were mentioned in the battery removal process to release the service panel.
-
-
-
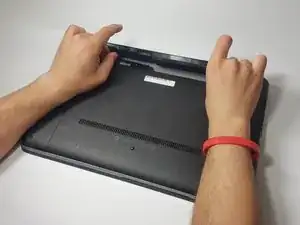
Slide the service panel toward you using your thumbs.
-
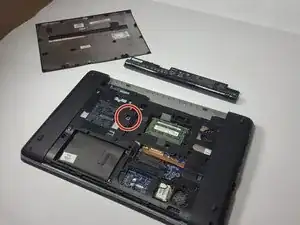
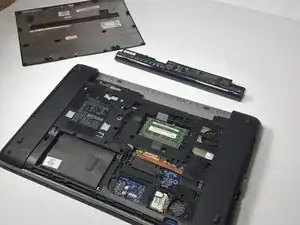
Lift it to remove the panel and reveal inner components of the computer.
-
-
-
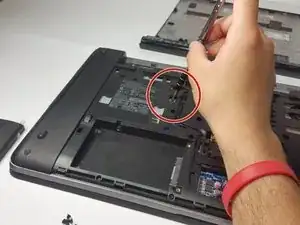
Using a Phillips P0 Screwdriver, remove the 6 millimeter screw that secures the DVD/CD drive to the computer.
-
-
-
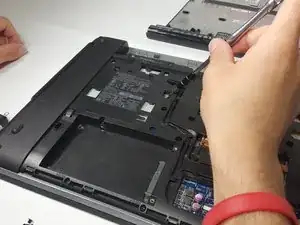
Using the screwdriver, gently push the silver tab that the screw secured to the left to release the DVD/CD drive from the computer.
-
-
-
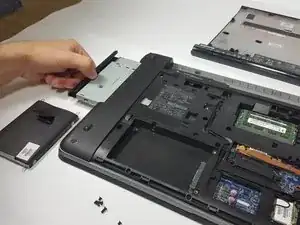
The DVD/CD drive will be extended from the side of the laptop. Slowly remove it from the computer.
-
To reassemble your device, follow these instructions in reverse order.
