Einleitung
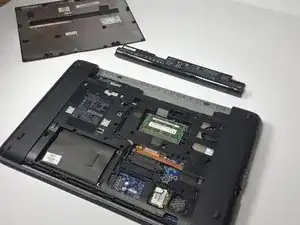
Your computer's hard drive may become damaged after prolonged use or age. One of the ways you can fix this is by replacing the drive itself. This guide is designed to help you safely and properly remove your computer’s hard drive, no matter what the reason may be.
Werkzeuge
Ersatzteile
-
-
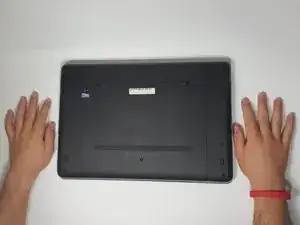
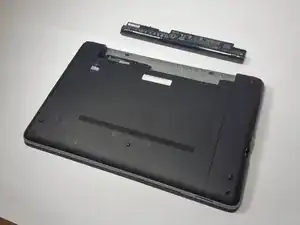
Turn the computer upside down on a flat side, so that you are seeing the underside of the laptop.
-
-
-
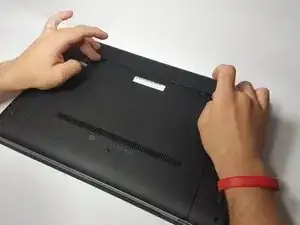
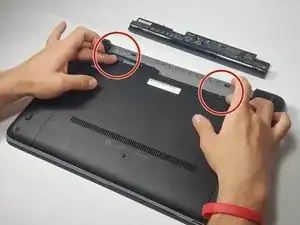
Slide the two battery release latches towards the center of the laptop to release the battery.
-
-
-
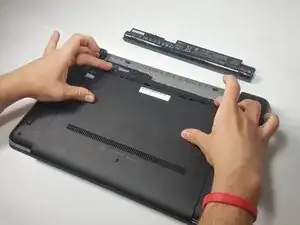
Slide the two release latches that were mentioned in the battery removal process to release the service panel.
-
-
-
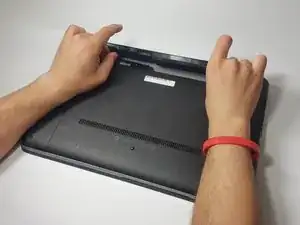
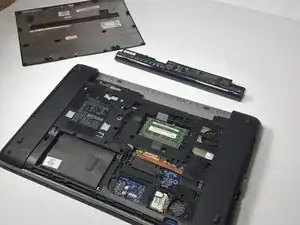
Slide the service panel toward you using your thumbs.
-
Lift it to remove the panel and reveal inner components of the computer.
-
-
-
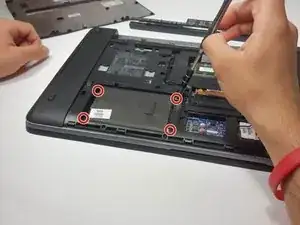
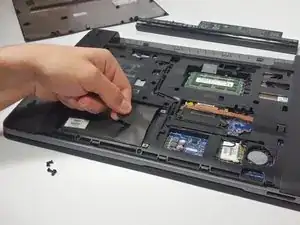
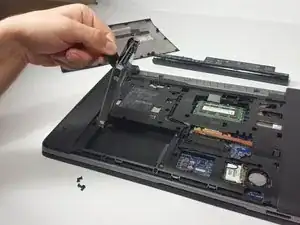
Using a Phillips #0 Screwdriver, remove the four Phillips 3 mm screws that secure the hard drive into the computer.
-
-
-
Pull the hard drive cover tab to the left in order to disconnect the hard drive from the computer.
-
To reassemble your device, follow these instructions in reverse order.
