Einleitung
This replacement will require caution, when connecting live wires.
Werkzeuge
-
-
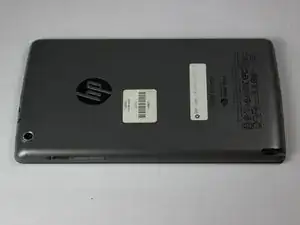
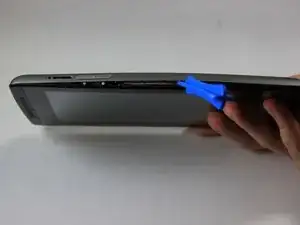
Use the plastic opening tool to separate the back cover from the tablet. Carefully use the tool to pry open the sides, going around the entire tablet to lift the sides up.
-
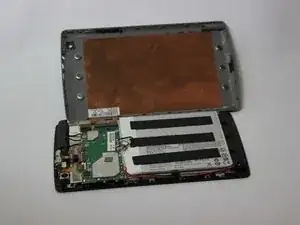
Once all sides have been pried up, pull the cover off and place it to the side.
-
-
-
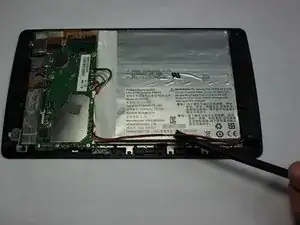
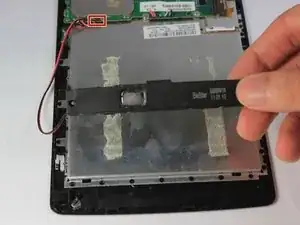
Locate the wires connecting the bottom speaker to the motherboard. The wires will be running alongside the battery
-
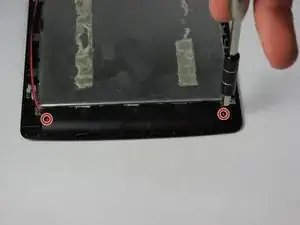
Using the PH #000 screw bit, unscrew the two 5.0 mm screws holding the bottom speaker in place
-
-
-
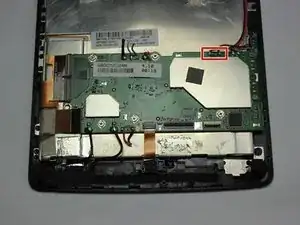
Locate where the speakers' wires are connected to the motherboard.
-
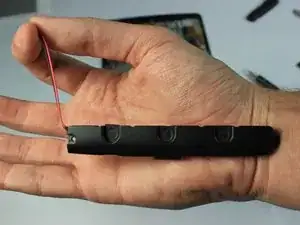
Using a pair of wire cutters, cut the wires connecting the speaker to the motherboard. Use a wire stripper to expose the wire to connect it with the wires of the new speaker.
-
To reassemble your device, follow these instructions in reverse order.
