Einleitung

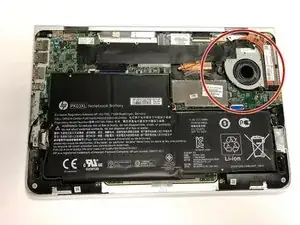
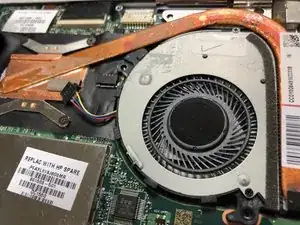
The vent fan keeps the laptop from overheating so the laptop needs to be turned off during this procedure.

  1. 1VbOwlUDZ6aMQRxk
    1VbOwlUDZ6aMQRxk
    4MB5HJTSTBuNSSCA
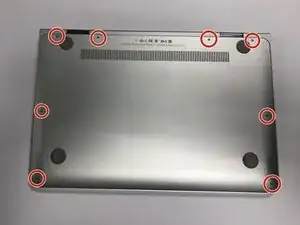
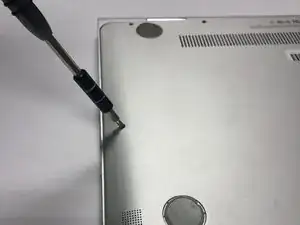
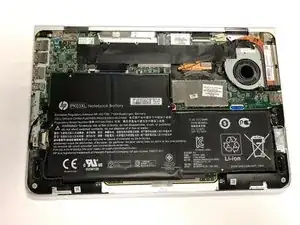
    • Using the Torx T5 screwdriver, remove the eight 8 mm screws on the bottom case of the laptop.

  2. idNXfmJ4EjvuUBeG
    idNXfmJ4EjvuUBeG
    gIBQvDdCH3AZBuJG
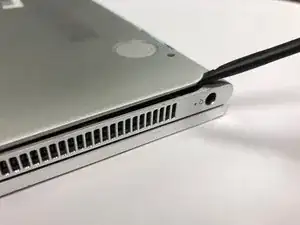
    • Pry up one corner of the bottom case with a spudger.

    • Work the spudger around the edges, making your way towards the bottom of the laptop.

    • Remove the bottom case.

  3. VAwKItN2DXfAZvvs
    VAwKItN2DXfAZvvs
    MFv6AHkQdiLPFIPn
    esbMtoITtoOigoCx
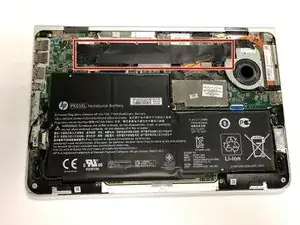
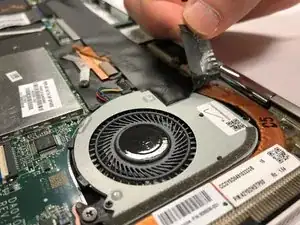
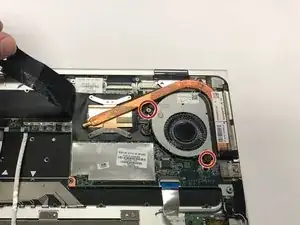
    • Remove the strip of black electrical tape.

    • Pull the tape away from the vent fan.

    • Pull gently, as the tape is easy to rip.

  4. URhVyGOJMFOhZMIF
    URhVyGOJMFOhZMIF
    TiKTGcdWTDGeVxTf
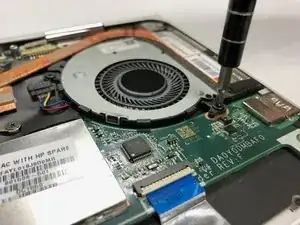
    • Using a Phillips #0 screwdriver, remove the two 40 mm screws securing the fan assembly to the motherboard.

  5. KeYFVHQnqAA5adgp
    KeYFVHQnqAA5adgp
    YHIkgX4RVASimmEH
    3JwD1oTqYSuGSYS4
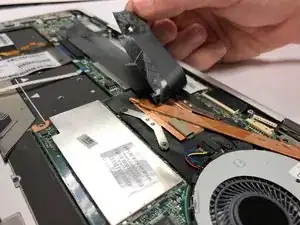
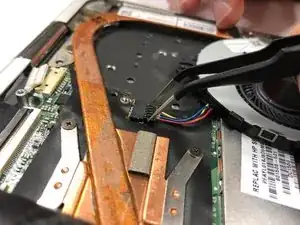
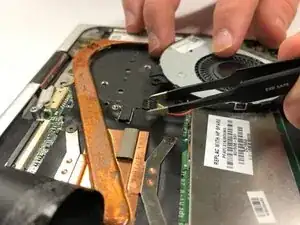
    • Using tweezers, disconnect the wire connection between the laptop and the vent fan.

  6. cStVmiVmIAtfoZJM
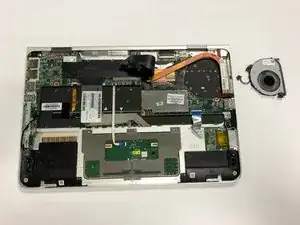
    • Remove the vent fan.

Abschluss

To reassemble your device, follow these instructions in reverse order.

Cayce Stewart

Mitglied seit: 16/01/19

725 Reputation

Ein Kommentar

Any idea what model# the fan is?

ayekay -