Einleitung

This guide consist of a step by step instruction on how to remove your battery, make clean tidy room with enough lighting before you start. In addition, make sure your battery actually needs to be replaced by turning to our troubleshooting guide

  1. Rs6AwEnuLBwcAIZK
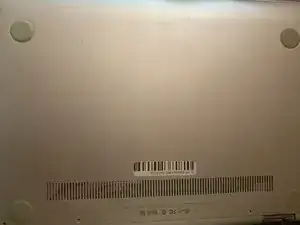
    • Turn off your laptop before you start.

    • Flip your laptop so the bottom is facing upwards.

    * Do so gently, so that none of the internal parts are damaged, Its best to try to clean the backside of a laptop with a wipe to get rid of any dust or debris.

    Brett Kneeland -

  2. pefqgcArKRbVG62X
    • Use a Phillips #0 to remove the screws that hold the back panel down.

    Its best to be careful when taking out the screws so that none of them chip, and it would be good advice to consider using similar tools if the current tool number isn’t working.

    Brett Kneeland -

  3. koG2WXUOveh2yR2B
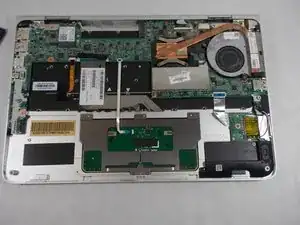
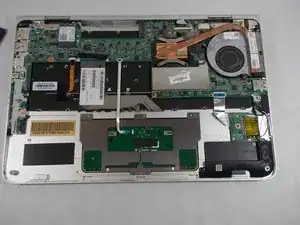
    • Use an opening tool to remove the back panel.

    • Be careful when applying force to the panel so the components and the panel are not damaged.

    • Try to start at a corner or a place with the most room to slide under the panel.

  4. WjuHmjnKIEiuUBiv
    WjuHmjnKIEiuUBiv
    HynThyKbN54HkMOn
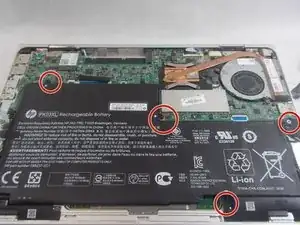
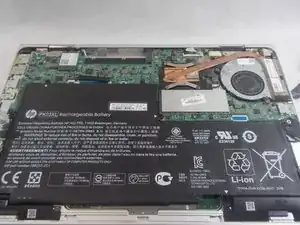
    • Remove the four screws from the battery using a Phillips #0 screwdriver.

  5. rFdGJnw2OJYnT4Nd
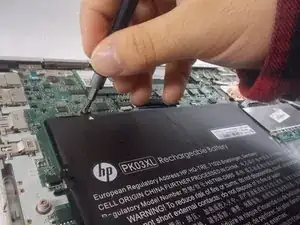
    • Remove the battery from the computer.

Abschluss

To reassemble your device, follow these instructions in reverse order.

For optimal performance, after completing this guide, calibrate your newly installed battery.
Take your e-waste to an R2 or e-Stewards certified recycler.
Nana Kwame Korankye

Mitglied seit: 25/10/21

85 Reputation

0 Kommentare