Einleitung
If your computer is consistently crashing or having trouble booting, you could be experiencing SSD failure. Replacing the SSD will not only speed up your computer, but it should also prevent crashing. We recommend finding an external hard drive or website to upload your data onto before breaking down your computer.
Before starting this guide, please be sure to review the Troubleshooting page for extra information on an SSD.
Please note that this guide is specifically designed for the HP Spectre x360 15-bl012dx.
Before starting this repair, be sure to turn off your laptop and disconnect from the power adapter.
Werkzeuge
Ersatzteile
-
-
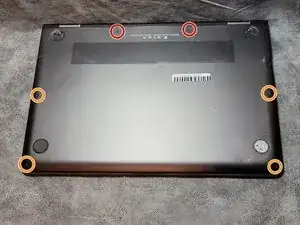
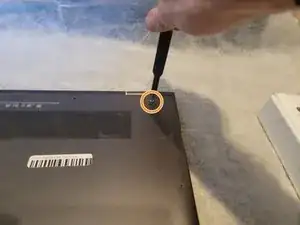
Place the computer so that the back panel is facing up. Begin by removing the two visible Torx T5 9 mm screws near the hinges.
-
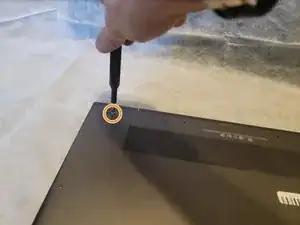
Next, remove the four visible Torx T5 3 mm on the sides.
-
-
-
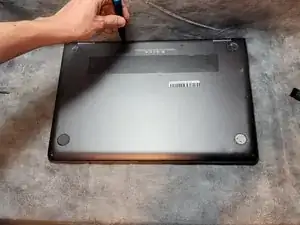
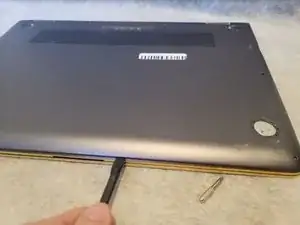
Remove the two upper feet using an opening tool or spudger if they are still in place. The upper feet are closer to the hinges for the screen.
-
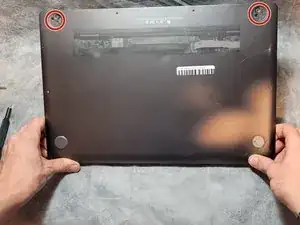
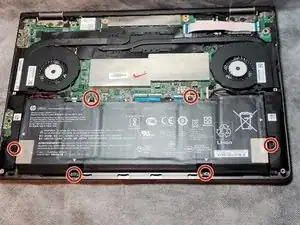
Remove the two 8 mm Phillips #1 screws under the feet.
-
-
-
Use a spudger to pry the back panel off of the laptop. Work your way around the perimeter of the device to loosen the connection.
-
Take the back panel off of the laptop.
-
-
-
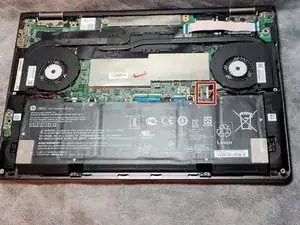
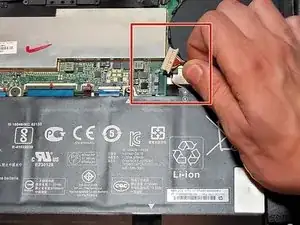
Unplug the battery connector located on the motherboard.
-
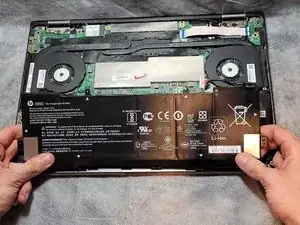
Remove the battery from the laptop.
-
-
-
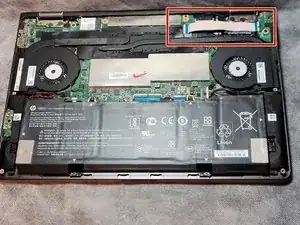
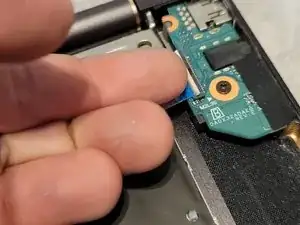
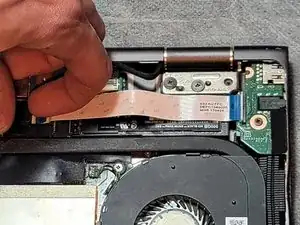
Using minimal force, lift the locking bars on the USB board ZIF connector using a plastic opening tool or fingernail and pull out the ribbon cable.
-
-
-
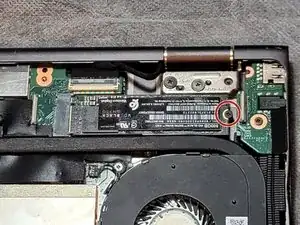
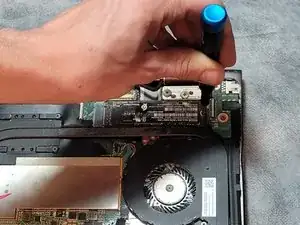
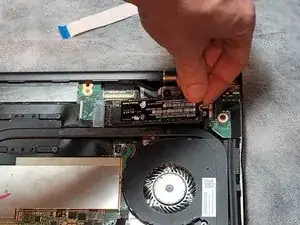
Slide the SSD card out of the connection at a 45 degree angle so that the SSD teeth are not bent.
-
To reassemble your device, follow these instructions in reverse order.
