Einleitung

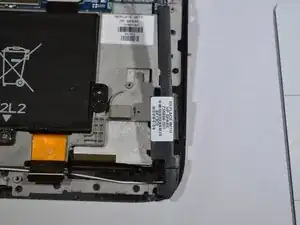
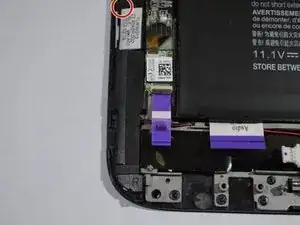
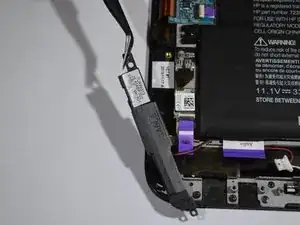
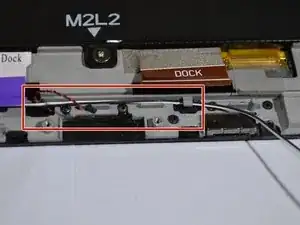
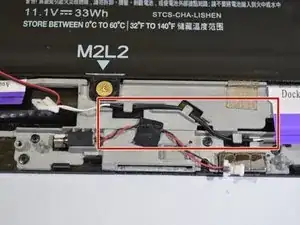
If the audio is distorted on the laptop or the computer has difficulty playing sounds, then one or both of the speakers are defective. Use this guide to access, remove, and replace your speaker(s).

  1. ZSsYlOKyFgaQvaek
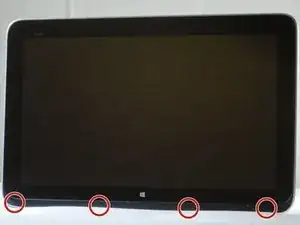
    • Carefully peel off the felt cover that is found beneath the display along the bottom of the device.

    • Use a spudger to gently scrape away the padding that hides the screws in each of the four locations.

    • Remove the four 4-mm Phillips #0 screws.

    • Run a spudger along the crease of the entire laptop and slowly pry off the back panel of the device, beginning with the bottom edge.

    • You will hear popping noises as the clips separate from each other.

  2. IQ4poYpkbFNLESy3
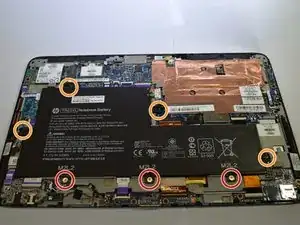
    • Remove the three 6-mm Phillips #0 screws.

    • Remove the four 4-mm Phillips #0 screws.

  3. ONUovffcBgKAhUSy
    ONUovffcBgKAhUSy
    xvYSU1lbYTJJnutg
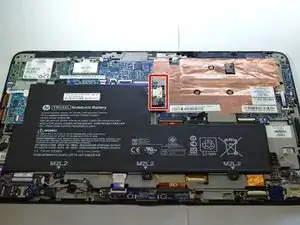
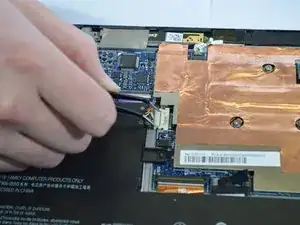
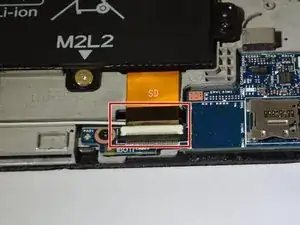
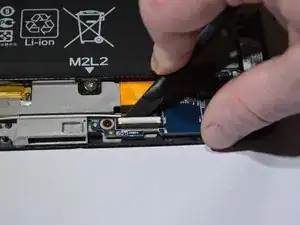
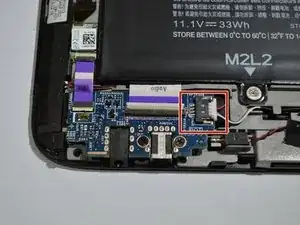
    • Remove the white connector clip from the connector port using a sturdy tweezers.

  4. iTeNU3cF1eogTkOP
    iTeNU3cF1eogTkOP
    SWwUmdi2EpIysAaD
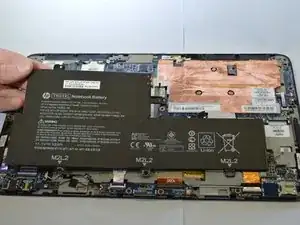
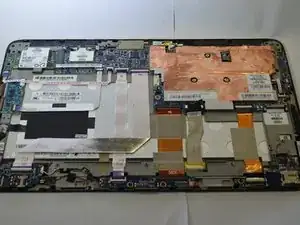
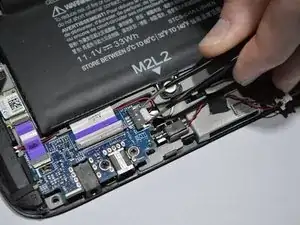
    • Lift the battery away from the device.

  5. P3lHGGgGsNmchZev
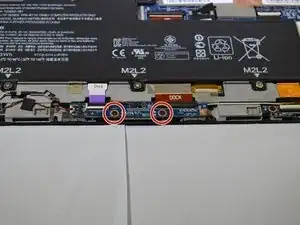
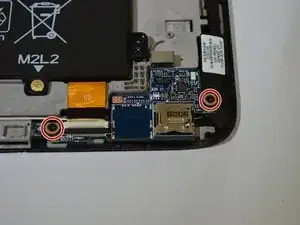
    • Remove the two 4-mm Phillips #0 screws.

  6. yZDePtUNNm26qEs3
    yZDePtUNNm26qEs3
    RkMLMsV5w5gP1FXR
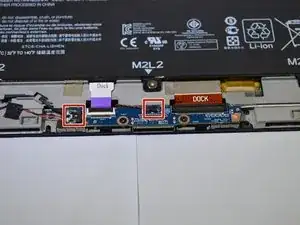
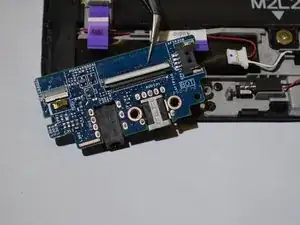
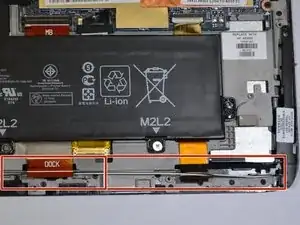
    • Remove the clips from the docking port board with a sturdy pair of tweezers.

  7. gXjT1TWPyowbFqxR
    gXjT1TWPyowbFqxR
    41hPkjIhtpeCgfLg
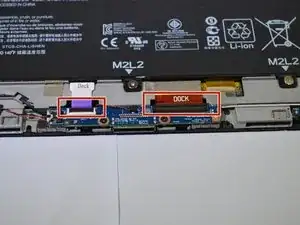
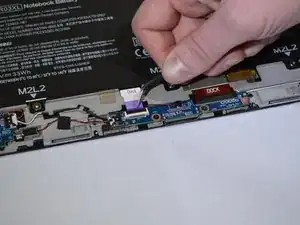
    • Remove the two ribbons labeled "Dock" at the top of the docking port board using tweezers or a sturdy plastic opening tool.

  8. WDKM3Eix43BEuFTB
    • Lift the docking port away from the device.

  9. bZaJFNidNDlUkGtI
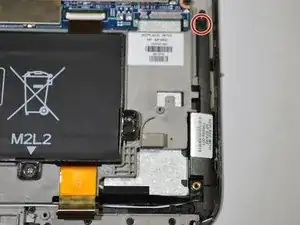
    • Remove the two 4-mm Phillips #0 screws.

  10. gDHSBuDuy1qbaFZY
    gDHSBuDuy1qbaFZY
    UFVbLXRKMLNHcdre
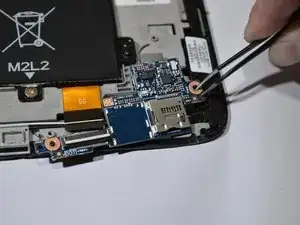
    • Remove the yellow ribbon labeled "SD" in the left corner of the SD port board using tweezers or a sturdy plastic opening tool.

  11. YUQp1YxWG1YCPLQp
    • Lift the SD port away from the device.

  12. EMZe6SxKUrmMYtVR
    • Remove the two 4-mm Phillips #0 screws.

  13. ND11O2XvX4WiubUp
    ND11O2XvX4WiubUp
    JSsVOgXXi4SIp4wJ
    b2HA3SmSK335caSO
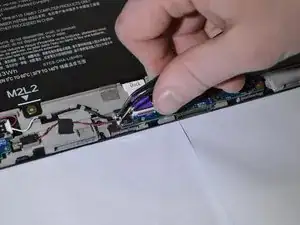
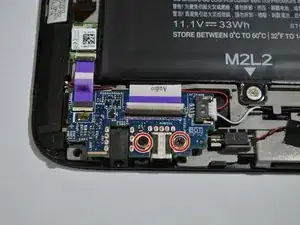
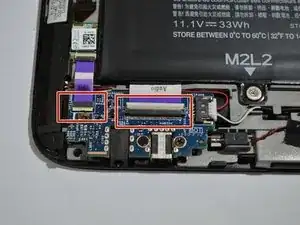
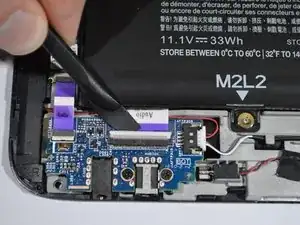
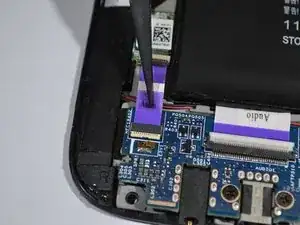
    • Remove the two purple ribbons labeled "Audio" at the top of the audio port board using tweezers or a sturdy plastic opening tool.

  14. 3lqlXMFXjvefWJ1U
    3lqlXMFXjvefWJ1U
    eQRHrZlYccmxNWPo
    • Remove the white clip at the top right corner of the audio port board using tweezers.

  15. DFJVP1s1CIxc1KjO
    • Lift the Audio port away from the device.

  16. SYNufVZX3fXOHBlH
    SYNufVZX3fXOHBlH
    3dXK2aqcnj3gaIE2
    • Remove the 4-mm Phillips #0 screw.

    • Lift the left speaker away from the device.

  17. jLrJGBVbVOhJqHS3
    jLrJGBVbVOhJqHS3
    fQRumOSKG6DCtTPH
    • Remove the 4-mm Phillips #0 screw from the same location as found on the left speaker.

    • Lift the right speaker away from the device.

  18. Yxlv2qA5r4PkJkAv
    Yxlv2qA5r4PkJkAv
    wVDqtYiGf2S2DLfO
    TGh3DAbxUlYYYy5a
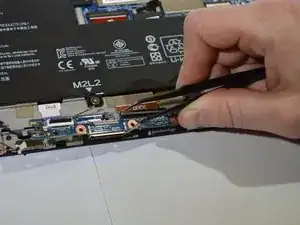
    • Carefully remove the bonded white and black speaker wires running along the bottom of the control board from the fastening clips.

    • Lift the speaker assembly away from the device.

Abschluss

To reassemble your device, follow these instructions in reverse order.
Darian Devries

Mitglied seit: 26/02/19

495 Reputation

0 Kommentare