Einleitung

If you notice your laptop no longer keeping a charge, you may need to replace the battery. This device is kind of strange because the battery isn't one of the first things you remove. This makes it hazardous because you may accidentally turn on your laptop while taking it apart. So be careful when removing the cover and use caution around the power button to ensure you don't turn it on.

  1. tw2fDkrsubKG1sZa
    tw2fDkrsubKG1sZa
    ZxekldlKn2FuyCas
    IXLPArRIbFgJ14SZ
    • Before disassembly, unplug and power off the Stream 11.

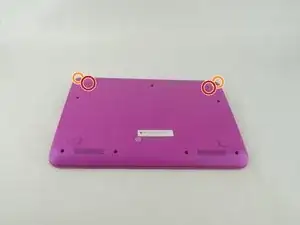
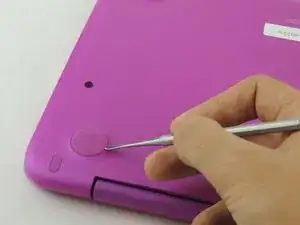
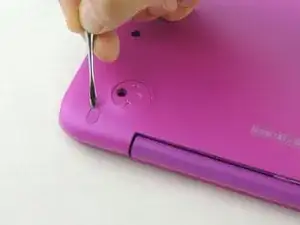
    • Pry off the two elliptical rubber inserts (one in each corner).

    • Pry off the two circular rubber inserts below the removed elliptical inserts (one in each corner).

  2. c6FFWrBUbPHLGO64
    c6FFWrBUbPHLGO64
    XLvkBhbtKWlY2N2w
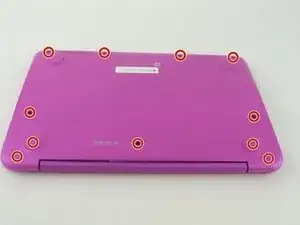
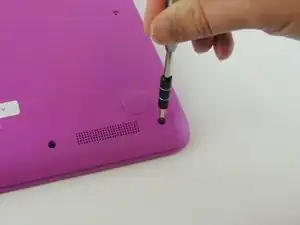
    • Remove the eleven 5.6 mm Phillips #00 screws.

  3. 16EWeYD4u2QjpfiQ
    16EWeYD4u2QjpfiQ
    ElAxeqERO1WGOhDn
    PMDHsrhtIT4JSVJ5
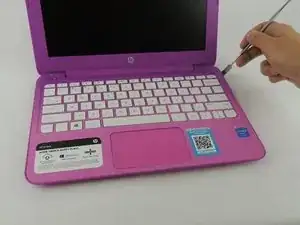
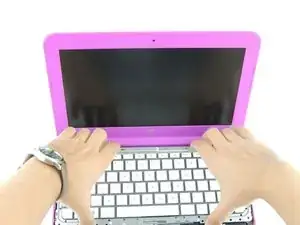
    • Turn the computer upright and lift the screen.

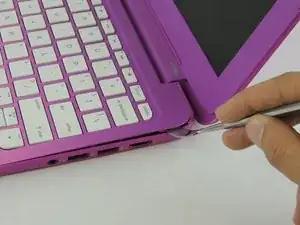
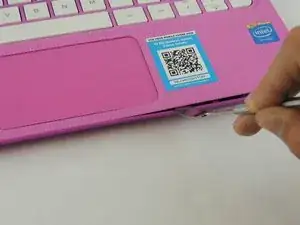
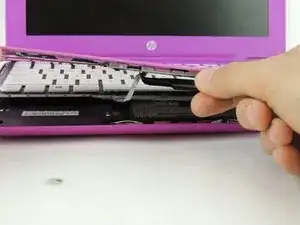
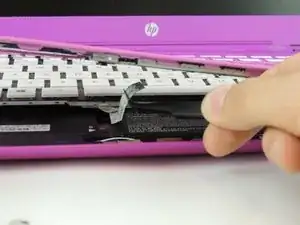
    • Carefully use a spudger to pry the plastic keyboard cover from the base.

    • When using the metal spudger, be careful not to press into the components underneath the keyboard cover. If possible, use a standard spudger or plastic opening tool to remove the keyboard cover.

    • Work the spudger around the cover to release the clips attaching the cover to the base.

    • Be patient when removing the cover, as there are many clips and it may take some time.

    How do i connect my mouse to the laptop

    Madeline Rios -

  4. LwwpKNvJtKa3NPrH
    LwwpKNvJtKa3NPrH
    hjMXx5mpaQpRakN2
    JDMEX2aUsFkNlE5d
    • Disconnect the cable connecting the ClickPad to the base.

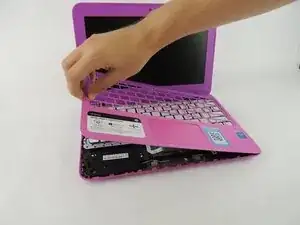
    • Remove the plastic keyboard cover.

    • The cover is attached to the ClickPad by a cable. Be careful not to lift the cover too far so you do not damage this cable.

    The character who made this tutorial shows in a couple of these pictures he/she destroyed the keyboard/top bezel. The keyboard is NOT meant to be detached from the mouse bezel, he/she popped every single chassis mounted plastic rivet that keeps every keyboard key centered within their hole in the bezel. In othe rwords mounting that prevents key malfunction. I haven't seen a keyboard detachable bezel in laptop design since the late 2000s.

    Shawn Gaylord -

  5. KsAaXNVNdPiINw2Q
    KsAaXNVNdPiINw2Q
    OyBuU1qBggh2aY1b
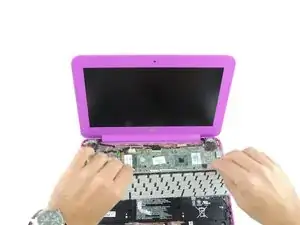
    • Tilt the top of the keyboard plate up until you separate it from the base.

    • Tilt the keyboard toward you slowly but do not remove it, it is still connected with ribbon cables.

  6. MaHJdYSPjLSobIYY
    MaHJdYSPjLSobIYY
    JxkmLfKuHNvEDbst
    X11EtAwJZCgEXjRu
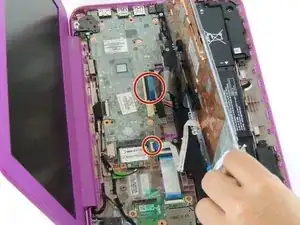
    • Lift up the retaining flaps on the ZIF connectors securing the two keyboard ribbon cables.

    • After disengaging the connectors, gently unplug both ribbon cables.

  7. joP2pQnMtjgcteDq
    joP2pQnMtjgcteDq
    ZZOAxwCStrIvquKC
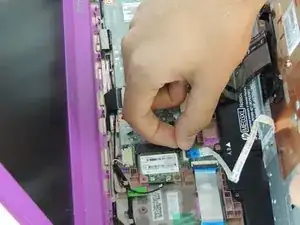
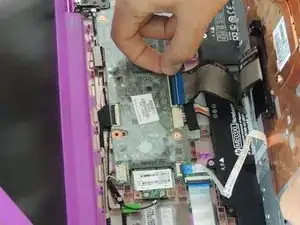
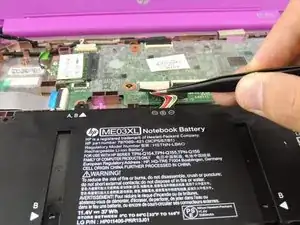
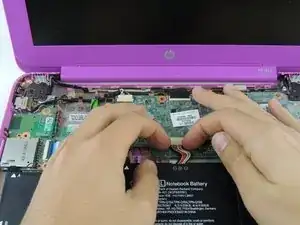
    • Remove any tape covering the battery connector.

    • Disconnect the battery cable from its socket on the motherboard.

  8. KTX1lh3IRpjApf26
    KTX1lh3IRpjApf26
    3DbEATyKTRmSuKBu
    RQOSoSsSrXOuVDfA
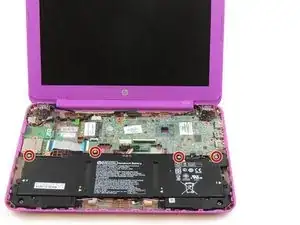
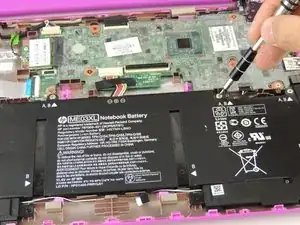
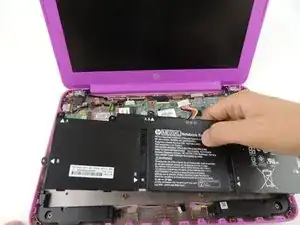
    • Unscrew the four 3.3mm Phillips #000 screws.

    • Lift the battery out gently.

Abschluss

To reassemble your device, follow these instructions in reverse order.

Spenser Mason

Mitglied seit: 04/02/16

1756 Reputation

4 Kommentare

Thank you for the guide. For us it was enough to unplug the battery and then plug it back in. The problem we encountered was that the capslock would blink on startup for the HP Stream 11.

ruudvanleeuwen -

Would this fix work for a HP notebook Model 11-N012NA. ?

Denis Mahony -

Would this work for my House notebook PC 11-d011wm?

If I put the charger the thing will Will just start blinking
Abdul Rahman -

Worked fine but I didn’t need to unplug the ribbon cables. Merely had to lean the keyboard against the screen and remove the battery.

Would advise taking a picture of the ribbon cables to make sure they are in far enough on completion.

des.lyde -