Einleitung

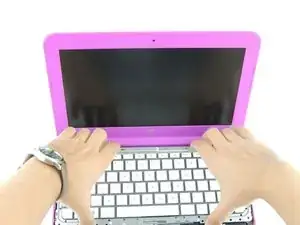
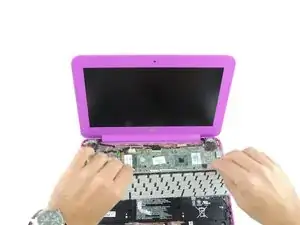
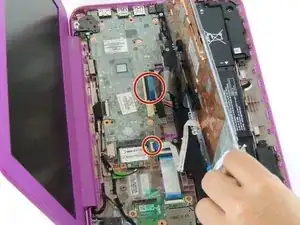
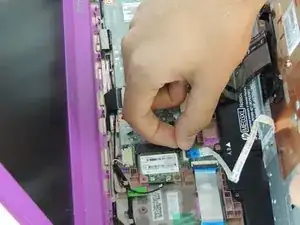
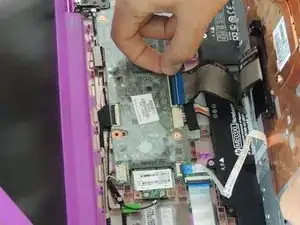
This guide will walk you through the process of replacing a faulty or damaged screen in an HP Stream 11 laptop. This should take you about 10-15 minutes. There are hidden screws under plastic covers that inhibit your ability to remove the screen and could damage your screen. Once these screws are removed it is fairly simple to remove your screen.

  1. tw2fDkrsubKG1sZa
    tw2fDkrsubKG1sZa
    ZxekldlKn2FuyCas
    IXLPArRIbFgJ14SZ
    • Before disassembly, unplug and power off the Stream 11.

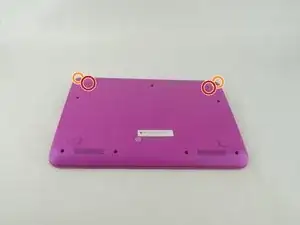
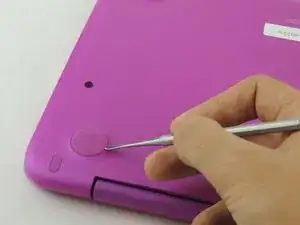
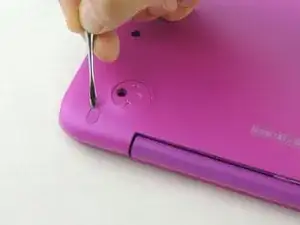
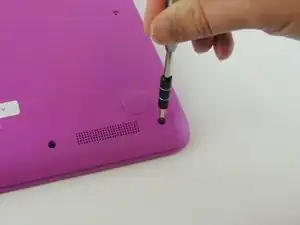
    • Pry off the two elliptical rubber inserts (one in each corner).

    • Pry off the two circular rubber inserts below the removed elliptical inserts (one in each corner).

  2. c6FFWrBUbPHLGO64
    c6FFWrBUbPHLGO64
    XLvkBhbtKWlY2N2w
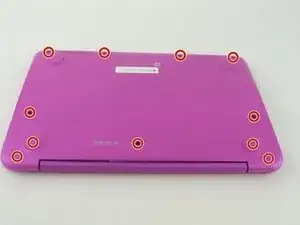
    • Remove the eleven 5.6 mm Phillips #00 screws.

  3. 16EWeYD4u2QjpfiQ
    16EWeYD4u2QjpfiQ
    ElAxeqERO1WGOhDn
    PMDHsrhtIT4JSVJ5
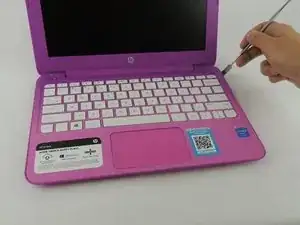
    • Turn the computer upright and lift the screen.

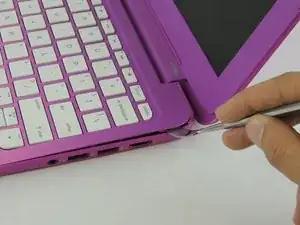
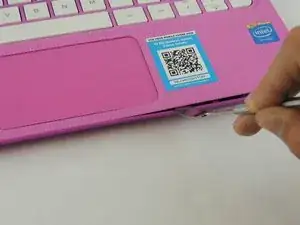
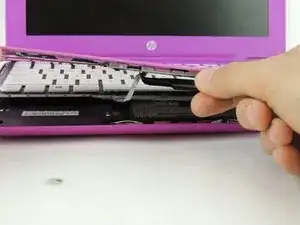
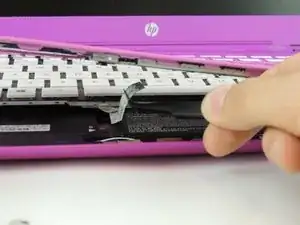
    • Carefully use a spudger to pry the plastic keyboard cover from the base.

    • When using the metal spudger, be careful not to press into the components underneath the keyboard cover. If possible, use a standard spudger or plastic opening tool to remove the keyboard cover.

    • Work the spudger around the cover to release the clips attaching the cover to the base.

    • Be patient when removing the cover, as there are many clips and it may take some time.

    How do i connect my mouse to the laptop

    Madeline Rios -

  4. LwwpKNvJtKa3NPrH
    LwwpKNvJtKa3NPrH
    hjMXx5mpaQpRakN2
    JDMEX2aUsFkNlE5d
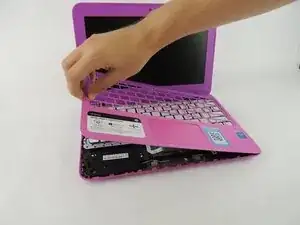
    • Disconnect the cable connecting the ClickPad to the base.

    • Remove the plastic keyboard cover.

    • The cover is attached to the ClickPad by a cable. Be careful not to lift the cover too far so you do not damage this cable.

    The character who made this tutorial shows in a couple of these pictures he/she destroyed the keyboard/top bezel. The keyboard is NOT meant to be detached from the mouse bezel, he/she popped every single chassis mounted plastic rivet that keeps every keyboard key centered within their hole in the bezel. In othe rwords mounting that prevents key malfunction. I haven't seen a keyboard detachable bezel in laptop design since the late 2000s.

    Shawn Gaylord -

  5. KsAaXNVNdPiINw2Q
    KsAaXNVNdPiINw2Q
    OyBuU1qBggh2aY1b
    • Tilt the top of the keyboard plate up until you separate it from the base.

    • Tilt the keyboard toward you slowly but do not remove it, it is still connected with ribbon cables.

  6. MaHJdYSPjLSobIYY
    MaHJdYSPjLSobIYY
    JxkmLfKuHNvEDbst
    X11EtAwJZCgEXjRu
    • Lift up the retaining flaps on the ZIF connectors securing the two keyboard ribbon cables.

    • After disengaging the connectors, gently unplug both ribbon cables.

  7. f4VYhhgVngFLpWPp
    f4VYhhgVngFLpWPp
    ehueGHC4LpxiCDqs
    fU6CeImGyXcdNbHI
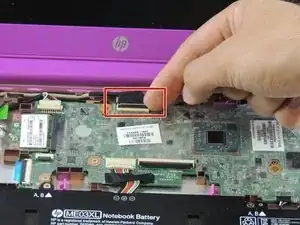
    • Lift the black flap on the display cable ZIF connector.

    • After lifting the flap, gently pull the display cable from its socket.

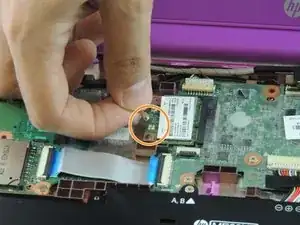
    • Disconnect the wireless antenna from the wireless card.

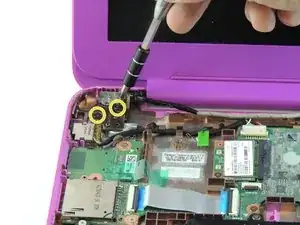
    • Remove the four 2.2 mm Phillips #00 screws on the left and right sides of the laptop.

  8. eEYnBJg2ZtSWkUHn
    eEYnBJg2ZtSWkUHn
    UxmITcxewletQQDA
    Lw4PoLbBXccRWyLs
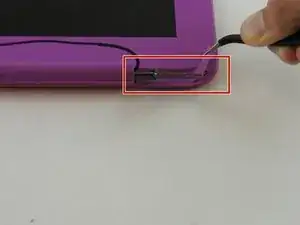
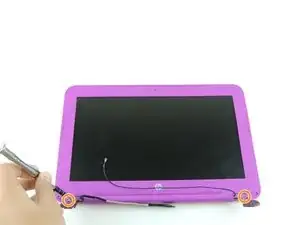
    • Use tweezers to remove the screw covers from the lid.

    • Remove the two 2.2 mm Phillips #000 screws.

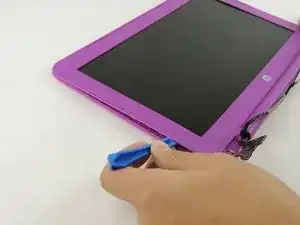
    • Use a plastic opening tool to disengage the front part of the lid.

  9. mYK2HNXArtiJYsWD
    mYK2HNXArtiJYsWD
    NqZSFOlESuKqfw2G
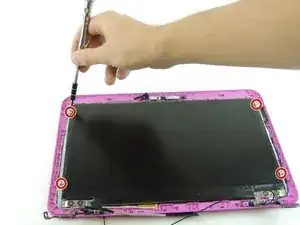
    • Unscrew the four 3.3mm Phillips #000 screws as indicated.

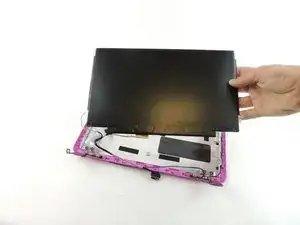
    • Lift the screen from the lid carefully.

Abschluss

To reassemble your device, follow these instructions in reverse order.

Spenser Mason

Mitglied seit: 04/02/16

1756 Reputation

0 Kommentare