Einleitung

Is your HP Stream - y010nr screen not working? Did you accidentally drop it and break the screen? This guide will show you the proper steps to remove and replace the screen so it will be back in working condition.

  1. PYirvOgSBpiECY32
    PYirvOgSBpiECY32
    OFTPgIrePXHxyC4b
    M2s6D1bMLqQwamoD
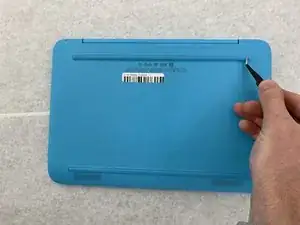
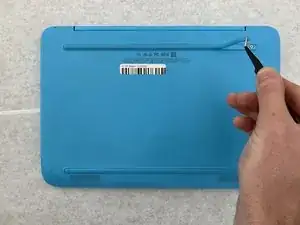
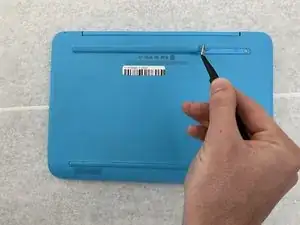
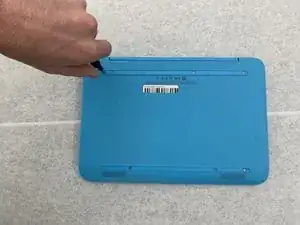
    • Gently peel back the two rubber strips that cover the screws on backside of the computer with the needle nose tweezers.

    • Ensure the laptop is turned off.

  2. JkJfQlpTYXLw5EOU
    JkJfQlpTYXLw5EOU
    MiWUBuWo16BxBeqV
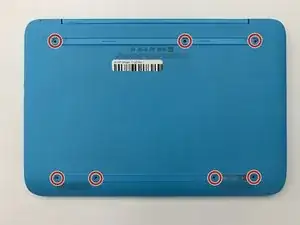
    • Unscrew the seven 0.4mm screws on the backside of the laptop with the Phillips #0 Screwdriver.

  3. GA1XAUdKeZ2JirQS
    GA1XAUdKeZ2JirQS
    BvhIOvdidllydcew
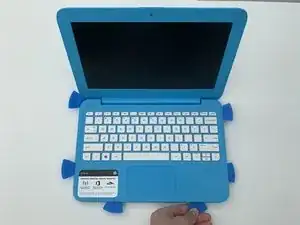
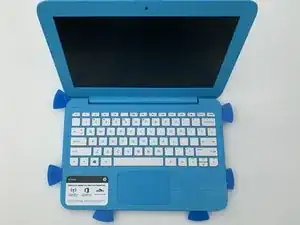
    • Take the opening picks and push them into the seam between the keyboard and the laptop casing.

    • Go all the way around the laptop.

  4. Ehc1phcUgaxaCaSx
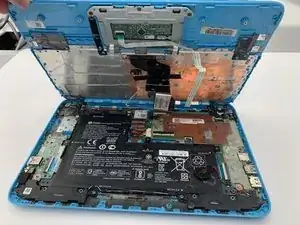
    • Once the cover is loose enough, lift the keyboard up to expose the wiring beneath.

    • Be careful not to pull too hard or fast as there are ribbon cables attached to the keyboard and trackpad.

  5. JFpLR5NWLE2QOyo5
    JFpLR5NWLE2QOyo5
    YpFJgQVuGvvFP6s4
    ABfRqahpqarAqBNP
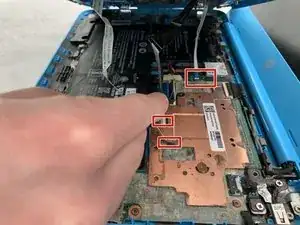
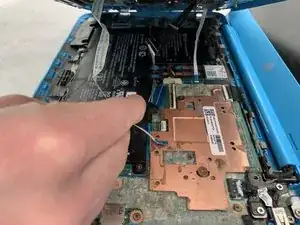
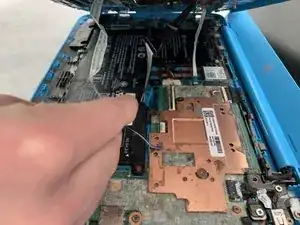
    • Disconnect the three cables by lifting up on the locking tab of the ZIF connector and pulling the cables out with the needle nose tweezers.

    • Remove the keyboard.

  6. sEmOMYZqIS2cXfSe
    sEmOMYZqIS2cXfSe
    SCDRyoBvmITjkeZu
    BJweKZAooumlCvZV
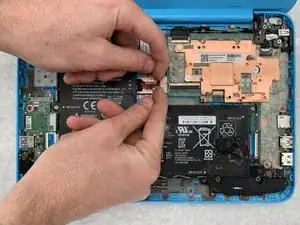
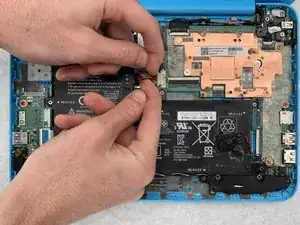
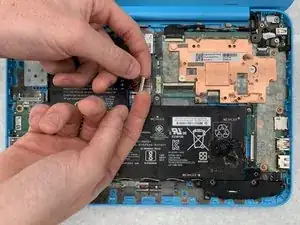
    • Using your fingers or a spudger, pull the battery cable from its connector to disconnect power from the motherboard.

  7. PPnCwS3oQ6fvi1gp
    PPnCwS3oQ6fvi1gp
    aJY2NpnmikenDWLq
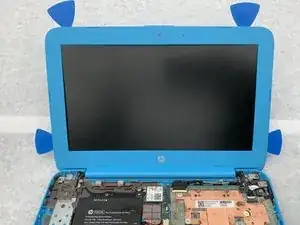
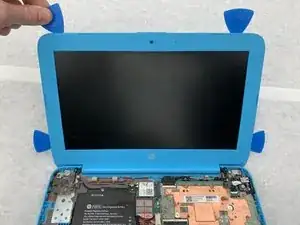
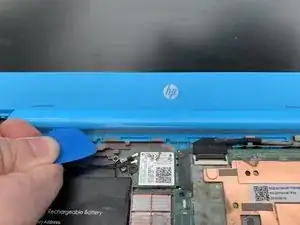
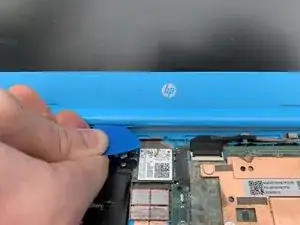
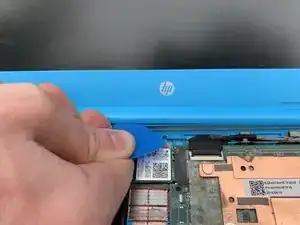
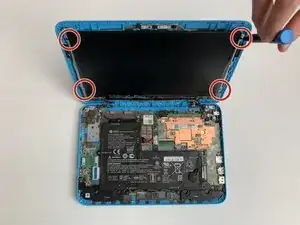
    • Insert iFixit opening picks into the edges of the screen to break the seal between the screen and bezel.

    Be sure to use the iFixit designated name for this tool. Do you have pictures of you peeling the hinge up?

    Alex Watkins -

    I believe that you are missing your prerequisite steps, such as how you removed the keyboard.

    Kaylie Smith -

  8. SCZoBL2K6VHG1ebb
    SCZoBL2K6VHG1ebb
    YblJDgDpnFXBIMXT
    LWpCEQaEb3xV4XZj
    • Peel the hinge up by sliding iFixit opening picks left to right along the hinge.

  9. vF1PLxIDN1jY4eiQ
    vF1PLxIDN1jY4eiQ
    vBvZ6QRAT4AmP5dD
    EsZAf6Ad14vhmnCM
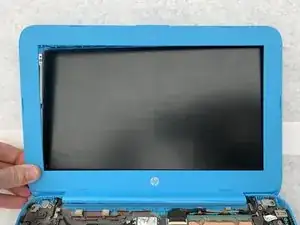
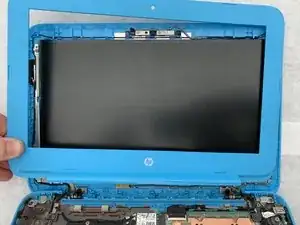
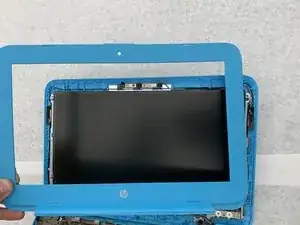
    • Remove the bezel by pulling upwards on the left bottom corner.

    How can I remove it? Clarify guide text and pictures. Be sure to proofread all guide steps for end punctuation.

    Alex Watkins -

    This is a weird angle for this step… Perhaps focus more on the actual removal of the plastic frame? Also, what plastic frame are you talking about?

    Kaylie Smith -

  10. KbeXKrCwx3W1GqcX
    KbeXKrCwx3W1GqcX
    Ni1LyEpwn1fWgYiO
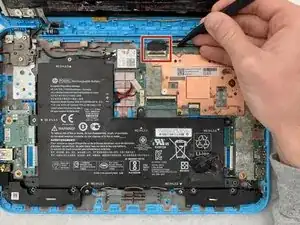
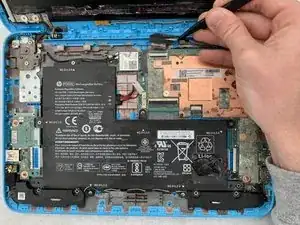
    • Disconnect the screen from the motherboard by pulling the display cable from its connector.

    Make sure to remove the battery from these and subsequent shots. When you retake, I would also zoom in focus more so it’s easier to see the cable being disconnected.

    Alex Watkins -

  11. XT4baqemtyRJ46k5
    • Unscrew the four 0.4mm screws surrounding the display using a Phillips #00 screwdriver.

  12. VexVhGTro4TQBtUF
    VexVhGTro4TQBtUF
    DODsYRMkPmGlYXHb
    UTPXkC4bEAXNnuyV
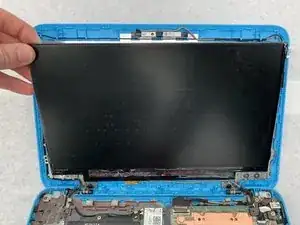
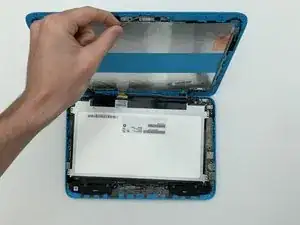
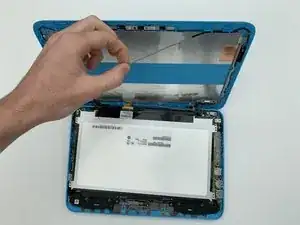
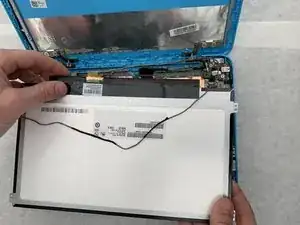
    • Gently remove the screen from its holding and lay the screen down on the keyboard. It is still attached to the computer.

    I need additional images here to understand what you’re asking for. Also, note the heavy shadowing on this image.

    Alex Watkins -

  13. KMNkbeAD14SkIBCT
    KMNkbeAD14SkIBCT
    DGKbxVfXv2gQdEwe
    NyIZRcg3CFJpiZDe
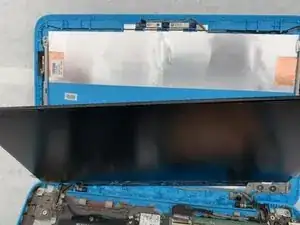
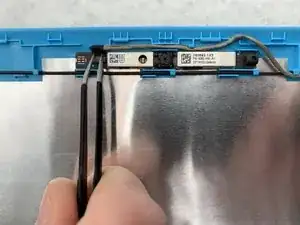
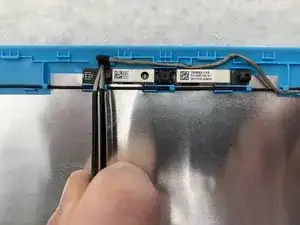
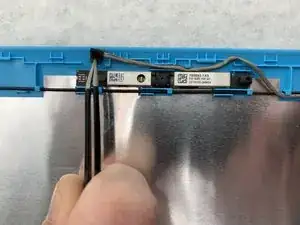
    • Take the tweezers and push up on the small connector to the left of the webcam.

    What is the small black piece called? Can you get pictures where it is more in focus of the camera, instead of almost off screen?

    Alex Watkins -

  14. o6ahPr2QYC1kXqbj
    o6ahPr2QYC1kXqbj
    uD1Zlg6kbORNr1c1
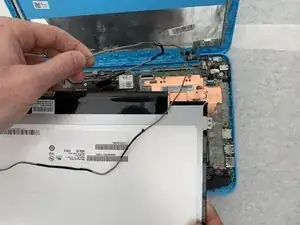
    • Gently pull the cord out from around the screen area.

    I would separate the cord out, since you indicated this was a challenging process. Then, make a new step and take pictures of how to remove the screen.

    Alex Watkins -

  15. 4jmgiUZ2BQqPUnnS
    4jmgiUZ2BQqPUnnS
    clPkNFfwIKrjPoTA
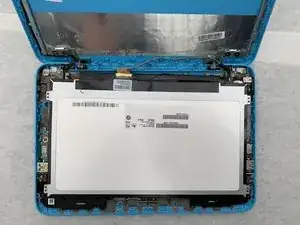
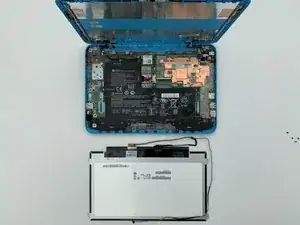
    • Remove the screen with the display cable attached.

Abschluss

To reassemble your device, follow these instructions in reverse order.
Adam Sitzmann

Mitglied seit: 26/01/20

914 Reputation

0 Kommentare