Einleitung

Is your HP Stream 11-y010nr WiFi malfunctioning? Do you need to replace your WiFi card? First, ensure that the issue is not one of the common problems that can be resolved quickly by checking the troubleshooting page here: [ HP Stream 11-y010nr Troubleshooting | HP Stream 11-y010nr Troubleshooting]

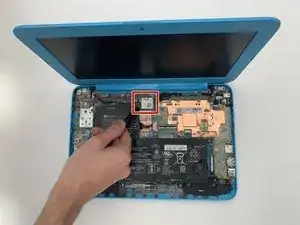
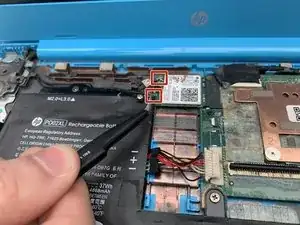
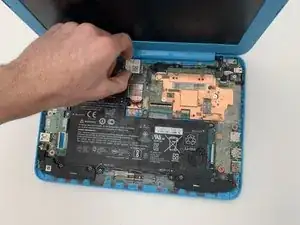
This guide will take you through the process of getting to the WiFi card, removing it, replacing it and getting it back to how it was. When you are removing the WiFi card remember the placement of the wires as it is important for the operation of the WiFi card.

Prior to starting, ensure the laptop is powered off and is not going to interfere with the process.

  1. PYirvOgSBpiECY32
    PYirvOgSBpiECY32
    OFTPgIrePXHxyC4b
    M2s6D1bMLqQwamoD
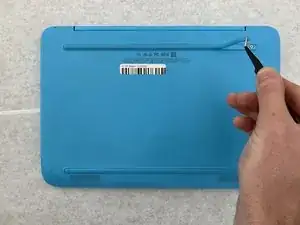
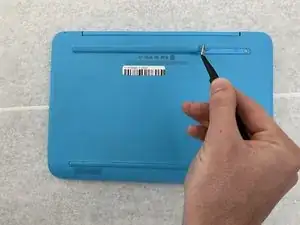
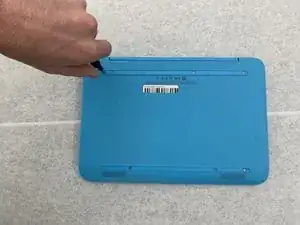
    • Gently peel back the two rubber strips that cover the screws on backside of the computer with the needle nose tweezers.

    • Ensure the laptop is turned off.

  2. JkJfQlpTYXLw5EOU
    JkJfQlpTYXLw5EOU
    MiWUBuWo16BxBeqV
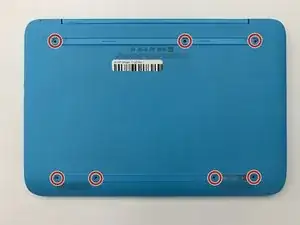
    • Unscrew the seven 0.4mm screws on the backside of the laptop with the Phillips #0 Screwdriver.

  3. GA1XAUdKeZ2JirQS
    GA1XAUdKeZ2JirQS
    BvhIOvdidllydcew
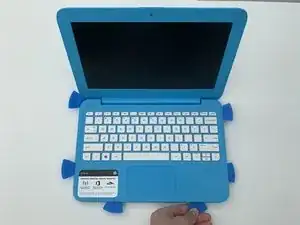
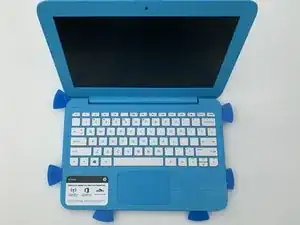
    • Take the opening picks and push them into the seam between the keyboard and the laptop casing.

    • Go all the way around the laptop.

  4. Ehc1phcUgaxaCaSx
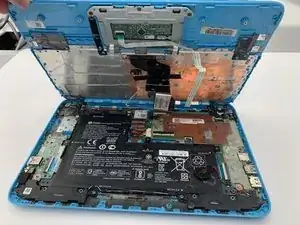
    • Once the cover is loose enough, lift the keyboard up to expose the wiring beneath.

    • Be careful not to pull too hard or fast as there are ribbon cables attached to the keyboard and trackpad.

  5. JFpLR5NWLE2QOyo5
    JFpLR5NWLE2QOyo5
    YpFJgQVuGvvFP6s4
    ABfRqahpqarAqBNP
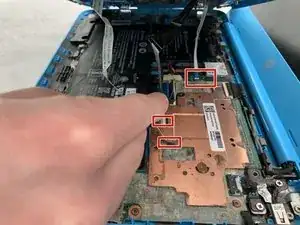
    • Disconnect the three cables by lifting up on the locking tab of the ZIF connector and pulling the cables out with the needle nose tweezers.

    • Remove the keyboard.

  6. IoxdCJM5RhKT5MLs
    IoxdCJM5RhKT5MLs
    PDuFDayj3ec1vNpQ
    RSRRDZGugNitkAAP
    • Use your fingers or a spudger to pull the battery cable out from its connector.

  7. mvOgeOFOdirACR1H
    mvOgeOFOdirACR1H
    RJOcRAJVZ4jhtUxG
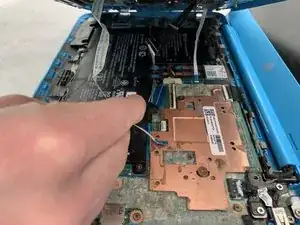
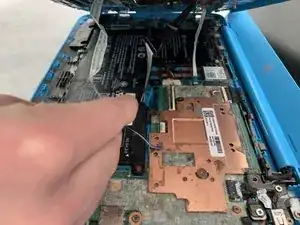
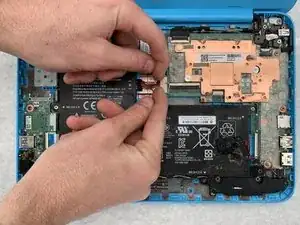
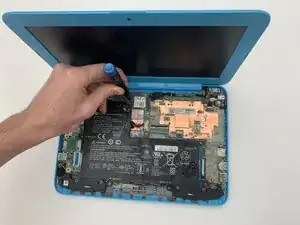
    • Gently pry up the two coaxial cables from the WiFi card with the needle nose tweezers.

    I would put the red markup on the first shot. In the last shot, you’re using your hands, not the tweezer. Is this required procedure?

    Alex Watkins -

  8. hZKNLrPDTWT2GRWK
    hZKNLrPDTWT2GRWK
    CqSTfbeKsREMwQao
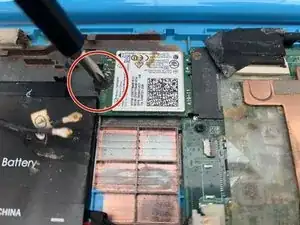
    • Unscrew the 0.3mm screw on the WiFi card with the Phillips #1 screwdriver.

    Make sure to add in all screw measurements. I’m not making this comment anymore, but you’ll need to check in each guide.

    Alex Watkins -

  9. C1YiFJTKVhZK2qMX
    C1YiFJTKVhZK2qMX
    B4tXyfCC5TnVqqKM
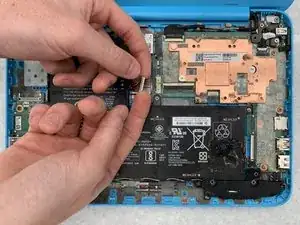
    • Gently pull the WiFi card out leftwards.

    This is a great example of the flipbook styles I mentioned in previous comments.

    Alex Watkins -

Abschluss

To reassemble your device, follow these instructions in reverse order. Make sure that you put the wires on the Wifi card to the correct location. Each of the cables are numbered with the wifi card having the numbers next to each plug.
Adam Sitzmann

Mitglied seit: 26/01/20

914 Reputation

0 Kommentare