Einleitung
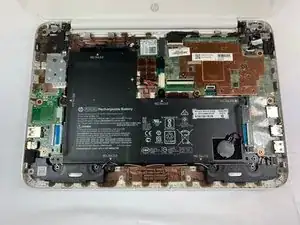
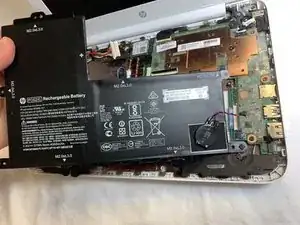
If you are having problems turning on your laptop or keeping a charge you may need to replace the battery of your device. Be careful while following the guide to replace the battery, especially while unscrewing the screws and removing the keyboard. You may accidentally power on the device.
Werkzeuge
-
-
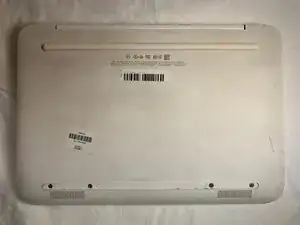
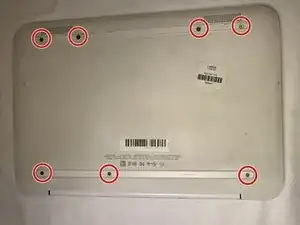
Turn the laptop over to access the lower case.
-
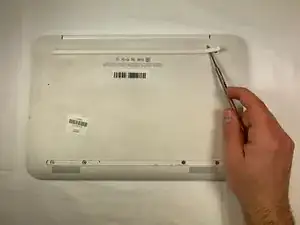
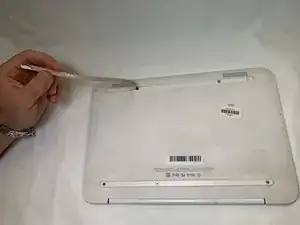
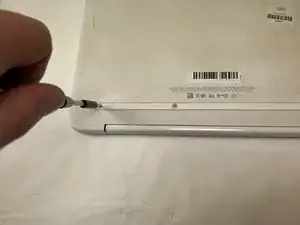
Using a metal spudger, remove the two horizontal screw covers.
-
-
-
Turn the laptop upright and lift the screen.
-
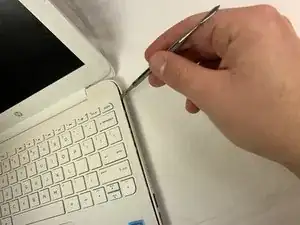
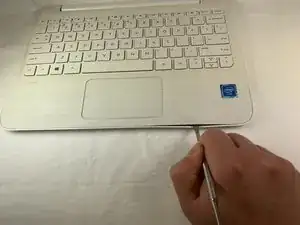
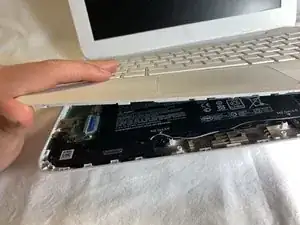
Use the metal spudger to carefully pry the plastic keyboard from the base of the laptop.
-
Work the spudger carefully and slowly around the cover to release the clips holding it together. Be patient since there are a lot of clips attaching the laptop base to the keyboard.
-
Gently lift up the keyboard.
-
-
-
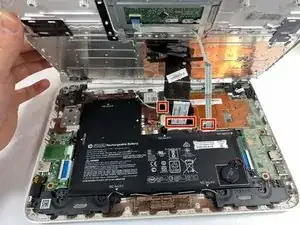
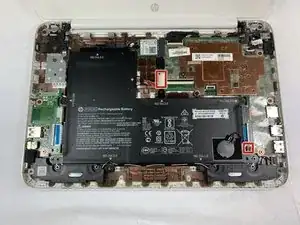
Using tweezers, unplug the three cables attached to the keyboard. To do so you will find where the wires end (the three red marks). Use tweezers or your fingers to pinch the plastic piece holding the wires, and gently pull the piece out. After that it should disconnect.
-
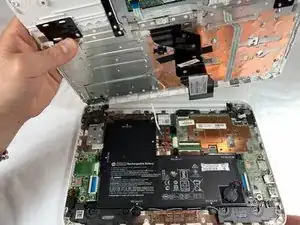
Lift up the plastic keyboard cover.
-
-
-
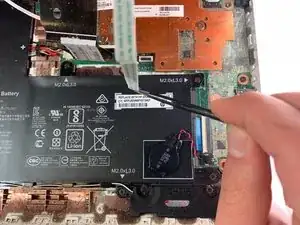
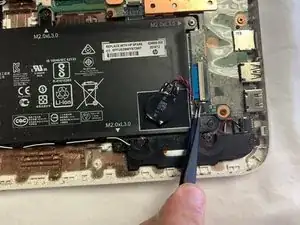
Using tweezers or a plastic spudger, disconnect the two bundled cable connectors connecting the battery to the motherboard.
-
To reassemble your device, follow these instructions in reverse order.
