Einleitung
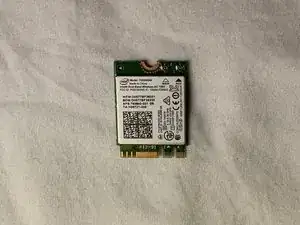
Has your WiFi stopped working all together and no amount of troubleshooting, software changes, or driver installations has fixed the issue? It most likely at this point is a faulty hardware issue. In this guide we will show you how to replace the WiFi card altogether. Follow the guide carefully and slowly to be sure of no mistakes or errors to prevent further problems.
Werkzeuge
-
-
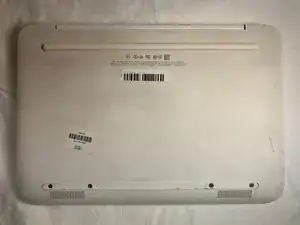
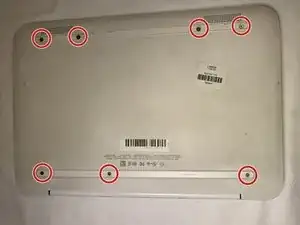
Turn the laptop over to access lower case.
-
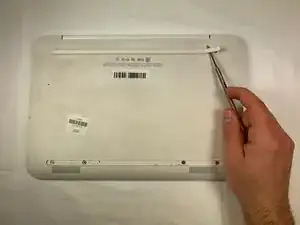
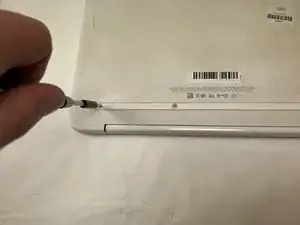
Using a metal spudger, remove the two horizontal screw covers.
-
-
-
Turn the laptop upright and lift the screen.
-
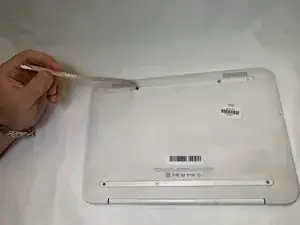
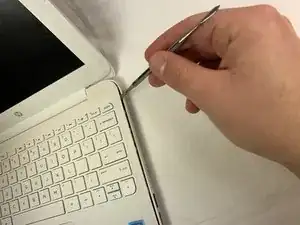
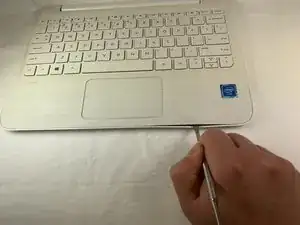
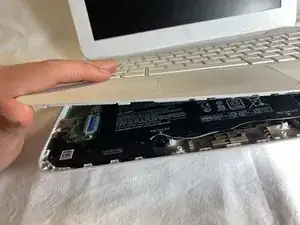
Use metal spudger to carefully pry the plastic keyboard from the base of the laptop.
-
Work the spudger carefully and slowly around the cover to release the clips holding it together. Be sure to be patient since there are a lot of clips attaching the laptop base to the keyboard.
-
Gently lift up the keyboard.
-
-
-
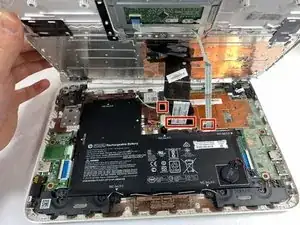
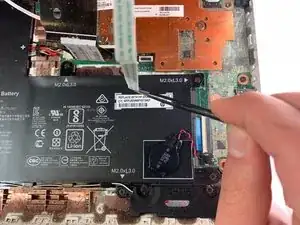
Using tweezers, unplug the three cables attached to the keyboard. To do so you will find where the wires end (the three red marks). The next step is to use tweezers or your fingers to pinch the plastic piece holding the wires, and gently pull the piece out. After that it should disconnect.
-
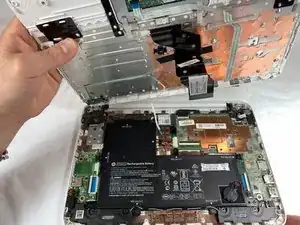
Remove the plastic keyboard cover.
-
-
-
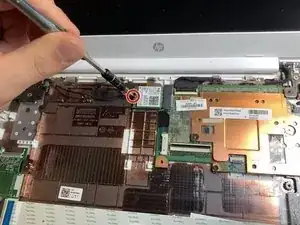
Remove the one 3.3mm Phillips #000 screw near the WiFi card.
-
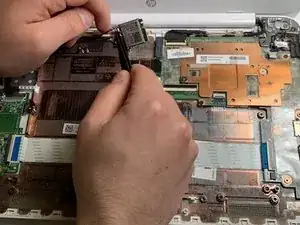
Gently lift the WiFi card up.
-
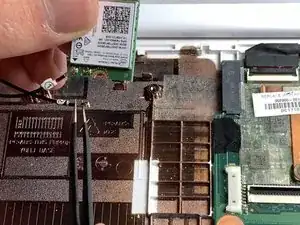
Using tweezers, carefully disconnect the two wires from the WiFi card.
-
To reassemble your device, follow these instructions in reverse order.
Ein Kommentar
Can you put the rubber feet back on after you take them off?
