Einleitung

  1. luqm6GgKOFtSMCH5
    luqm6GgKOFtSMCH5
    XlMkVujwXnvRe5gi
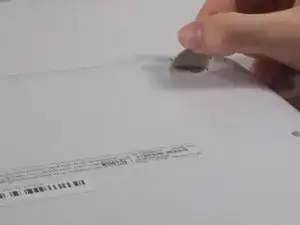
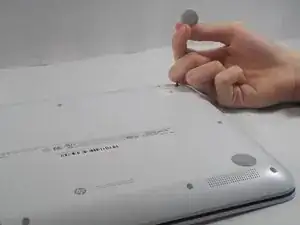
    • Orient the laptop to have the back cover facing upwards.

    • Remove the four rubber pads located in each corner.

  2. PIqNUrd2nfkUmuLR
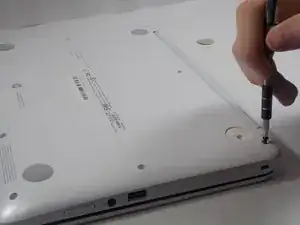
    • Tool required: JIS #1 Screwdriver

    • Using the screwdriver, remove all of the exposed screws.

  3. PhKC1LCWdUEighNi
    PhKC1LCWdUEighNi
    YgYDgecLr1h3J2jJ
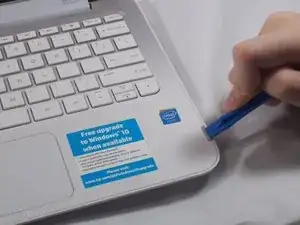
    • Tool required: iFixit opening tool

    • Open the laptop and orient the keyboard facing upward.

    • Slowly wedge the opening tool into the gap between the keyboard and the back cover.

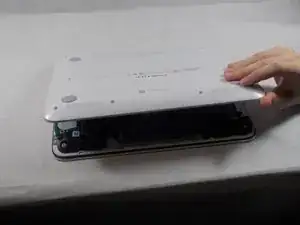
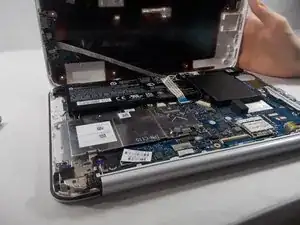
    • After loosening the back cover, close the laptop and orient the back cover facing upward. Open the cover.

  4. 2OQAWqospU3NPuIM
    2OQAWqospU3NPuIM
    CFPwb6JdOsF2ZRjL
    • This is a good time to clean any accumulated dust or debris. Use this link on tips for cleaning.

    • Tool required: Tweezers

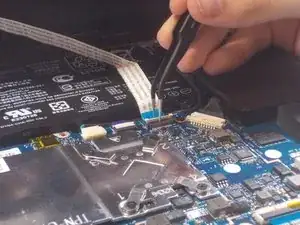
    • Carefully use tweezers to remove the audio jack connector from the motherboard.

  5. Csf64JqYxRLW5LiV
    Csf64JqYxRLW5LiV
    LHuTVQWURPtglca5
    Y3LF2VlGWaVNEEmu
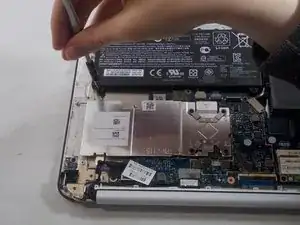
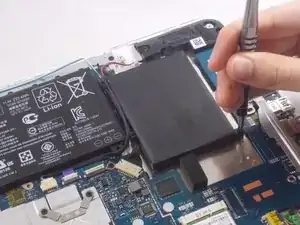
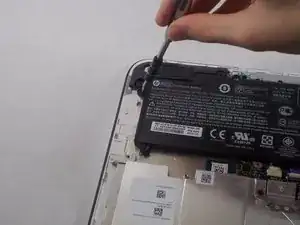
    • Use the JIS J1 screwdriver to remove the 6.5 mm screws surrounding the battery.

  6. 3cWofvifiVHyLxt2
    3cWofvifiVHyLxt2
    Eq2qkghIZkJE3XVs
    PqtCMqhsguHYI6VI
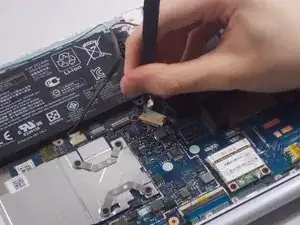
    • Using the iFixit tweezers, remove the cable connecting the battery to the motherboard.

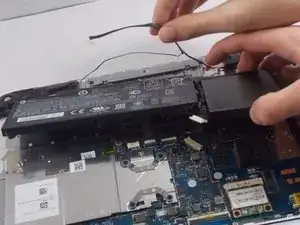
    • Remove the wire located on the top side of the battery.

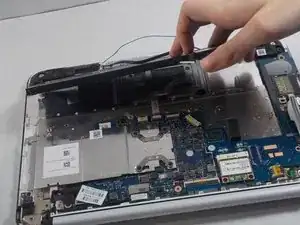
    • All connections should be removed. Simply remove the battery from the computer.

Abschluss

To reassemble your device, follow these instructions in reverse order.
DaisyHaskell

Mitglied seit: 15/10/18

683 Reputation

0 Kommentare