Einleitung

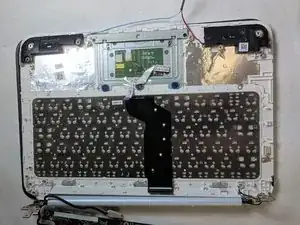
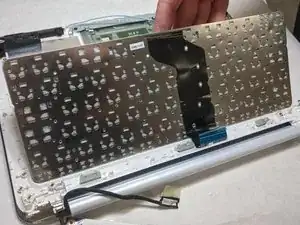
If your keyboard has become damaged or broken, this guide will walk you through the steps of replacing the keyboard in an HP Stream x360 11-p015wm. Follow along, step-by-step to safely remove your keyboard and then follow the instruction in reverse to reassemble your laptop with its new keyboard! Be sure to back-up your files before undergoing this repair.

  1. luqm6GgKOFtSMCH5
    luqm6GgKOFtSMCH5
    XlMkVujwXnvRe5gi
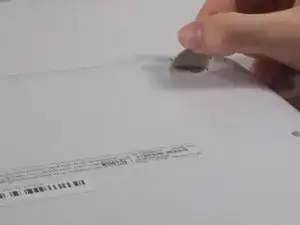
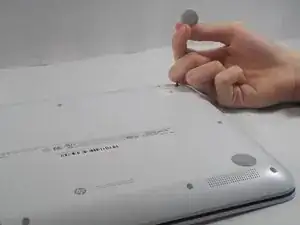
    • Orient the laptop to have the back cover facing upwards.

    • Remove the four rubber pads located in each corner.

  2. PIqNUrd2nfkUmuLR
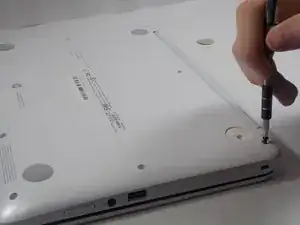
    • Tool required: JIS #1 Screwdriver

    • Using the screwdriver, remove all of the exposed screws.

  3. PhKC1LCWdUEighNi
    PhKC1LCWdUEighNi
    YgYDgecLr1h3J2jJ
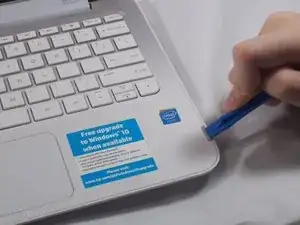
    • Tool required: iFixit opening tool

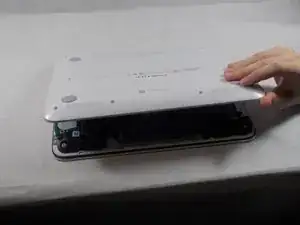
    • Open the laptop and orient the keyboard facing upward.

    • Slowly wedge the opening tool into the gap between the keyboard and the back cover.

    • After loosening the back cover, close the laptop and orient the back cover facing upward. Open the cover.

  4. 2OQAWqospU3NPuIM
    2OQAWqospU3NPuIM
    CFPwb6JdOsF2ZRjL
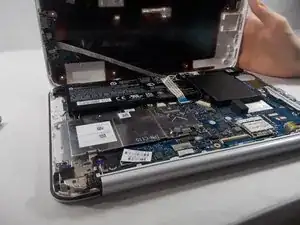
    • This is a good time to clean any accumulated dust or debris. Use this link on tips for cleaning.

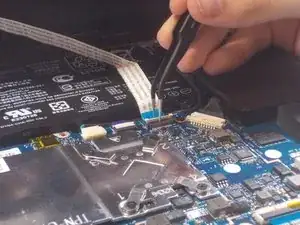
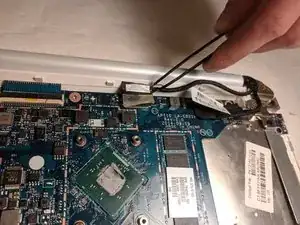
    • Tool required: Tweezers

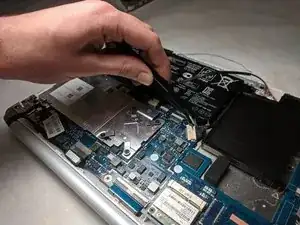
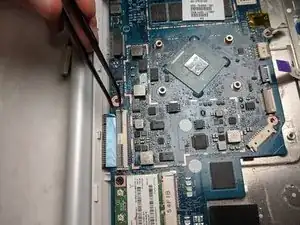
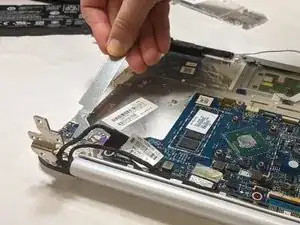
    • Carefully use tweezers to remove the audio jack connector from the motherboard.

  5. LpUMUDCPNTvFUwIU
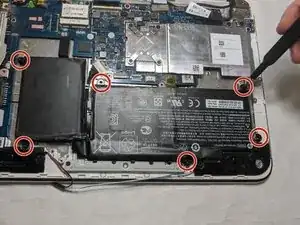
    • Remove the six 6.5 mm Phillips head screws from the battery using the JIS #00 screwdriver.

  6. fS6CtRSvRSsEsEUi
    fS6CtRSvRSsEsEUi
    6tMIWNkGiM6RVlRM
    x4CsxOvvxVddevPO
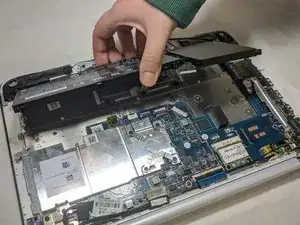
    • Unplug the wire attaching to the battery to the motherboard using the tweezers.

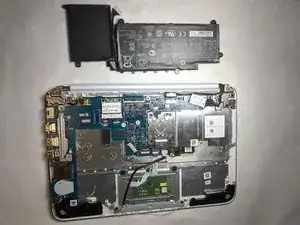
    • Remove the battery.

  7. HvKULrFQHFseLhKa
    HvKULrFQHFseLhKa
    NPEZ1LejXNCbnThu
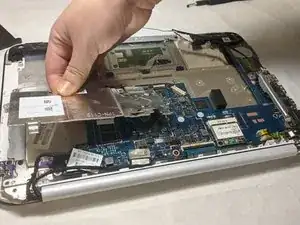
    • Remove the six 3.5 mm screws from the silver plate cover with screwdriver JIS #00.

    • Remove the silver plate cover.

  8. HNH5KBoQGeyjrY5E
    HNH5KBoQGeyjrY5E
    wSZNwKyxJQuYRUVQ
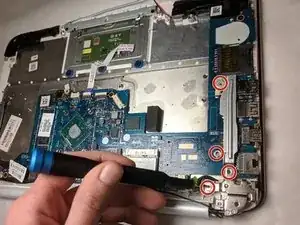
    • Remove the four 3.5 mm screws from the metal arm using the JIS #00 screwdriver.

  9. l2Y32VdSUpi1MC6V
    l2Y32VdSUpi1MC6V
    XSrFYkKdSfb1s3qj
    VMDMZapByWLNlsRT
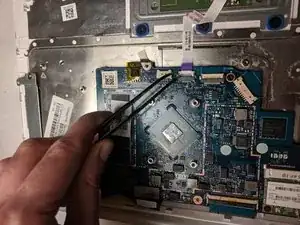
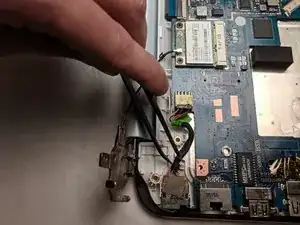
    • Detach all remaining wires from the motherboard using the tweezers.

  10. ltW1tUPJQmeAgiVv
    ltW1tUPJQmeAgiVv
    DODPLeOGLNImoEjt
    • Detach all remaining wires from the motherboard using the tweezers.

  11. Cawhki2TW2TeyuV1
    Cawhki2TW2TeyuV1
    ZpRMsLMvYM44AMvW
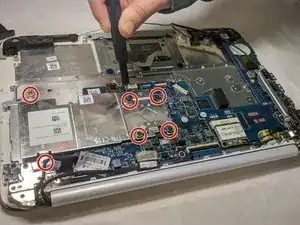
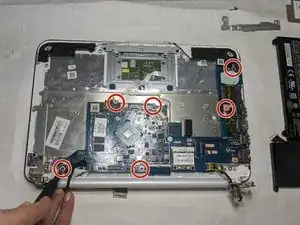
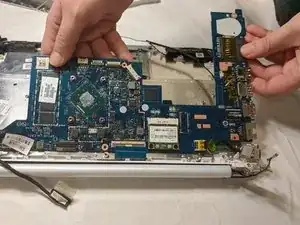
    • Remove the six 3.5 mm screws from the motherboard using the JIS #00 screwdriver.

    • Remove the motherboard.

  12. ZbmTKsiLfSeQbAjK
    ZbmTKsiLfSeQbAjK
    UrvlNntfxOgGNGZg
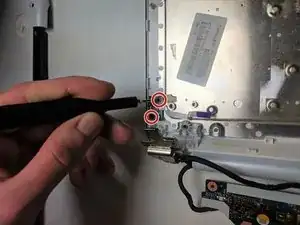
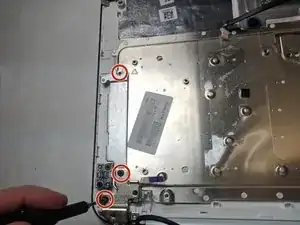
    • Remove the three 6.5 mm screws from the second screen hinge and metal arm using the JIS #00 screwdriver.

    • Remove the metal bracket.

  13. YYu1FYt3sjEsFRNc
    • Remove the two 3.5 mm screws from the small sideboard using the JIS #00 screwdriver.

  14. ZFPFXfFpn1irCajR
    ZFPFXfFpn1irCajR
    IJ6b3WmbXnKr3qny
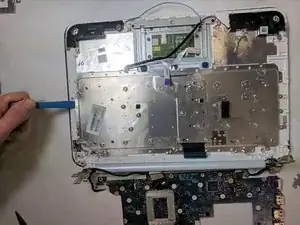
    • Use the blue plastic opening tool to pry up the silver keyboard cover.

    • Remove the keyboard cover.

  15. FbDuygiGA4y4qt5s
    FbDuygiGA4y4qt5s
    lRVtskgPwYJ2cG6C
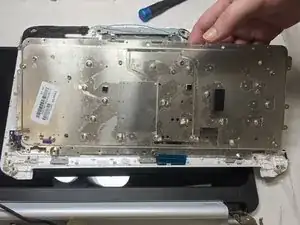
    • Remove the keyboard.

Abschluss

To reassemble your device, follow these instructions in reverse order.
Megan Waxman

Mitglied seit: 11/11/19

139 Reputation

0 Kommentare