Einleitung
Prerequisite only.
Werkzeuge
-
-
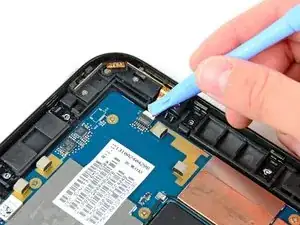
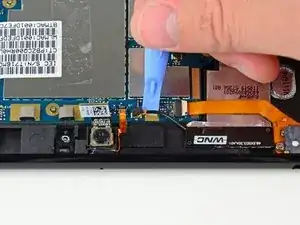
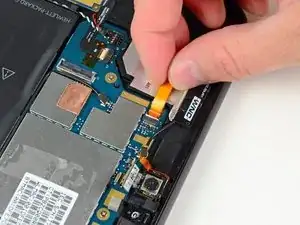
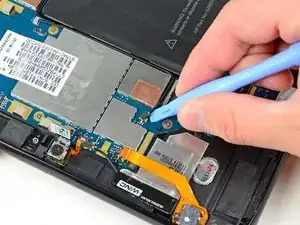
Use the edge of a plastic opening tool to flip up the retaining flap on the volume control/power button ribbon cable socket.
-
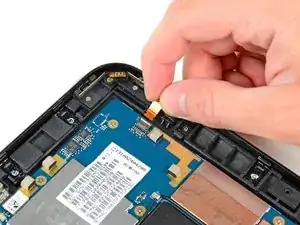
Pull the cable out of its socket.
-
-
-
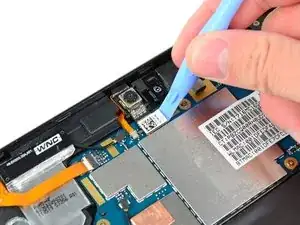
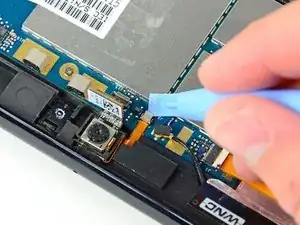
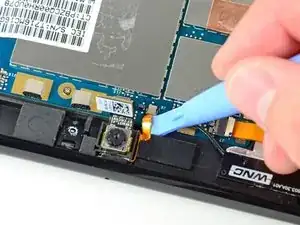
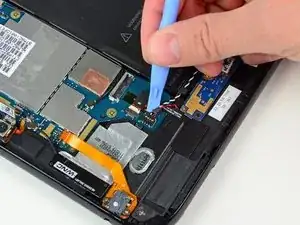
Use a plastic opening tool to lift the camera connector up and out of its socket on the motherboard.
-
Bend the camera cable away from the motherboard.
-
-
-
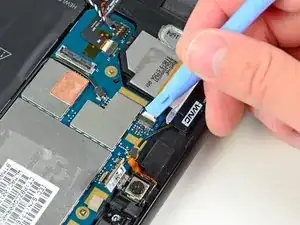
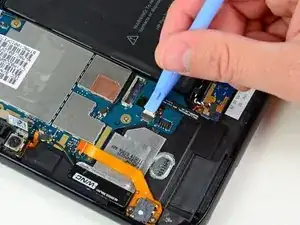
Carefully flip up the retaining flap on the microphone cable socket.
-
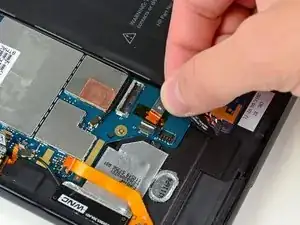
Pull the microphone cable out of its socket.
-
-
-
Use your plastic opening tool to pry the upper antenna connector up from its socket on the motherboard.
-
-
-
Pry up the retaining flap on the headphone jack ribbon cable socket.
-
Pull the headphone jack ribbon cable out of its socket.
-
-
-
Use a plastic opening tool to flip up the retaining flap on the digitizer board ribbon cable socket.
-
Pull the digitizer ribbon cable out of its socket.
-
-
-
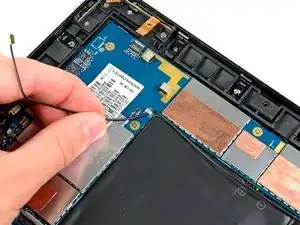
De-route the lower antenna cable along the top edge of the battery and carefully pull it out from under its retaining clip near the top right corner of the battery.
-
-
-
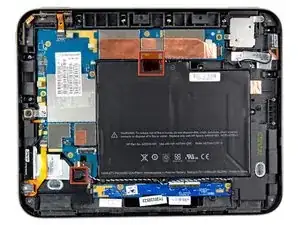
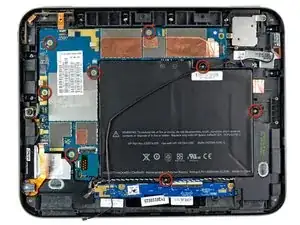
Remove the eight 3.2 mm Phillips screws securing both the battery and the motherboard to the rear case.
-
-
-
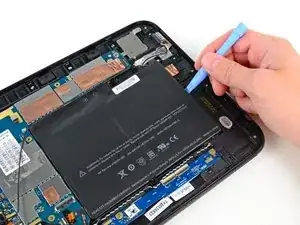
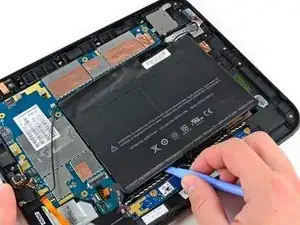
Use a plastic opening tool to pry the battery up from the tape securing it to the rear case.
-
-
-
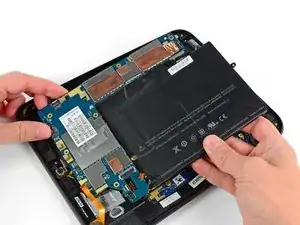
Lift the motherboard assembly out of the rear case, minding any cables that may get caught.
-
-
-
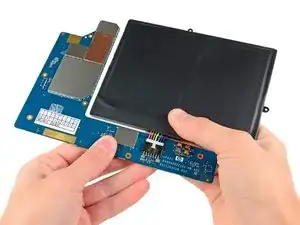
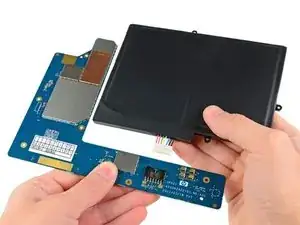
Carefully pull the battery away from the L-shaped motherboard to disconnect its cable.
-
Remove the battery from the motherboard.
-
To reassemble your device, follow these instructions in reverse order.
