Einleitung

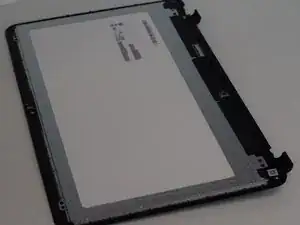
Use this guide to lead in the replacement of your HP TouchSmart 15 screen.

  1. QYtgoBsIaIdRUGCb
    QYtgoBsIaIdRUGCb
    EbPgQQZmWsM4v4Q5
    llRL6v1GAfngwVsb
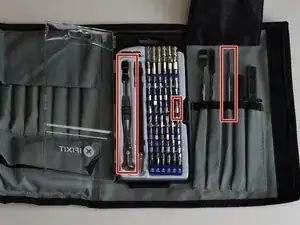
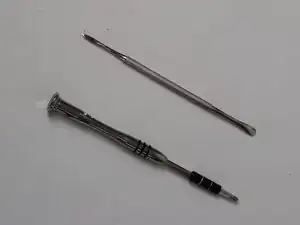
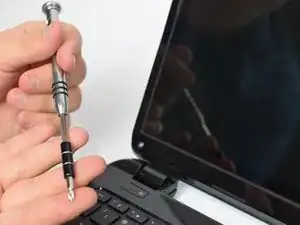
    • Acquire the metal spudger and a Precision Magnetized Driver with J1 size bit.

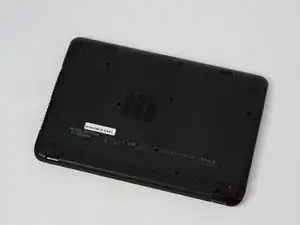
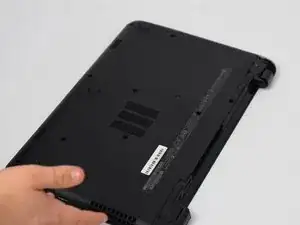
    • Flip your HP TouchSmart 15 over.

  2. soAnp5VNnoFkmfJJ
    soAnp5VNnoFkmfJJ
    TwdlBJpqZ65MH5PZ
    GfQZqJrS2yJikGOh
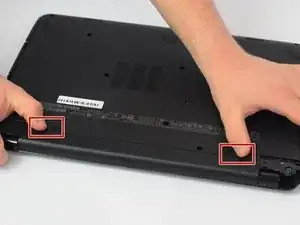
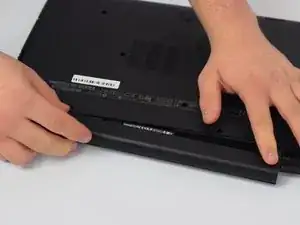
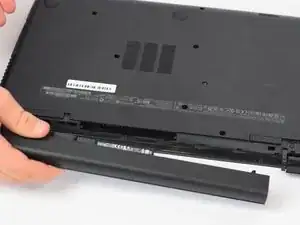
    • Locate tabs on the underside of the laptop.

    • Push both tabs towards the center of the laptop and pull away to remove battery.

  3. CY5E65MLMSx1Mmqf
    CY5E65MLMSx1Mmqf
    FNrgWpcXtENHH1hb
    b6F6Qt4J4iharvFW
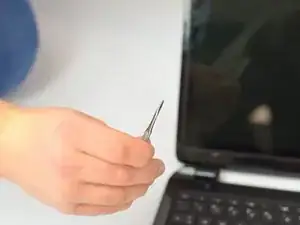
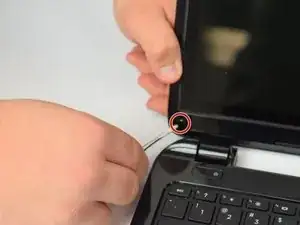
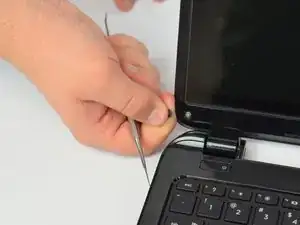
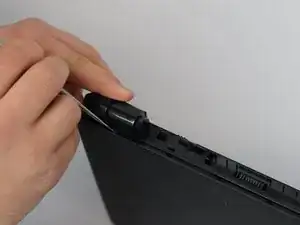
    • Take the sharp end of the pry tool and pop out the black screw cover.

    • Repeat on opposite side.

  4. EOZMM3YS1QYeusSa
    EOZMM3YS1QYeusSa
    mHVUnjtZwKNPWYIq
    pZpGr1FsGDEP2VTy
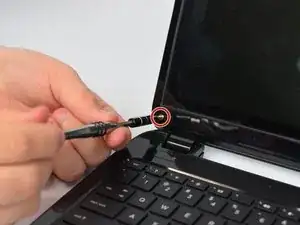
    • Take the Precision Magnetized Driver with J1 size bit and unscrew the screw.

    • Repeat on opposite side.

  5. Dk25HMYECwmSCEHi
    Dk25HMYECwmSCEHi
    evClgdxu1bPpIpNh
    J35J5tEyElZTTFPc
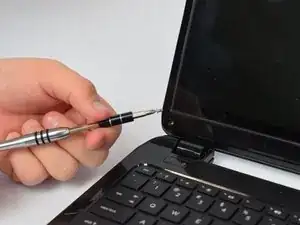
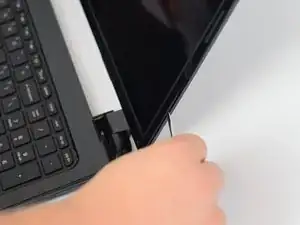
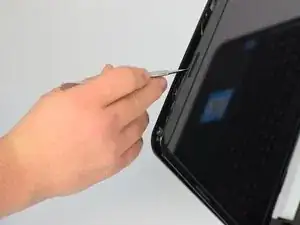
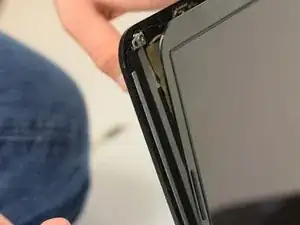
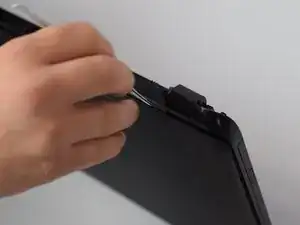
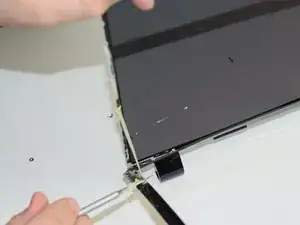
    • Using the pry tool, begin to separate the touchscreen from the plastic backing.

  6. wbiMObQwckYDXRHZ
    wbiMObQwckYDXRHZ
    wAPWTPNUlo6qMXEv
    fraQrvwRkayYEW4N
    • Close the laptop and flip it over once again.

    • Continue to pry the touchscreen from the plastic backing in the hinged area of the laptop.

  7. GLlcQZAVHSXcSKUU
    GLlcQZAVHSXcSKUU
    XIIuBurJXtbfkr6N
    BiXTKFZQOHyJ3xAl
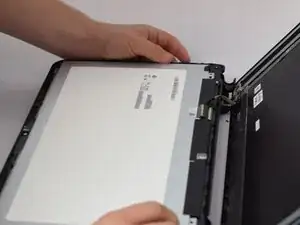
    • Flip over the laptop and open it.

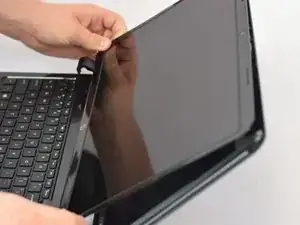
    • Pull up on the separated touchscreen while pulling it away from the plastic backing.

    • Be careful while laying down the touchscreen to not pull the connection point.

    • Lay the touchscreen on the keyboard facedown.

  8. 3KgX1sEhJUiGwKij
    3KgX1sEhJUiGwKij
    KnhcPBfH3AxVGTMD
    innKGKJ4UneZZeXL
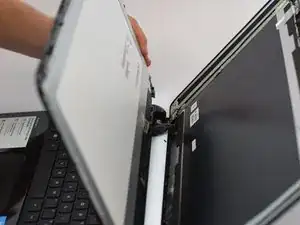
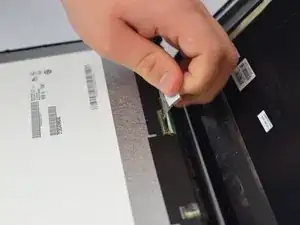
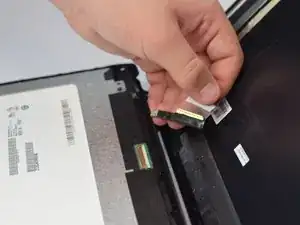
    • Locate the connection point.

    • Slowly and carefully peel off.

  9. CI2ErnZDPHLha4G2
    CI2ErnZDPHLha4G2
    qQP1xqqk6GVMM6rr
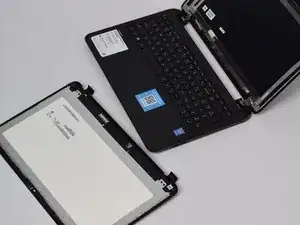
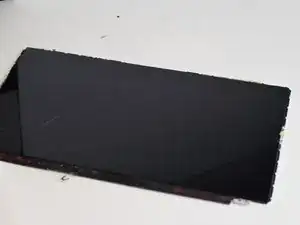
    • Isolate the touchscreen from the keyboard.

  10. eHCvjqUSutaIFGFE
    eHCvjqUSutaIFGFE
    345pCQiW1TDLeco6
    FgBO4A1ZUwPIomLJ
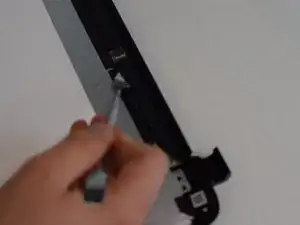
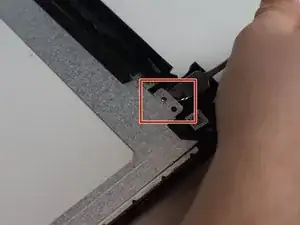
    • Begin by peeling off the black adhesive tape using the pry tool.

    • Once adhesive tape is removed, use the pry tool to remove the tab in the corner. Repeat in each corner.

  11. nIZpEGZHGhSmCAZD
    nIZpEGZHGhSmCAZD
    YxdjbJZNPqGoISSA
    OAUvVT6FsEr2XbXw
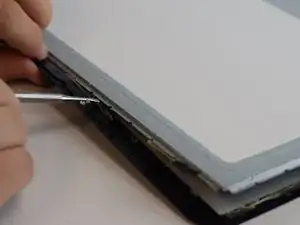
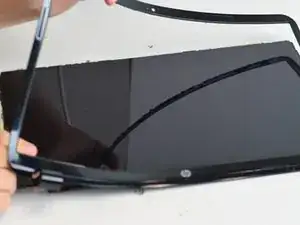
    • Using the sharp end of the pry tool, separate the plastic from the screen.

  12. vYhUcmAQXyCYJNwY
    • Now it is time to reassemble your device with a new screen.

Abschluss

To reassemble your device, follow these instructions in reverse order.

Gabriel Terrasas

Mitglied seit: 30/11/17

304 Reputation

Ein Kommentar

Amazing work. I would not change a thing.
Dan Hartzell -