Einleitung
If the CD/DVD drive on your computer is broken and needs replacing, follow this replacement guide!
Werkzeuge
-
-
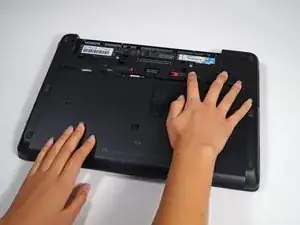
Flip the laptop over.
-
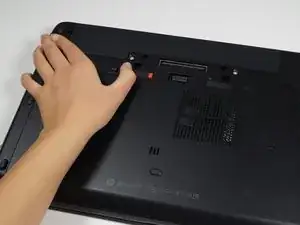
Slide the lever with the battery symbol beside it firmly until the battery pops out.
-
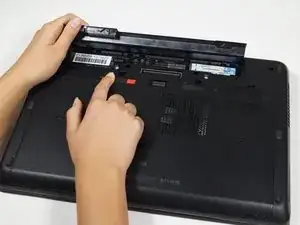
Remove the battery from the laptop.
-
-
-
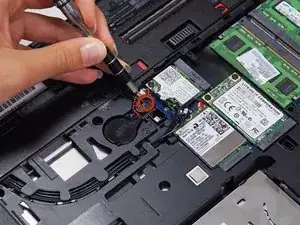
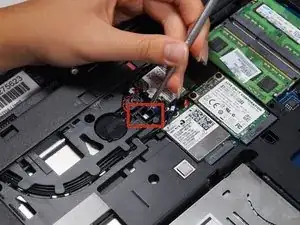
Unscrew the captive screw shown near the battery compartment with a Phillips #0 screwdriver.
-
-
-
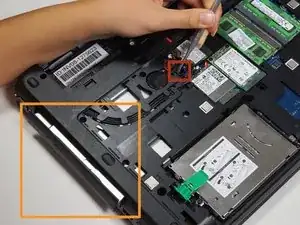
Push outward on the metal optical drive tab with a metal spudger to unlock the drive from its position in the case.
-
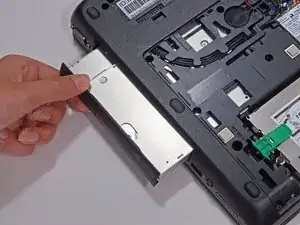
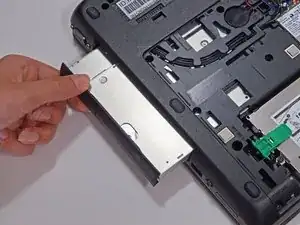
Once the drive is protruding from the side of the computer, pull it the rest of the way out.
-
To reassemble your device, follow these instructions in reverse order.
2 Kommentare
Mine won't come out and now I think my silver tab is bent. Please help me!
Sajid -
Oddly enough, mine came with no DVD drive but a blanking… thing, which seems to be a trimmed-down version of this official adapter (HP SPS 734298-001) without the electronics. I bought a cheap chinese ODD caddy, tore it down and salvaged the logic board. Luckily, I got everything lined up after a few adjustments (the chinese logic board is a bit longer than the HP one).
Now I’m rocking an extra drive bay without paying the $75 some shops ask for the official one.
I use it as swappable storage (not hot-swappable, mind you) . Very handy for doing drive imaging and cloning when working as an IT technician out in the field.
