Einleitung

The purpose of this guide is to instruct the reader on how to replace the LCD screen of their HP iPAQ H2200 device.

  1. PnVDK2Hv5WKMs4kc
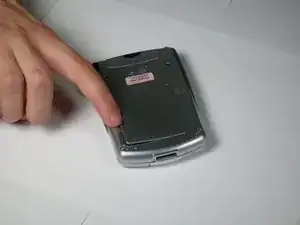
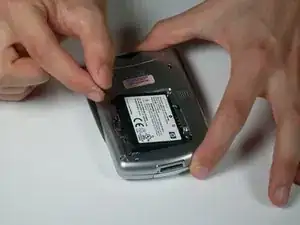
    • Press and slide the battery cover tab to remove battery cover.

  2. iNDAU2mPyVI6QHeL
    iNDAU2mPyVI6QHeL
    gd6jVAA1uXxCGb5P
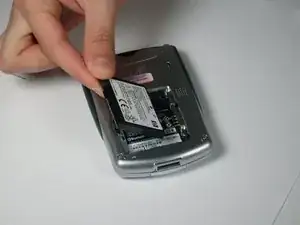
    • Pull on the black tab to lift the battery out of the battery compartment.

  3. 5RLAWONBvnEUBq3t
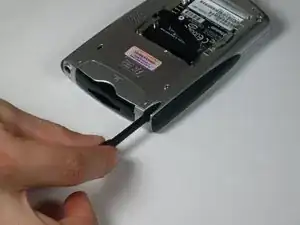
    • Remove the stylus by sliding it out of the slot.

  4. U5KZBIVRAFYBSmru
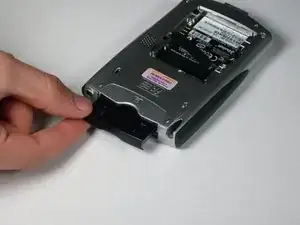
    • Remove the CF card by sliding it out of the slot at the top of the device.

  5. VFaMmZrhBNvqlVND
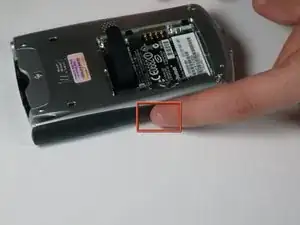
    • Press down and push the black side strips toward the top of the device to remove them.

  6. 2tMuTqwgaHg3GOIK
    2tMuTqwgaHg3GOIK
    JWQUvjCDBkKgfU2T
    OGZVM1t2STBPYARy
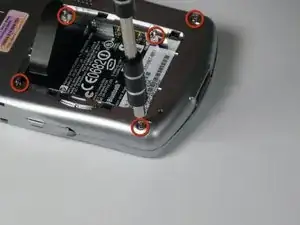
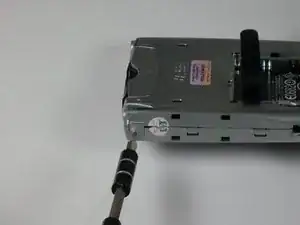
    • Using the T5 Torx screwdriver, remove all six screws on the back and all screws on each side of the device.

  7. ZaIT5jp2NgQrHRlD
    ZaIT5jp2NgQrHRlD
    JktAwnYNoV2YHkX5
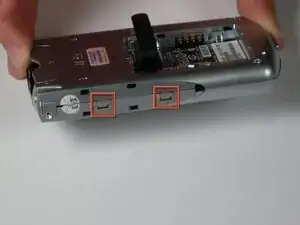
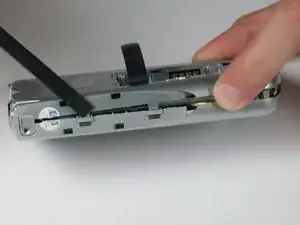
    • Remove the back faceplate by pushing and loosening the 4 side slots (2 on each side).

  8. LjQuIPC4dqAUkNIO
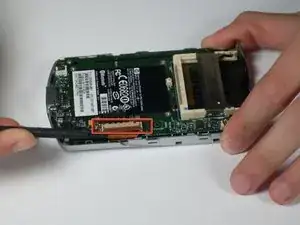
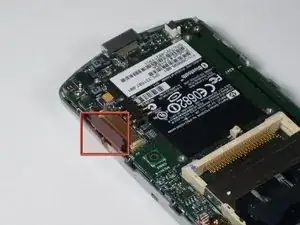
    • Open the LCD connector, where the orange strip attaches to the main board.

  9. O4FaPbNyNEdUeVEM
    • Carefully remove the orange LCD strip from the connector.

  10. oTqoQ5JSGVb2ml5F
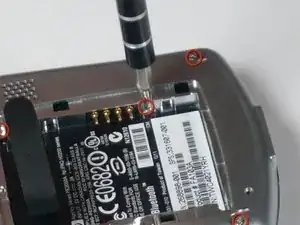
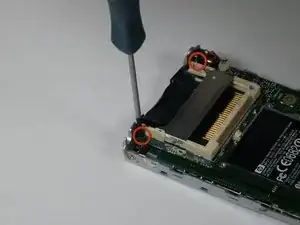
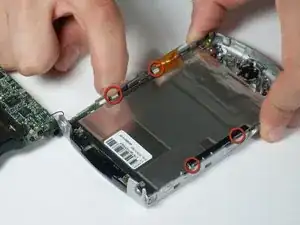
    • Unscrew the 2 screws located at each top corner of the main board.

  11. qEeBXFCdWA3HfHl3
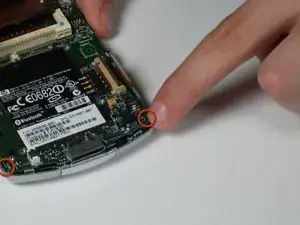
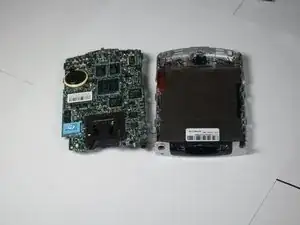
    • Remove the main board by pushing outward on the two tabs located on each side near the bottom of the device.

  12. RdNDOTTsl3XfwU6l
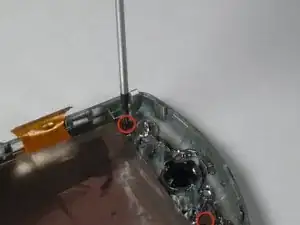
    • Unscrew the two bottom screws on LCD screen that were previously located under the main board.

  13. JBDysPUmLfIthqF4
    JBDysPUmLfIthqF4
    FHYkfSJBMLqQjI6t
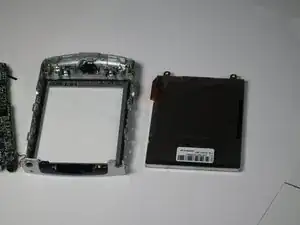
    • Press on side tabs to loosen and remove the LCD screen.

Abschluss

To reassemble your device, follow these instructions in reverse order.
Tyler Andrews

Mitglied seit: 13/01/10

209 Reputation

0 Kommentare