Einleitung

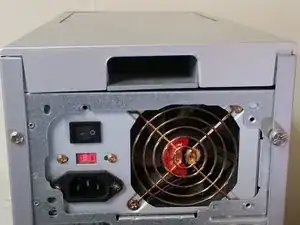
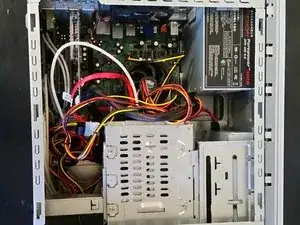
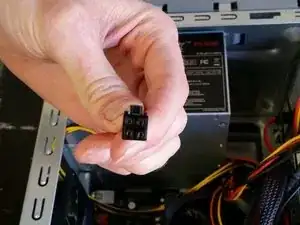
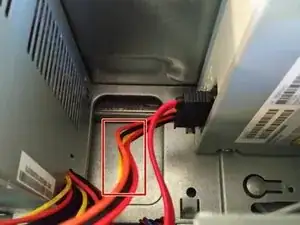
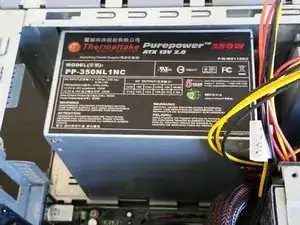
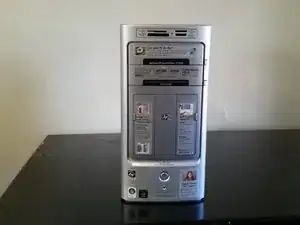
This guide will show you what needs to be removed and how to remove it in order to replace the power supply of the HP M8226x. When buying a new power supply, make sure it has both SATA port and 4-pin power connectors on it and has an output of at least 350W.

  1. FG4AQmJykIyDqwuA
    FG4AQmJykIyDqwuA
    ryQJHi2edONsKEbj
    NSMaTQuvmFyv2EYT
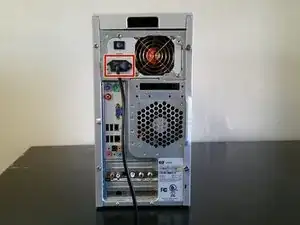
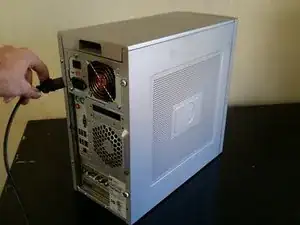
    • Turn off your computer and remove the power cord by pulling it straight out of its socket.

  2. lbpsv3BIlHvqMska
    lbpsv3BIlHvqMska
    q5gldNXenEqwGSPX
    MwpI4x1CxXlqbQgX
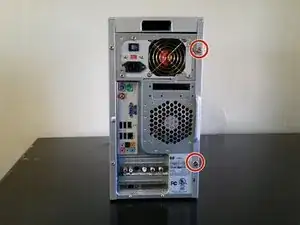
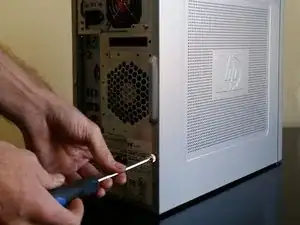
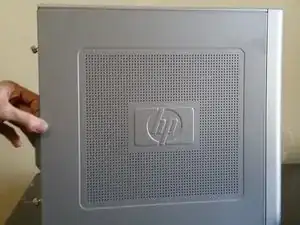
    • Remove the two screws holding the right (from the back) case door to the computer.

  3. b5QubKJJ3sjyLJZV
    b5QubKJJ3sjyLJZV
    DVlQCGCExAuiEsoC
    3qoLXdqfEXkdMkXW
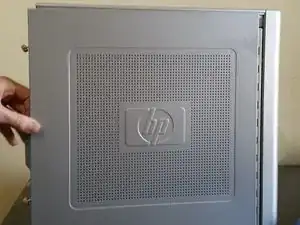
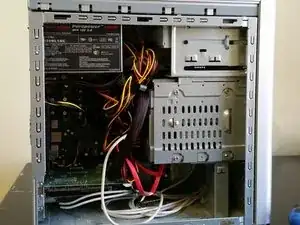
    • Remove the side case door by pulling the tab towards the back of the computer with your hand.

    • Pull the door outward to remove it.

  4. ZpdM1BfpKWQs2CLY
    ZpdM1BfpKWQs2CLY
    f12X4lFrEGFNAfOr
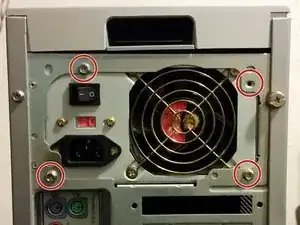
    • Remove the four screws holding in the power supply.

  5. cXCIQeW3qMXvSqUs
    • Lay the computer on its side to make it easier to remove the wiring.

  6. H2O5KFPofTRoEuoC
    H2O5KFPofTRoEuoC
    mgpAsTo3eiyXoccY
    vwLppCV2pkEfKPBB
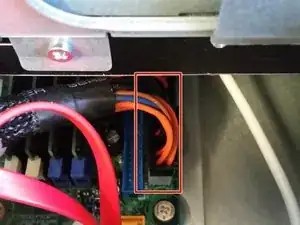
    • Remove the computer processor's power cord by pinching the clip on the connector and pulling it straight out.

  7. uORfe1oQPQnVTbkk
    uORfe1oQPQnVTbkk
    TsxT3qTOxPmFmqy1
    ASJqDD3nOQ1TqPeB
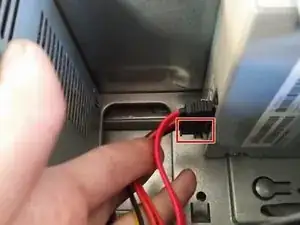
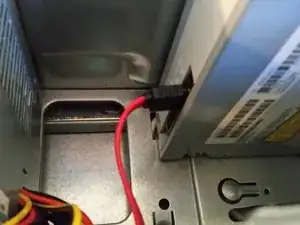
    • Remove the power cord from the optical disc drive by pulling it straight out.

  8. HTC5BXliumRjdSfC
    HTC5BXliumRjdSfC
    nDLpcqkBXHDjnexZ
    JwQ6O6kNFYwTTvRa
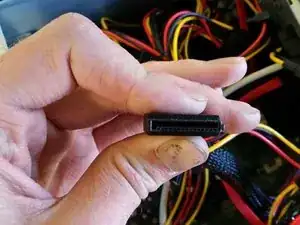
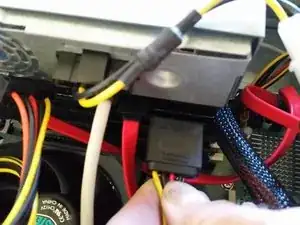
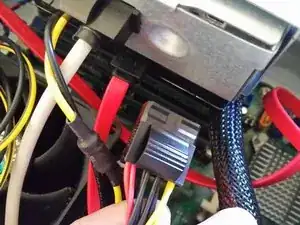
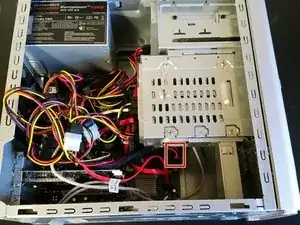
    • If the hard drive doesn't have a SATA port connector then move to step 9.

    • Disconnect the SATA port connector from the hard drive by pulling it straight out.

  9. hGpGQoHOTVwCCREs
    hGpGQoHOTVwCCREs
    gWQqFukRoDyUbYiS
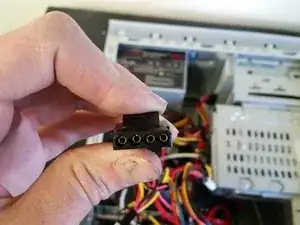
    • If the hard drive has a 4-pin Molex connector, pinch the two clips on the connector and pull it straight out to remove it.

  10. sEWKBoMRwGRKh2Sg
    sEWKBoMRwGRKh2Sg
    TwKEH1TE2MwyWT5K
    H2N3GSJAfwqidG2D
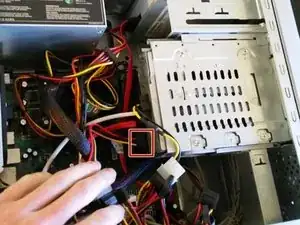
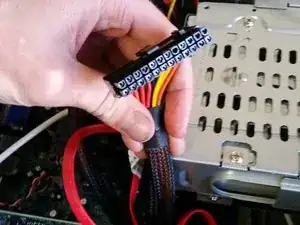
    • Remove the power to the motherboard by pinching the clip and pulling it straight out.

  11. vAEnV1URXtrPBSFC
    vAEnV1URXtrPBSFC
    PxtEdL5oO2LIdhSy
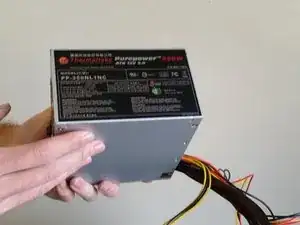
    • Remove the power supply by pushing it out from the back of the computer and lifting it out of the computer.

Abschluss

To reassemble your device, follow these instructions in reverse order.
Scott Fisher

Mitglied seit: 30/03/16

128 Reputation

0 Kommentare