Einleitung

If the front facing camera has become nonfunctional, it may be replaced. It is easy to check if the front facing camera is faulty; if the screen does not display an image when the front facing camera is activated via the camera application, then it is likely faulty and responsible. It may be replaced by following this step-by-step guide.

  1. N1sR21nRTrNyboua
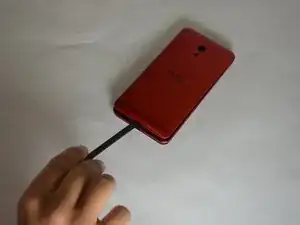
    • Use the spudger to pry the back cover off.

  2. fTaABQ4J1jRKWprX
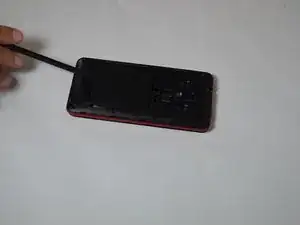
    • Use spudger tool to pry under the battery to lift it up and out.

  3. uHNqA2gjrBABLsbS
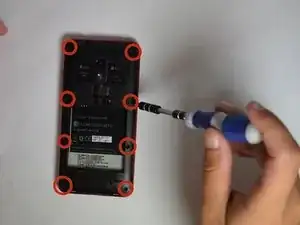
    • Remove eight 8.3mm T4 screws with the Torx screwdriver.

  4. LUHq1XjGpMJLPfBl
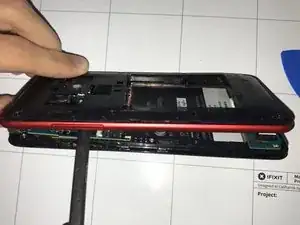
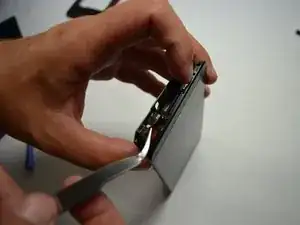
    • Pry the back panel of the screen using the plastic opener.

    • Work your way gently around the device, using picks as necessary to keep the back panel separated.

    • Use caution not to damage the device, as it takes force to remove the rear panel.

  5. jchMJ5R6uZAiPZMq
    • Remove the 3mm PH00 screw located at the bottom center of the motherboard using a P#00 Phillip's head screwdriver.

  6. fPdQpHFCynI4HLWY
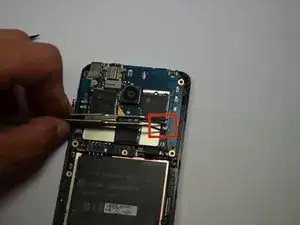
    • Using the tweezers gently disconnect the wire from the vibrator located on the motherboard.

  7. a1NZKFFUxYJWouhH
    • Remove volume control button ribbon with tweezers.

  8. CrF4DTbCvsOVoJtX
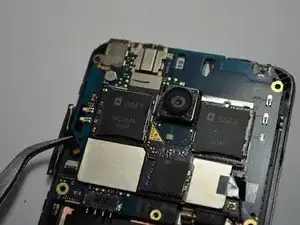
    • Carefully remove the ribbon attached to the top of the motherboard.

  9. PkmqN2FtSW2HnhdC
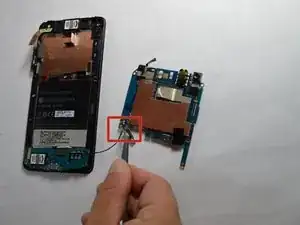
    • Unsnap the wire from the printed circuit board (PCB) using the tweezers.

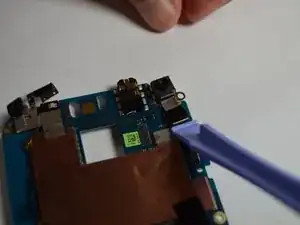
  10. lxirg6iTqPK3xvZa
    • Remove the camera using the plastic opening tool as shown.

Abschluss

To reassemble your device, follow these instructions in reverse order.
Steven Pate

Mitglied seit: 23/09/14

191 Reputation

0 Kommentare