Einleitung
Capturing images is how people retain visible proof of memories being created. This guides purpose is to help the user replace a major key component in a cellular device.
Werkzeuge
-
-
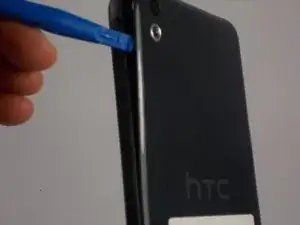
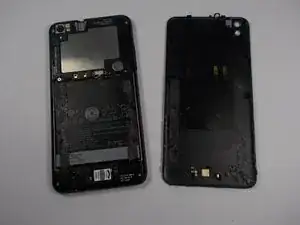
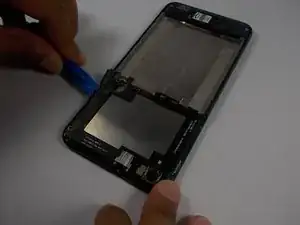
Pry open the back panel by inserting the plastic opening tool on the left of the camera. We find this spot the easiest to get the tool under the panel.
-
-
-
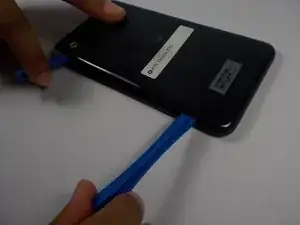
Once you get an open spot, with a second plastic opening tool, slide down to the bottom of the phone to free the rest of side.
-
-
-
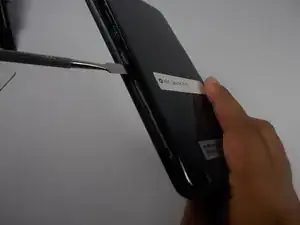
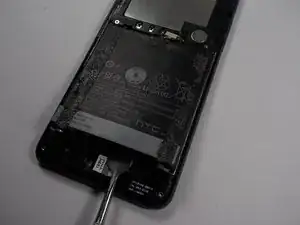
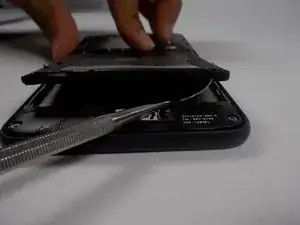
There is adhesive between the battery and the back panel. Take a nylon spudger to cut through the adhesive.
-
-
-
Once all way around the bottom, the panel should be broken free of the adhesive, and the rest of the panel should pop right off.
-
-
-
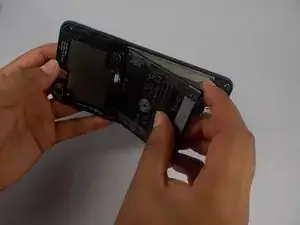
There is adhesive on the other side of the battery as well, take the nylon spudger used to get off the panel and cut through.
-
-
-
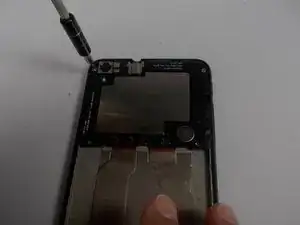
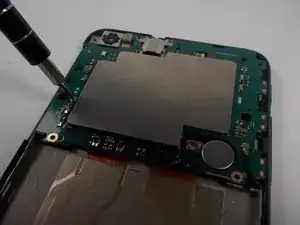
Take the PH000 screwdriver head to take out the one screw that's holding down the green panel. (The screw is located on the left side of the panel)
-
-
-
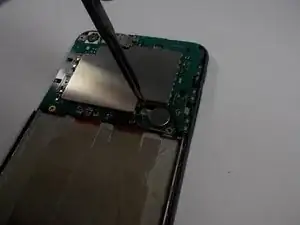
With your pair of tweezers carefully unplug the black and red wire in order to remove the motherboard
-
-
-
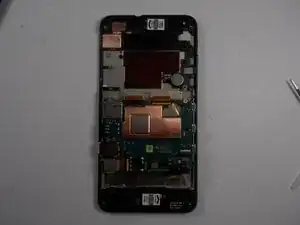
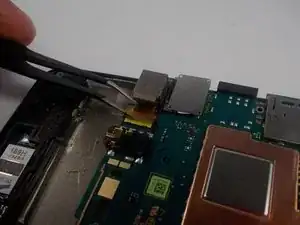
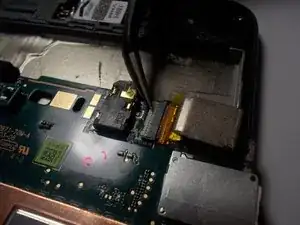
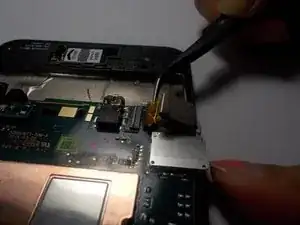
Carefully peel off the adhesive so that the camera can be disconnected from the mother board
-
To reassemble your device, follow these instructions in reverse order.
