Einleitung
Take five minutes to replace a damaged headphone jack (also known as port) in a HTC Desire 826 cellphone. With pictures and many guided steps. It may be beneficial to refer to the "HTC Desire 825 Battery Replacement" guide. You will also need four tools, 1 T5 Torx Screwdriver, 1 Tweezer, 1 Magnetic Project Mat, and 1 Spudger to complete this task. The costs of tools all together is roughly about $35 dollars.
Werkzeuge
-
-
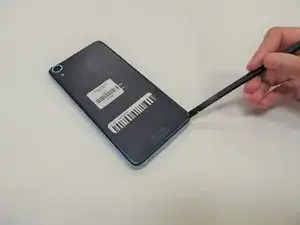
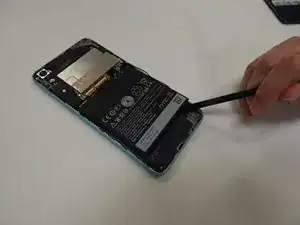
Find a seam in the back of the device.
-
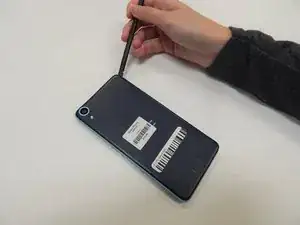
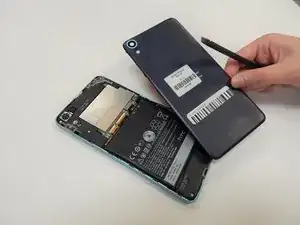
Insert the plastic spudger into the seam and pry off the back panel.
-
-
-
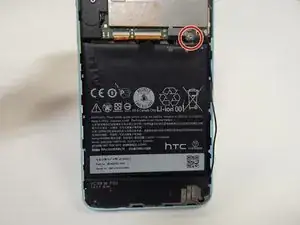
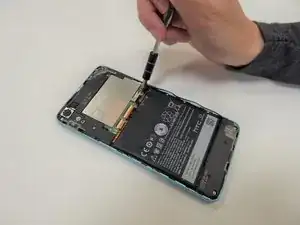
Remove the 4.0 mm screw above the battery with a T5 Torx screwdriver.
-
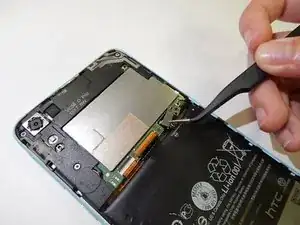
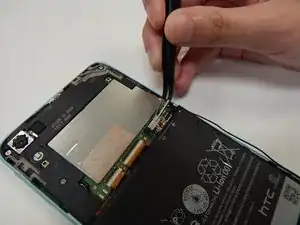
Remove the metal bracket with the tweezers.
-
-
-
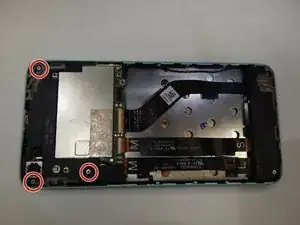
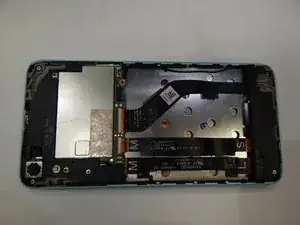
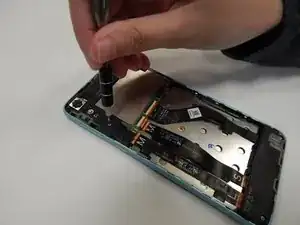
Use the T5 screwdriver to remove the three 4.00 mm screws as shown.
-
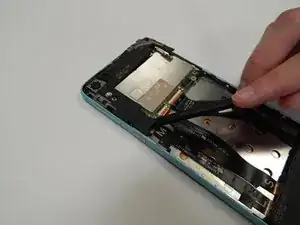
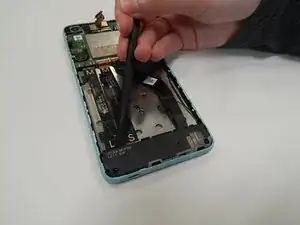
Once the screws are removed, pry up the top plastic panel using the black nylon spudger.
-
-
-
Unscrew the two 4.00 mm screws attaching the bottom plastic panel using a T5 screwdriver.
-
Using the spudger, remove the bottom plastic piece.
-
-
-
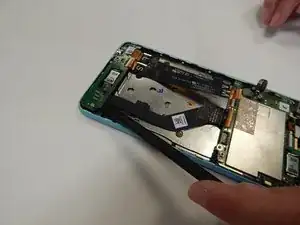
Using the spudger, remove the bottom part of the motherboard.
-
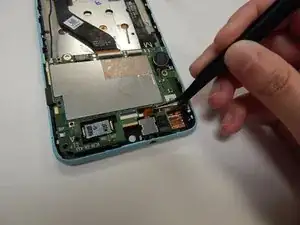
Using the angled tweezers, disconnect the headphone jack from the motherboard.
-
Using the plastic spudger, pop out the circular silver piece and lift the top part of the motherboard.
-
-
-
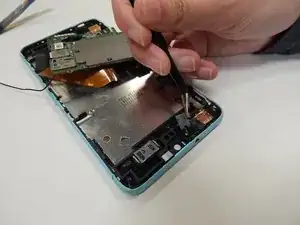
Using the angled tweezers, pop off the metal piece on top of the headphone jack.
-
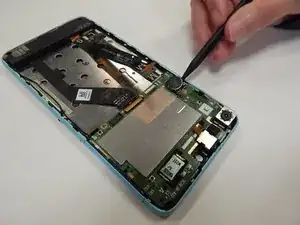
Using the angled tweezers, remove the headphone jack.
-
To reassemble your device, follow these instructions in reverse order.
