Einleitung

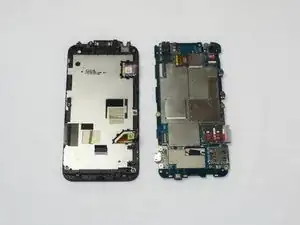
With this phone, the LCD and digitizer are removed together. These can then be separated by heating. If there is a discrepancy with the way images appear on your screen you may have a broken LCD. However, if you are unable to utilize the touchscreen interface then you may have a broken digitizer.

  1. XRKWcBSyMjLRWia5
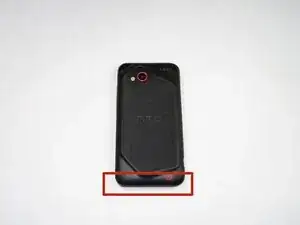
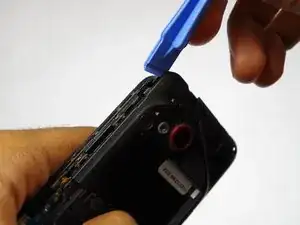
    • Use the plastic opening tool to pry off back cover by inserting opening tool in the space indicated and pushing down on the handle of the tool.

  2. TqnBjs4IWrYTfRRE
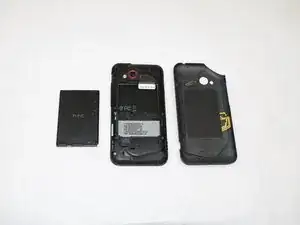
    • Remove the battery after taking off the cover.

  3. pwUHr5spSKM1CANG
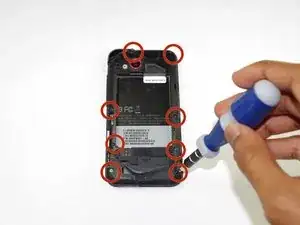
    • Remove eight 4mm and one 5mm Torx screws.

    This should be Step 3.

    Tisha -

  4. DDFProVNVMHoPUVW
    DDFProVNVMHoPUVW
    tFp2MUiVgcPSoR3c
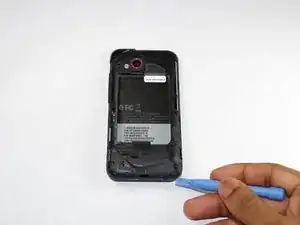
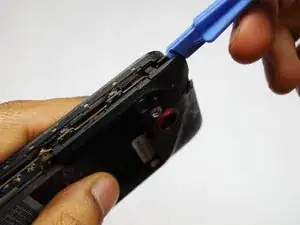
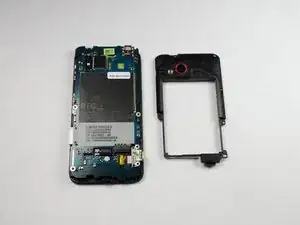
    • Use a prying tool to pry off the midframe.

    This should be Step 4.

    Tisha -

  5. IlGn5TpSOHnuw2kZ
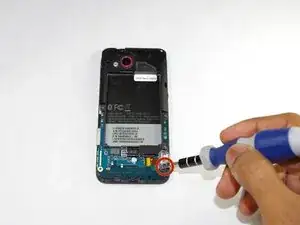
    • Remove the 4mm Torx screw holding the charging port to the phone.

    This should be Step 5.

    Tisha -

  6. NkypxEDKhRWYEY6n
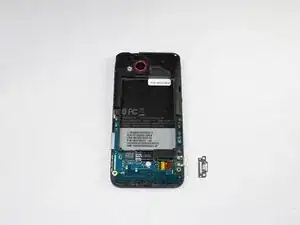
    • Remove the silver bracket holding the charging port in place.

    This should be Step 6.

    Tisha -

  7. YoVkYuuggXW1E2vc
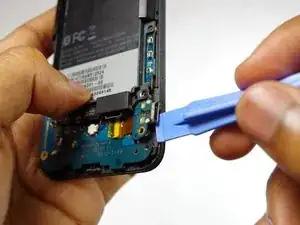
    • Use a prying tool to remove the charging port as shown.

    This should be Step 7.

    Tisha -

  8. B4IPaCeDPLFKV6yh
    B4IPaCeDPLFKV6yh
    4cAEZXoTbSpqFEIm
    fSuIkfg4mTJqSOEe
    • Pry off and remove the back cover

  9. CTHeSMITU4iuftaD
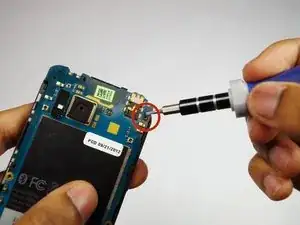
    • Remove the 4mm Torx screw.

  10. WEDk2DgsspvMeNJM
    WEDk2DgsspvMeNJM
    qOKvfqe4syG4xB6Q
    yHYTiGcAI1LUTIsy
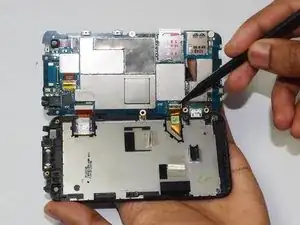
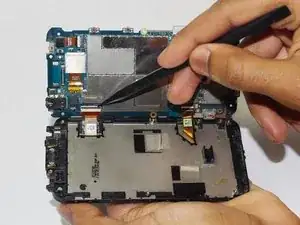
    • Remove tabs holding the motherboard to the phone.

Abschluss

To reassemble your device, follow these instructions in reverse order.
Tevin

Mitglied seit: 25/09/14

666 Reputation

0 Kommentare