Einleitung
Werkzeuge
Ersatzteile
-
-
Remove the back of the phone by pushing firmly with your thumbs up towards the camera.
-
Remove both the battery and the SD card (Press SD card in to release)
-
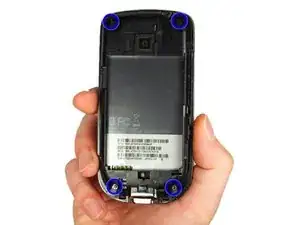
Locate and remove the four Torx screws highlighted in the photo, with the phone laying face down on your work space.
-
-
-
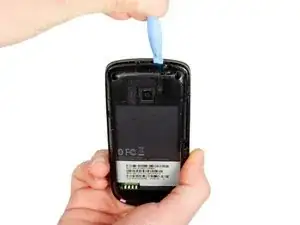
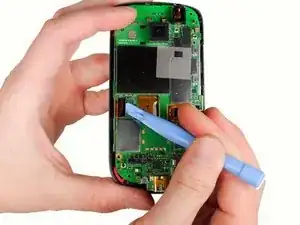
Carefully pry the inside back cover from the device using an appropriate size plastic opening tool or small flathead screwdriver.
-
Insert the flat end between the back and front enclosure, working your way around the rim.
-
-
-
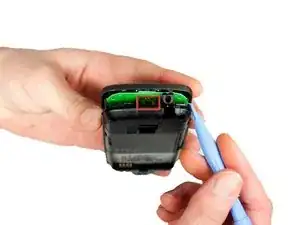
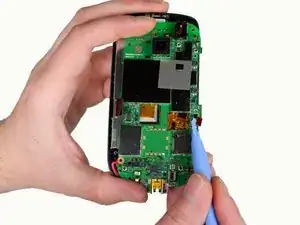
Gently depress and release the small plastic tabs around the rim in the front enclosure, highlighted here.
-
-
-
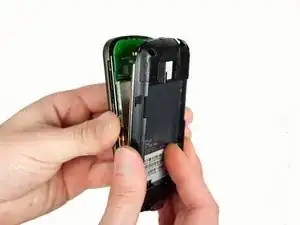
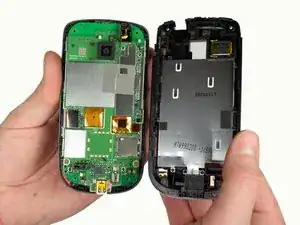
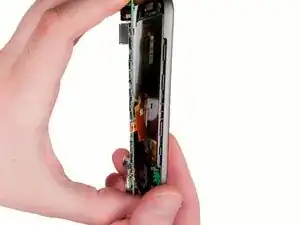
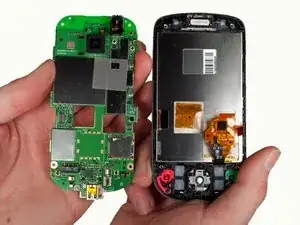
Carefully separate the front and back enclosures once all of the clips have been disengaged.
-
-
-
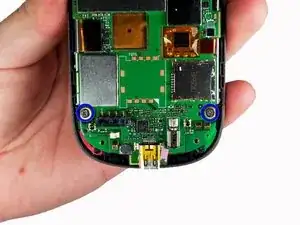
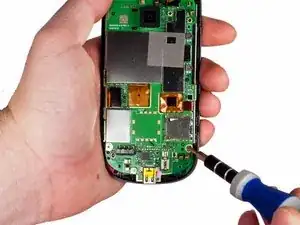
Remove the two screws near the bottom of the motherboard with a Phillips head screwdriver.
-
-
-
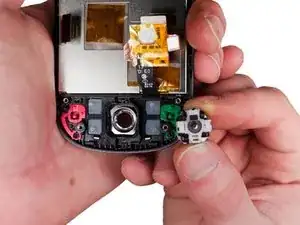
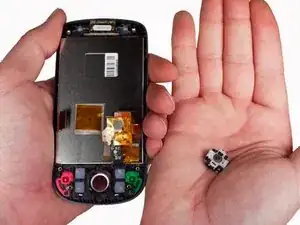
Tilt the inside of the front enclosure towards your cupped palm to remove the trackball and it's enclosure will fall out.
-
-
-
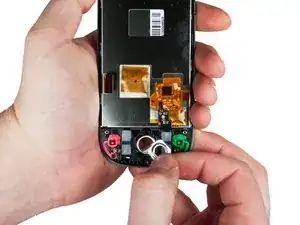
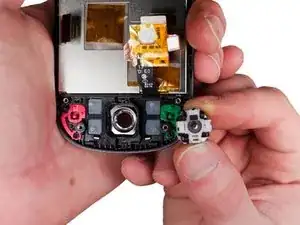
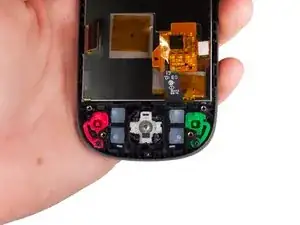
Position the phone off of the edge of the table and insert the replacement part by inserting the bevel then the trackball into the hole.
-
To reassemble your device, follow these instructions in reverse order.
