Einleitung
If rebooting your device or updating the software to the latest version doesn't solve your wi-fi or bluetooth connectivity, then another easy fix can be to replace your HTC One X antenna.
Werkzeuge
-
-
Before replacement of the antenna, carry out the squeeze test.
-
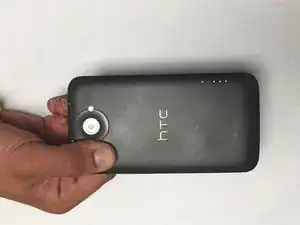
Gently squeeze your device between the camera lens and the volume button. This should temporarily reconnect the antenna if it's loose.
-
If the squeeze test doesn't reconnect your wi-fi/bluetooth then move to step 2
-
-
-
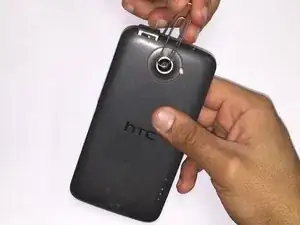
Insert a safety pin, or other small object into the narrow aperture next to the Sim Card Slot to remove the SIM card.
-
-
-
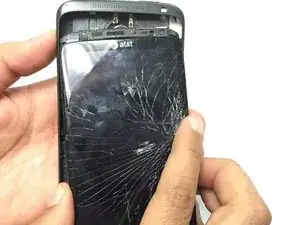
Use a plastic opening tool, and carefully insert it between the display and rear panel. Separate the two parts.
-
Set aside the rear panel for now
-
-
-
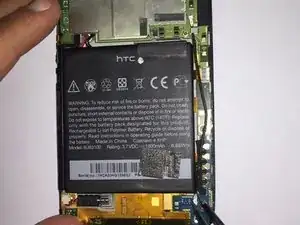
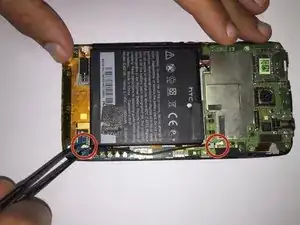
Once the rear panel is separated from the front panel, remove the antenna using tweezers.
-
Replace and reconnect the new antenna in the same position as the faulty one you just removed. Remember to place it underneath the metal supports on the board.
-
To reassemble your device, follow these instructions in reverse order.
