Einleitung

  1. TVpfSATMybvOeejB
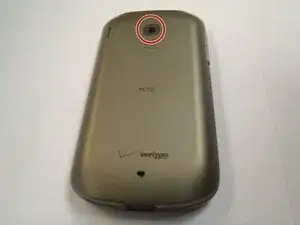
    • Flip the phone over to have the rear cover facing up.

    • The camera lens should be towards the top of the phone.

  2. fAde1lgLwvs5THna
    fAde1lgLwvs5THna
    tZQJNEZhxFkIlI3R
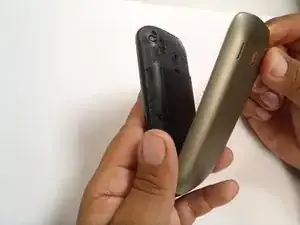
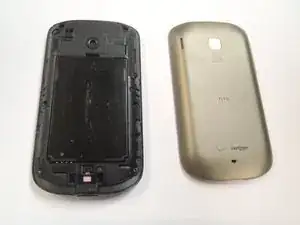
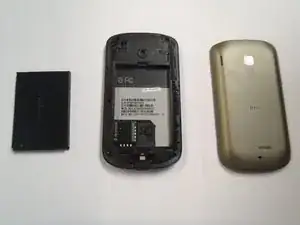
    • Slide the cover up, towards the top of phone, to unlock the battery cover.

    • Lift the cover off phone and remove it.

  3. ivVUacMXhrULJhg1
    ivVUacMXhrULJhg1
    4wZApRpgFtBfvhn6
    Z3eNXByO1O2BytQE
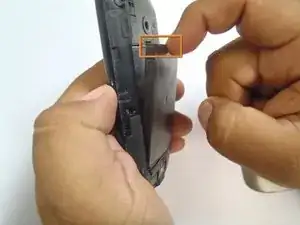
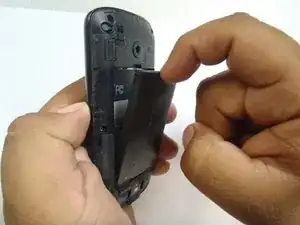
    • Use your finger to push the top of the battery downwards and lift the battery out of the phone.

  4. lob4Yo6sJ2LNMaeZ
    lob4Yo6sJ2LNMaeZ
    XUvIBDeqS3I5GUY2
    R5cM4NYJib16vc3p
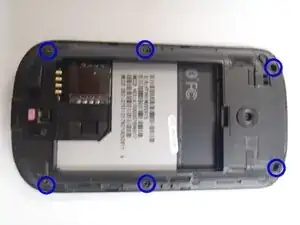
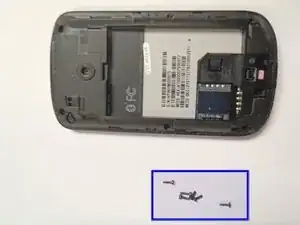
    • Remove the six Torx #5 screws that are securing the rear frame.

  5. FbOWgOAcYrulIdrT
    FbOWgOAcYrulIdrT
    wPKdOoJOjSkvJEau
    nEweqagB12qwPgGY
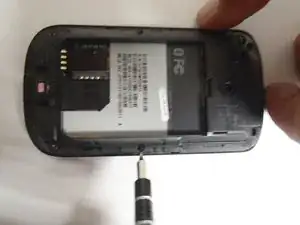
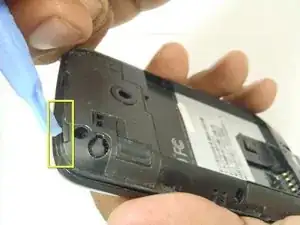
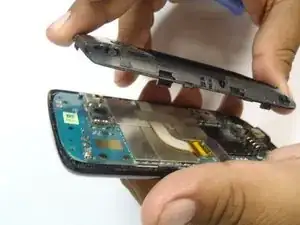
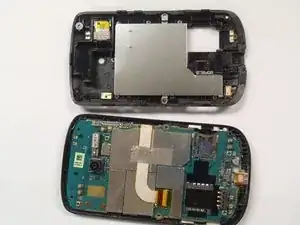
    • Pry the frame open, releasing the eight plastic tabs around the edge of the frame, using the plastic opening tool.

    • A plastic card can be used instead of the plastic opening tool.

  6. Vtc1XOoKruMdJQOi
    Vtc1XOoKruMdJQOi
    LxkoBOOxFtxQvRUl
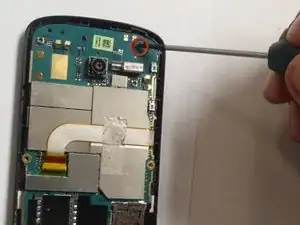
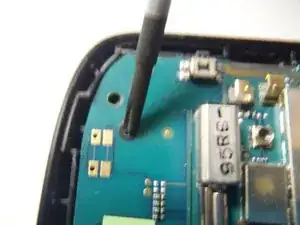
    • Remove the single Phillips #0 screw that is securing the motherboard to the front case of the phone.

  7. kEpxfSHgCGQ3ObW1
    kEpxfSHgCGQ3ObW1
    U5GLfntA6nhfrIRy
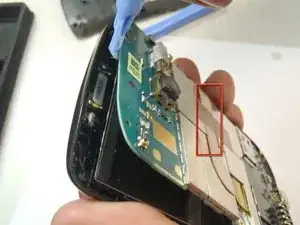
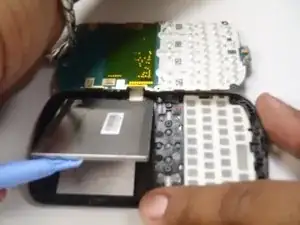
    • Pry the motherboard away from the front of the plastic case using a plastic opening tool.

    • Be careful not to break the ribbon cable when prying away the motherboard.

  8. NR4IX5ScZfOOKfER
    NR4IX5ScZfOOKfER
    rMghQUGvIKU2mSkb
    jZLHxuMeWNEBVTl1
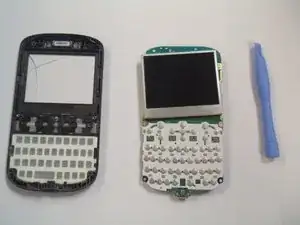
    • Remove the plastic cover from the LCD display and the motherboard.

    • The Motherboard and the LCD are still attached together.

  9. 1voHjnR65tVlUttA
    1voHjnR65tVlUttA
    BoNWKUO1KDpPQpBD
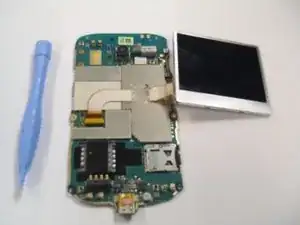
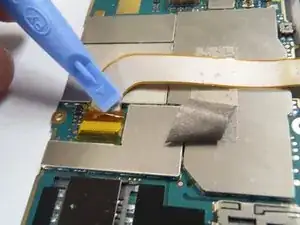
    • Remove the gray tape securing the ribbon cable.

  10. HH4ZtPdoH342DLwf
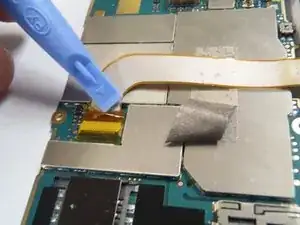
    • Remove the yellow tape securing the connector lock.

  11. tgELgDLWbQNFLW5U
    tgELgDLWbQNFLW5U
    Ip5vSJjujsyhPCLQ
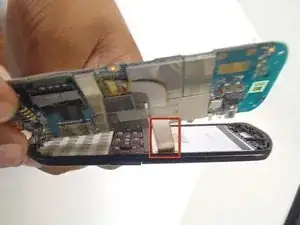
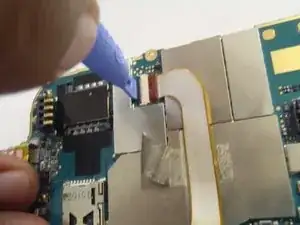
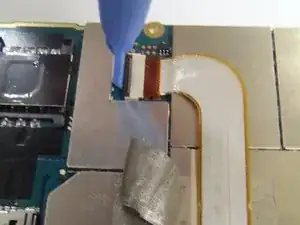
    • Carefully lift the black lock to release the ribbon cable, using the plastic opening tool.

  12. n4EaiFQii2rQDGEG
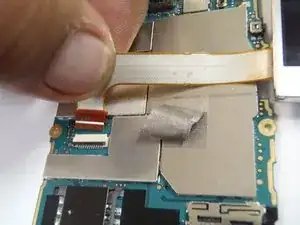
    • Pull the ribbon cable upwards, disconnecting it from the Motherboard.

  13. 6exomYb32Cl43HkS
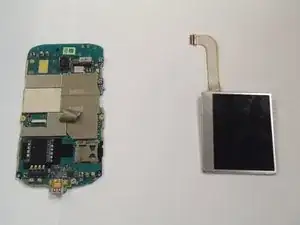
    • Lift the Motherboard away from the LCD display.

Abschluss

To reassemble your device, follow these instructions in reverse order.
Marco Jokada

Mitglied seit: 29/04/11

247 Reputation

0 Kommentare