Einleitung

This guide will lead the user through the process of disassembling their smart phone in order to remove the broken speaker. In just a few short, easy to follow steps this goal can be accomplished with little knowledge and only a few basic tools.

  1. UJScpcPawgWDGkQU
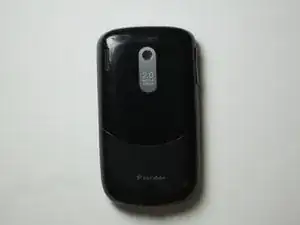
    • First, flip the phone over so that the back is facing upwards.

  2. eLtdAY4XYXuRG6Ok
    eLtdAY4XYXuRG6Ok
    JWaQ2QbickE3UnHu
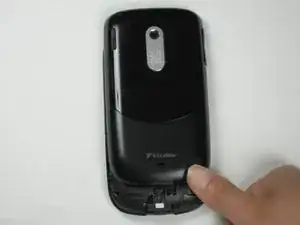
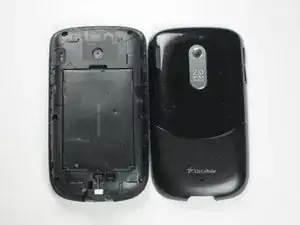
    • Using both thumbs, push the back side of the phone's exterior up and remove the front face of the phone.

  3. qBfcb4RlnJqEGiXq
    qBfcb4RlnJqEGiXq
    FRZgLMAXIwhelQvH
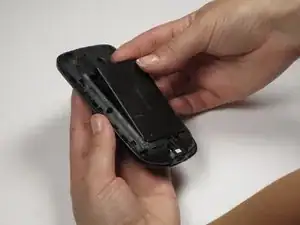
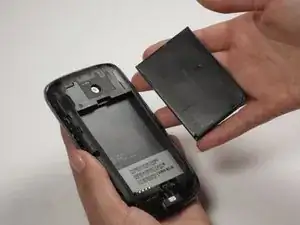
    • Insert your finger or a pry tool into the slot above the battery. Remove it and set aside.

  4. ytWMADlk2vKONJpx
    ytWMADlk2vKONJpx
    c2ssV5PXNaPHeLx6
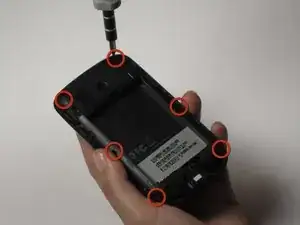
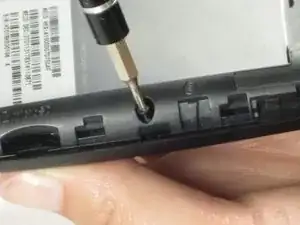
    • Next, choose the matching tool from your driver kit and remove the six screws found around the perimeter of the phone.

    • Once the screws are removed make sure to keep them in a safe place for reassembly.

  5. NuDRfNeIrgNZ3IKd
    NuDRfNeIrgNZ3IKd
    eQCb1YVCfS26LoFe
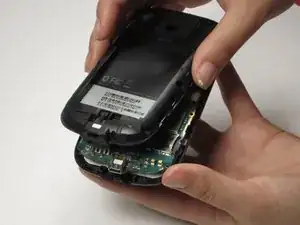
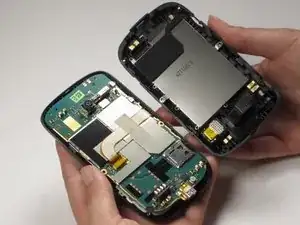
    • Carefully pull off the back casing.

    • This can be difficult. Start by slowly pulling the back part from the front shell. As it starts to lift up, continue moving around the phone until it is in two separate pieces.

  6. DEKoogUZnVAbMk5R
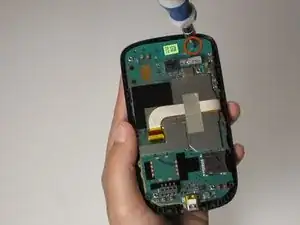
    • Next, remove the top screw.

    • Be careful! The LCD screen is still attached to the front of the motherboard by a flexible ribbon cable.

  7. GwYcIwt1MeORNghP
    GwYcIwt1MeORNghP
    GxPLK3brAYHfLaXu
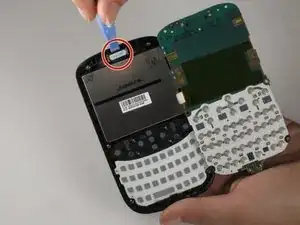
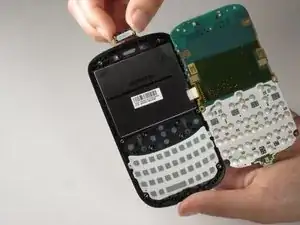
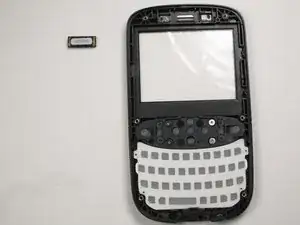
    • Flip over the motherboard so that the front case is visible. Using a spudger, remove the speaker out of its holding cell.

Abschluss

To reassemble your device, follow these instructions in reverse order.
Luke Plewa

Mitglied seit: 23/04/11

116 Reputation

0 Kommentare