Einleitung

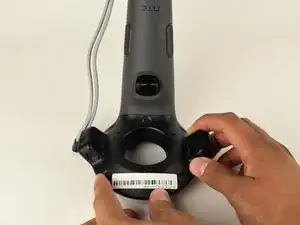
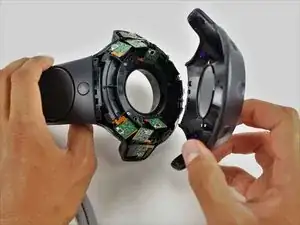
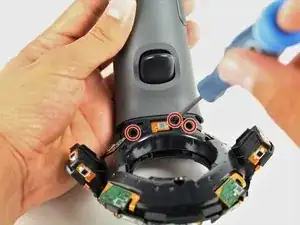
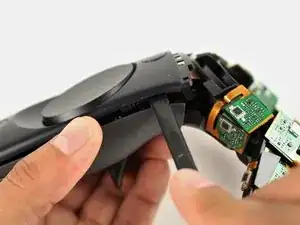
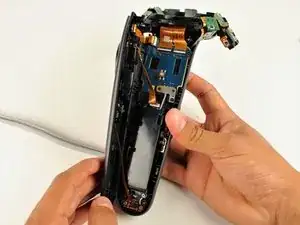
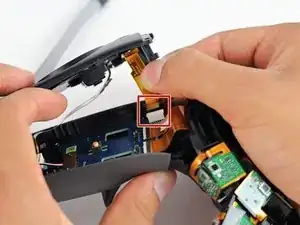
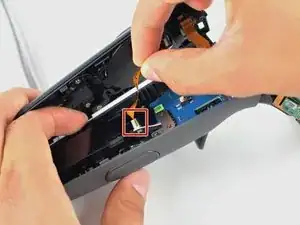
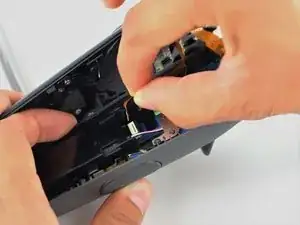
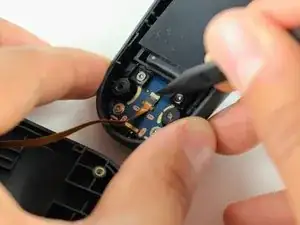
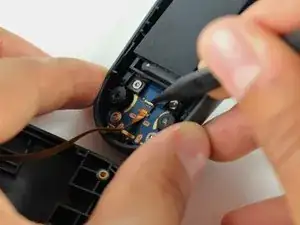
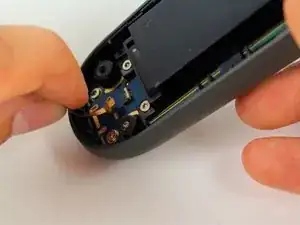
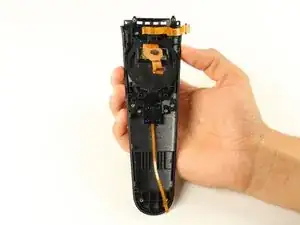
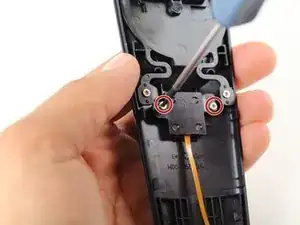
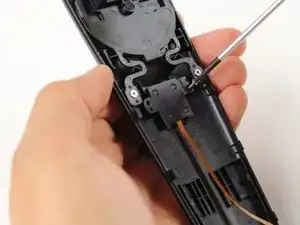
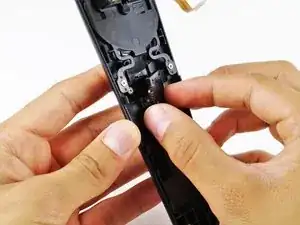
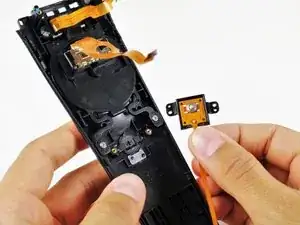
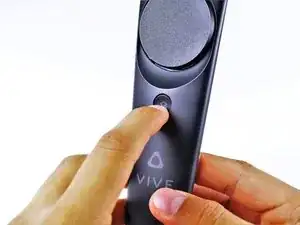
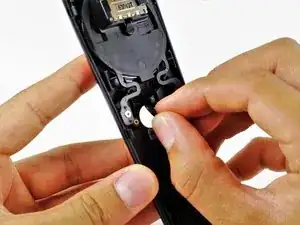
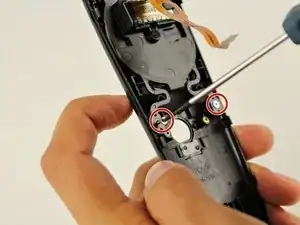
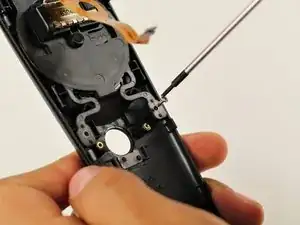
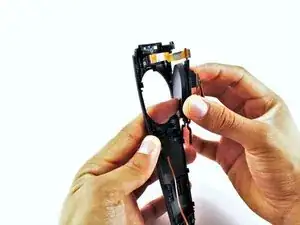
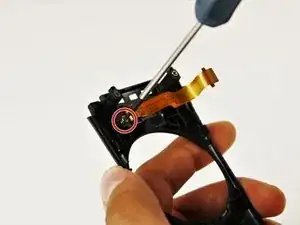
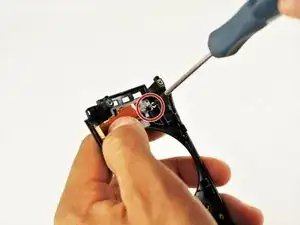
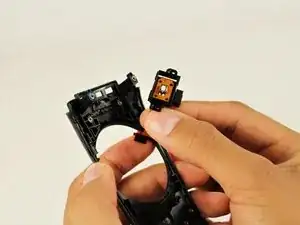
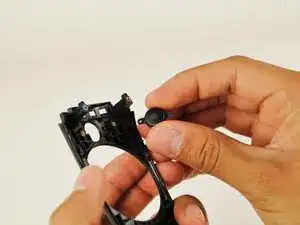
Durch intensive Nutzung können die HTC Vive Front Panel Tasten nicht mehr klicken oder defekt sein, was zu Funktionsproblemen bei der Benutzung führen kann. Achte beim Ausbau der Tasten darauf, nicht die Gummilöcher zu beschädigen. In dieser Anleitung wird gezeigt, wie du die Front Panel Tasten ersetzen kannst.

  1. qspXEGpclMcc4FU6
    qspXEGpclMcc4FU6
    f5aVdykiHKTKwZrt
    WaHUHm3CCPZva2kE
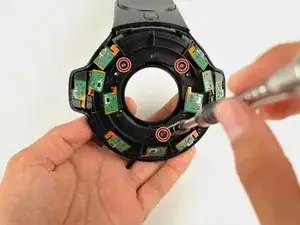
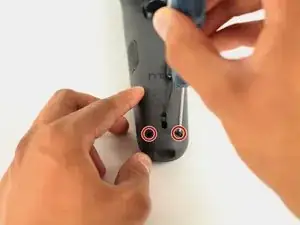
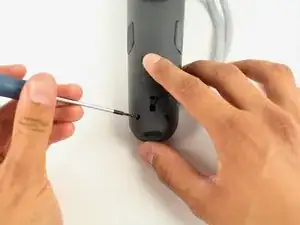
    • Drehe den Vive Controller so, dass der untere Ring nach oben zeigt.

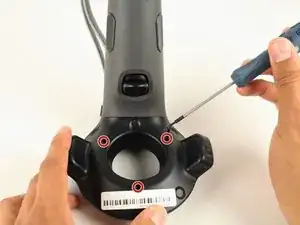
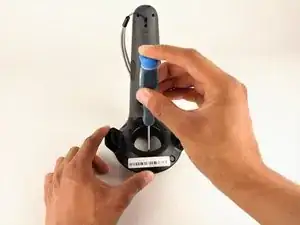
    • Entferne die drei schwarzen 21 mm T5 Torx Schrauben am unteren Ring.

    Where can I buy new t5 21 mm screws? Mine are getting stripped out!

    jeremyvanwoerden -

    Where can you get replacement batteries?

    Mike Justice -

  2. EGCPx1qHeDmAW5Ml
    EGCPx1qHeDmAW5Ml
    jIuFdwxxDs4sPAoK
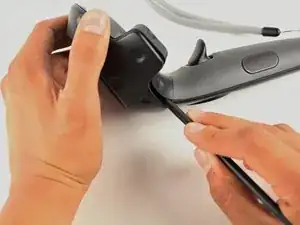
    • Benutze einen Nylonspudger, um die Abdeckungen des unteren und des oberen Rings an allen Kanten voneinander zu lösen.

    • Entferne nur die Abdeckung des oberen Rings, indem du sie mit der Hand nach oben ziehst.

    My top saucer was REALLY stubborn. Don’t force it with your hand, use the spudger to separate it at the seam. Try not to poke your spudger in too deep, there are internals just inside the seam.

    trevorsklar -

    The second time around, I learned why it was so stubborn. The picture suggests that you should start at the base of the saucer and work your way around, but that’s backwards.

    Start separating with your spudger at the distal side of the saucer and work your way toward the handle. Then for the last part, pull the piece up and away, like peeling a banana. See the second picture for the bottom half of the saucer, below. Do the same on the top.

    trevorsklar -

  3. eopOkINCcVTJW1m1
    eopOkINCcVTJW1m1
    iTZHnfipdduRqsQD
    • Entferne die drei silbernen 12,8 mm #00 Kreuzschlitzschrauben vom freiliegenden oberen Sensorpanel.

    It’s Phillips 0, not 00.

    trevorsklar -

    You do not need to remove these screws to remove the bottom saucer. They provide stability to the two halves of the donut.

    pacoavocado -

    I had the same experience. Putting the screws back in made the bottom shell easier to remove.

    Nate Plamondon -

    I concur, you don’t need to remove these screws to take the bottom shell off.

    I found mine had ph#000 screws size, not ph#00.

    Rocko the fixit cat -

    please do not remove the Phillips-head screws it is not necessary to remove them.

    Darkwolf Darkside -

  4. RwISVSeNWEEMabNP
    RwISVSeNWEEMabNP
    MpnwlFakAusPfs3P
    ESDnXEfXK21LaofB
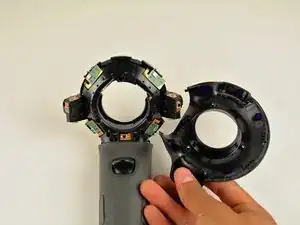
    • Ziehe die Abdeckung des unteren Rings vorsichtig mit der Hand ab.

    • Es ist hilfreich, die Basis des Controllers mit deiner anderen Hand zusammenzudrücken (wie im zweiten Bild gezeigt), um das Entfernen der Ringabdeckung zu erleichtern. Dadurch wird das Ablösen der Klammern vereinfacht und es kann vermieden werden, dass sie kaputt gehen.

    I found the re-assembly of this difficult until I concentrated on two areas - the lugs which go into the handle first, then the central ring. My earlier concern was for the optical sensors on the wings but these snapped into place easily as the central ring was manoeuvred.

    Doug -

  5. UOWqkw4uFOpoxUxW
    UOWqkw4uFOpoxUxW
    2norTKXKua4vfSLO
    • Entferne die beiden schwarzen 5,2 mm T5 Torx Schrauben auf dem grauen Rückgehäuse.

  6. wKWxaK3AYGHu4kYK
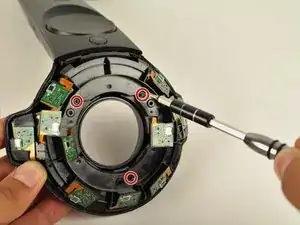
    • Drehe den Vive Controller so, dass der freiliegende untere Sensorring nach oben zeigt.

    • Entferne die drei schwarzen 5,2 mm T5 Torx Schrauben.

    Leave the middle screw where it is (the one being unscrewed in the picture). That screw holds the two halves of the photodiode assembly together, not the case.

    trevorsklar -

    five screws… two at bottom

    andrew sauter -

    I concur with trevosklar, don’t need to remove center screw to remove front panel (pad cover).

    Rocko the fixit cat -

  7. 2L3YKSAgk6xB2Gmq
    2L3YKSAgk6xB2Gmq
    qEFqwKVrCSACpHDP
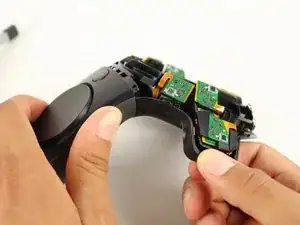
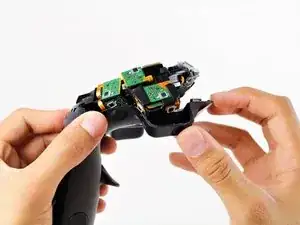
    • Löse das Frontpanel mit einem Nylonspudger ab, indem du mit dem Spudger um die Kanten des Griffs fährst.

    • Löse das Frontpanel nur um die Kanten herum ab. Versuche nicht, es komplett zu entfernen.

    • Klappe die rechte Seite des Panels vorsichtig nach links.

  8. ZUWhRIxeXJ11ArsI
    • Trenne das obere Flachbandkabel sorgfältig ab, indem du es mit zwei Fingern nach oben weg vom Motherboard ziehst.

    • Versuche nicht, die Flachbandkabel vom Frontpanel abzulösen.

    You do not have to remove the ribbon cables from the plugs…you can carefully work the battery holder around them and remove it…being very gentle. And the black part of the handle will stay attached to the cables and be in the way. But removing the cables does make it easier to access the area for the battery, just not completely necessary.

    controll -

  9. qFWyWN2RxMJGm6IN
    qFWyWN2RxMJGm6IN
    Lr3HUlIGprrlUOMS
    • Trenne das mittlere Flachbandkabel sorgfältig ab, indem du es mit zwei Fingern nach oben weg vom Motherboard ziehst.

    • Versuche nicht, die Flachbandkabel vom Frontpanel abzulösen.

    where can one buy the ribbon cable.

    Luigi Munoz -

  10. wl5HFJQW4a4lXNhy
    wl5HFJQW4a4lXNhy
    jqk4JmFF4wCyqiHN
    tGdDUMVWB21k6Lfi
    • Hebe die weiße Lasche mithilfe eines Nylonspudgers um 90° an.

    • Trenne das untere Flachbandkabel ab, indem du es vorsichtig mit beiden Fingern nach unten ziehst.

    Hallo what is the name of this conector because i Broker it

    Happy Forscher -

    Yeah I did as instructed only to realize after that my gen 1 vive controller does not do that, and i desoldered the power button ribbon. That cable, does NOT detach on my model. destroyed.

    Algol Gaming -

  11. pJkLXlrRjWGrvrTR
    pJkLXlrRjWGrvrTR
    V55OsdWFQCk5dWUX
    TVlmgHVRiGIEL4bF
    • Entferne die beiden silbernen 4,2 mm T5 Torx Schrauben von der Kunststoff-Rückabdeckung der Systemtaste.

  12. YsBvi1YfEHj3HgsT
    YsBvi1YfEHj3HgsT
    KbsNUYkYuPREBvhQ
    • Hebe die Kunststoffabdeckung mit den Händen ab und entferne sie vom Front Panel.

  13. ZgdlqDiZF1lL6W33
    ZgdlqDiZF1lL6W33
    6XCAmmVrJ6oQQjSs
    • Drücke mit dem Finger auf die Systemtaste bis sie sich aus dem Front Panel herauslöst.

  14. kJRdrW55OMfWiIck
    kJRdrW55OMfWiIck
    HKUr1fSehVwIr5jU
    ZuxMIQPPVaDNIXAn
    • Entferne die beiden silbernen 4,2 mm T5 Torx Schrauben vom hinteren Teil des Trackpads.

    • Hebe das Trackpad mit der Hand aus dem Front Panel heraus.

  15. TpPlBBuDyTLxqrh5
    TpPlBBuDyTLxqrh5
    m2TqWLTHkcTw3GUJ
    • Entferne die beiden silbernen 4,2 mm T5 Torx Schrauben aus der Kunststoff-Rückabdeckung der Menütaste.

    • Unter Umständen musst du das Flachbandkabel nach links falten, um die zweite silberne Schraube freizulegen.

  16. kpBaU6G6SOQvRAkG
    • Hebe die Kunststoffabdeckung mit der Hand aus dem Front Panel heraus.

  17. A4gZWcPKBYPyCelN
    A4gZWcPKBYPyCelN
    tOTbB2VTfTeF5N2w
    • Drücke mit dem Finger auf die Menütaste, bis sie sich aus dem Front Panel herauslöst.

    Okay great! But where can I buy replacement parts?

    Colton Hoffman -

Abschluss

Um dein Gerät wieder zusammenzubauen, folge den Schritten dieser Anleitung in umgekehrter Reihenfolge.

Christopher Amaro

Mitglied seit: 16/10/17

934 Reputation

5 Kommentare

Okay great! But where can I buy replacement parts?

Colton Hoffman -

Thanks for the guide! Even though iFixit doesn’t have the replacement parts, I was able to fix my button that was off-center and get my controller back up and running! The only issue is that with step 5, the T5 screwdriver that comes with the iFixit tool kits doesn’t work, as it’s too wide. I had to go out and buy a narrower driver, but still much less expensive than the controller. Thanks again!

Ryan Sandberg -

I had my front panel TOUCHPAD STUCK, in the sense it could sense my thumb touch, but NOT my thumb press on the upper-right part (presses on the other directions were detected). I figured out how to fix it:

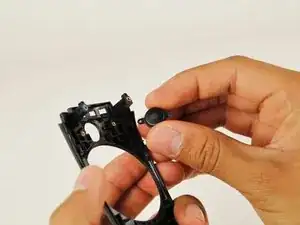
The touchpad presses are detected by a little sensor on the controller: it’s the little pink button we can see on the picture of Step 8 on the dark-blue board. This button is pressed when pressing the touchpad, via a little black round plastic thingy behind the very center of the touchpad : we can see it on the top of picture of Step 11, the little black circle. If this black circle is off-center or simply *too low*, the contact with the pink button will not happen properly. I personnaly got the black circle thingy off, placed another thin layer of material below it (of approximately the size of the thingy) and placed it back, so it would be more in contact with the pink button. Solved on my both controllers !

Thanks for this really good guide which helped me solve this !
Jesuis Une -

Hi! My ribbon cable to the touchpad is damaged. Does anyonw know whre to buy a replacment? Seems like it’s soldered to the rumblepack also.

Andreas Andersson -

I replaced the little disc that Jesuis Une was talking about with a piece of PTFE used for mouse skates. The disc is 5/32 or 4.0 mm. I used a punch to knock a piece of 0.6 mm PTFE from the excess edging and it works like a charm.

Eric Tong -