Einleitung
If the power supply of your hair dryer is noticeably damaged, or no longer providing power to your hair dryer, than use this guide to replace the power supply.
A damaged power supply can cause the hair dryer to stop working all together. It will not turn on when plugged into an outlet. Plug the hairdryer into a few different outlets to make sure that it is the power supply that is damaged, and not the power outlet that you are using.
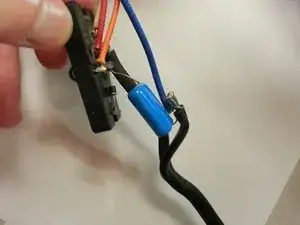
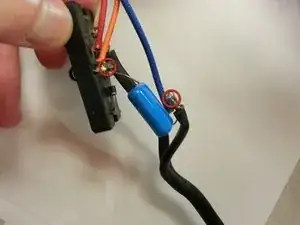
In step 8, you are required to isolate the button switchboard after disassembling the hair dryer. There is a small component connected to the power cord, where the wires will need to be de-soldered using a wick and soldering iron.
Before starting this project, make sure the blow dryer is unplugged, and away from any wet surfaces.
Werkzeuge
-
-
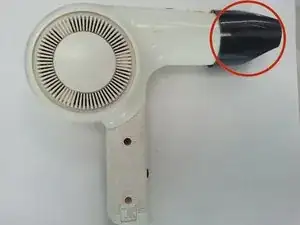
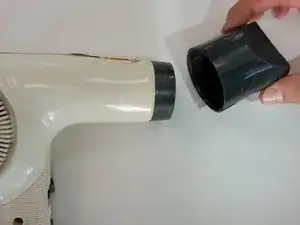
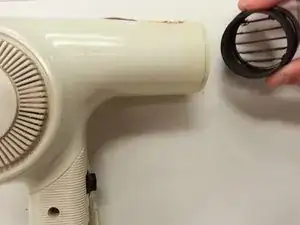
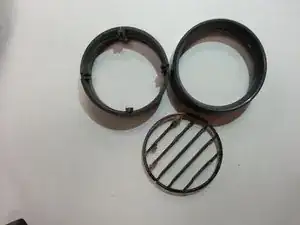
Remove the black air concentrating nozzle (shown in the red circle) by gently twisting and pulling the nozzle.
-
-
-
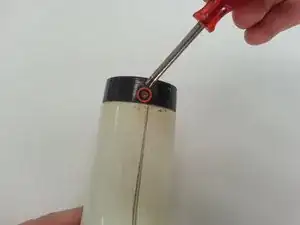
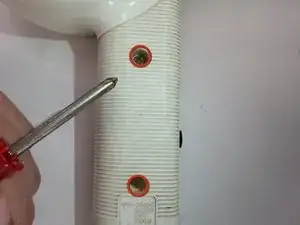
Using a screwdriver, remove the screw located underneath the air concentrating nozzle. This screw attaches the hair dryer body to the hair dryer grating.
-
-
-
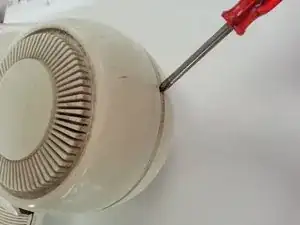
Detach the hair dryer grating from the body by gently twisting the grating from side to side.
-
-
-
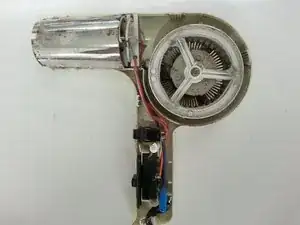
Your hairdryer should now be disassembled and you should easily be able to see the fan, motor, heating element cover, and internal wiring.
-
-
-
After disassembly and isolating the button switchboard, locate the small component that is directly connected to the power cord. Desolder the wires using a desoldering wick and a soldering iron. Refer to the soldering page below.
-
-
To reassemble your device, follow these instructions in reverse order.
Ein Kommentar
Will this work on damaged cord near the end of hair dryer? The hair dryer is great shape just the cord that needed to be stripped to get rid of damaged part then cut then wired again.
