Einleitung
This guide requires basic soldering skills and confidence working with delicate wiring. It also requires a pair of sturdy pliers.
If you are unfamiliar with soldering and de-soldering, make sure to check out iFixit's Soldering Skills page before attempting this replacement!
Werkzeuge
-
-
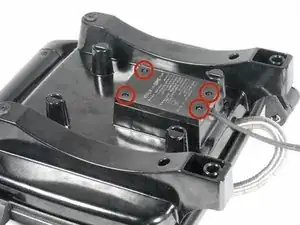
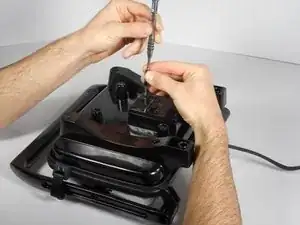
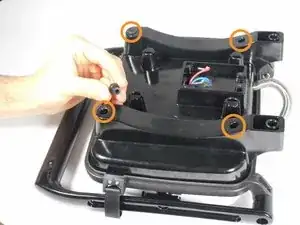
Remove the four 14mm screws from the bottom of the Panini Press using the T10 Screwdriver.
-
-
-
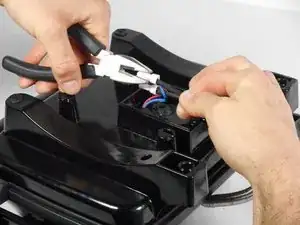
Use the pliers to pinch the widest point of the cap. This should be done opposite of the already existing crimps.
-
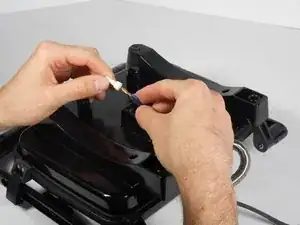
Slide off the white cap.
-
Repeat these steps for the second white cap.
-
-
-
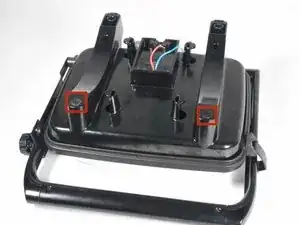
Remove the two rubber screw covers from the bottom of the Panini Press.
-
Remove the four uncovered 10mm screws with the PH2 Screwdriver.
-
-
-
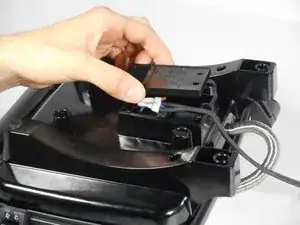
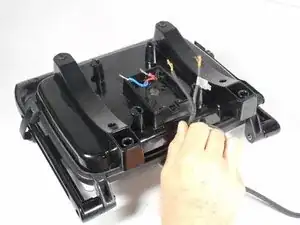
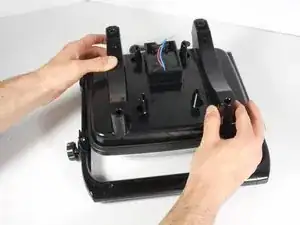
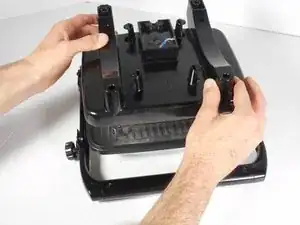
Lift the plastic lower heating element up and place to the side for reassembly. You have now disconnected the plug wiring completely.
-
-
-
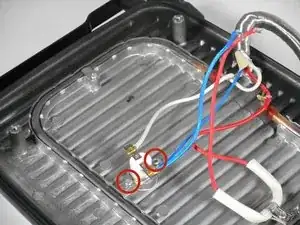
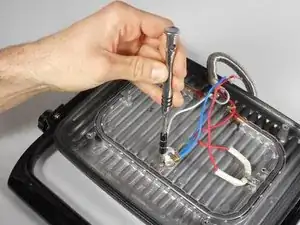
Using the PH2 screwdriver and a bit of force, remove the two 10mm screws holding the thermal switch to the cooking surface.
-
-
-
Using the PH2 screwdriver, remove the single 10mm screw connecting the red wiring cover to the cooking surface.
-
-
-
Now pull both the thermal switch and the red wire to the back of the press, allowing easier access to the heating element leads.
-
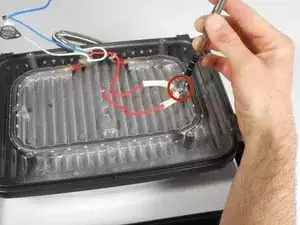
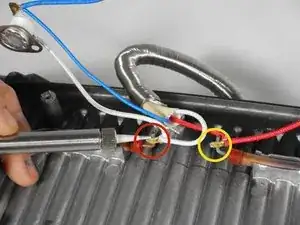
Replace the missing solder.
-
The left lead, marked with a red circle, is connected to 2 white wires.
-
The right lead, marked with a yellow circle, is connected to 2 red wires.
-
To reassemble your device, follow these instructions in reverse order.
2 Kommentare
Muy detallado, era aproximadamente lo que buscaba.
Hay posibilidades de que sea en los pasos a seguir, sean en Español. De ser así podría resolver el problema, gracias
Estoy tratando de resolver la avería de mo Sandwichera Hamilton Beach modelo 25460Z, desde mi hogar y desearía que la respuesta fuera en idioma Español, gracias
