Einleitung
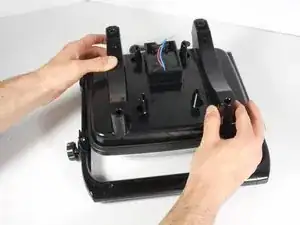
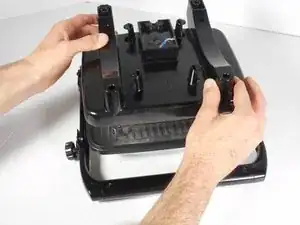
This is a straight-forward process that requires removal of a few screws and two wire caps.
Werkzeuge
-
-
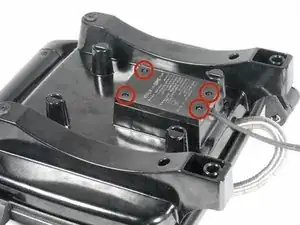
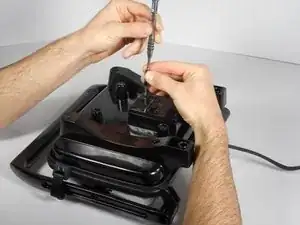
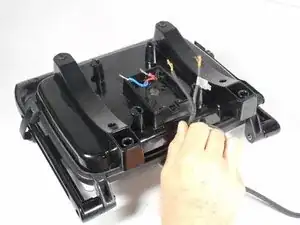
Remove the four 14mm screws from the bottom of the Panini Press using the T10 Screwdriver.
-
-
-
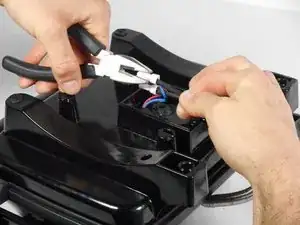
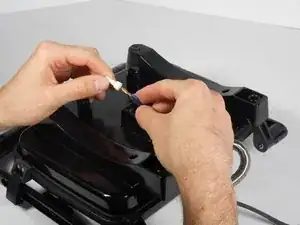
Use the pliers to pinch the widest point of the cap. This should be done opposite of the already existing crimps.
-
Slide off the white cap.
-
Repeat these steps for the second white cap.
-
-
-
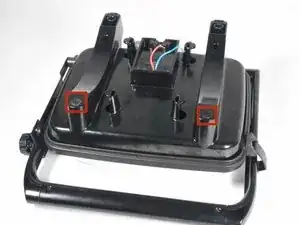
Remove the two rubber screw covers from the bottom of the Panini Press.
-
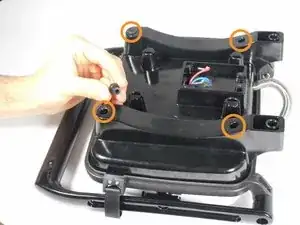
Remove the four uncovered 10mm screws with the PH2 Screwdriver.
-
-
-
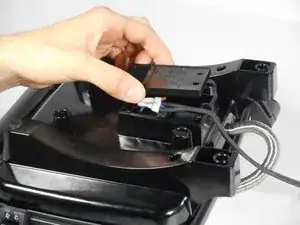
Lift the plastic lower heating element up and place to the side for reassembly. You have now disconnected the plug wiring completely.
-
To reassemble your device, follow these instructions in reverse order. Make sure to correctly replace the wires using tape you placed earlier as a reference.
