Einleitung
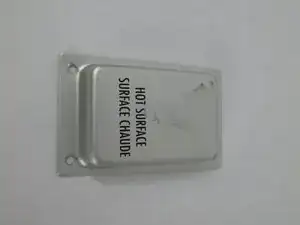
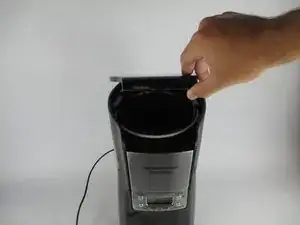
Make sure that the device is unplugged and removed of all contents before starting this repair. Also be careful when removing and inserting the Heat Plate.
Werkzeuge
-
-
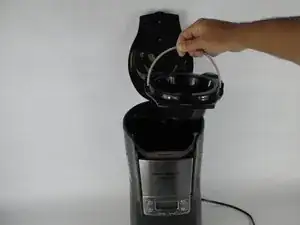
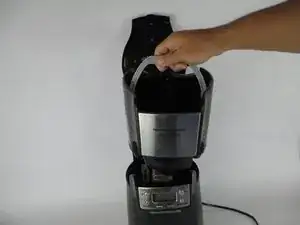
Grab the handle and pull up to remove the top container.
-
Set this piece close by as you will be needing it for a future step.
-
-
-
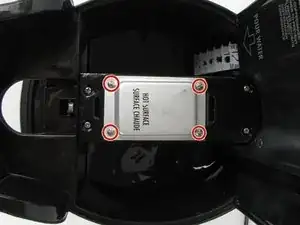
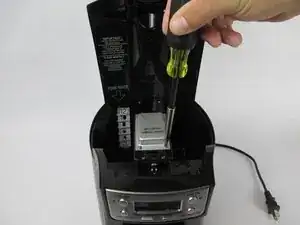
Using the Crown Bolt #8 Steel Spanner, unscrew the four 8-mm screws labeled in a red outline.
-
-
-
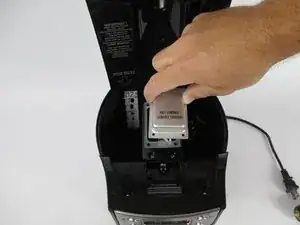
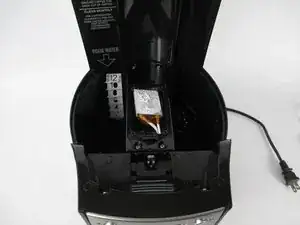
Once the screws are removed, carefully pull off the metal piece.
-
Once the piece is removed, you will be able to access the heater.
-
-
-
This step involves using the top contained that you put aside in step 3.
-
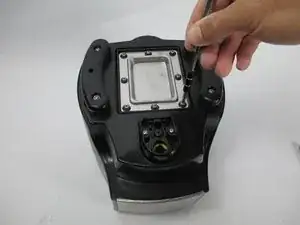
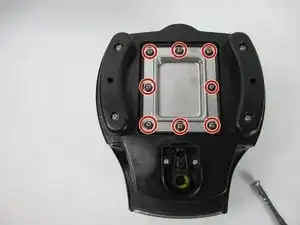
Using the Philips 2 Screwdriver, unscrew the eight 8-mm screws labeled in a red outline.
-
-
-
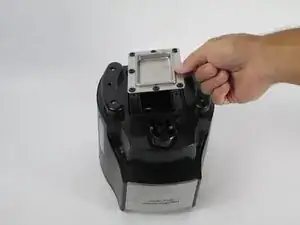
Once screws are removed, carefully pull out the metal piece from the unit. This is the top part of the heater in the Brew Staton.
-
To reassemble your device, follow these instructions in reverse order.
