Einleitung
Werkzeuge
-
-
Begin by inverting the coffee maker and resting it on a flat surface to make working on the bottom easier.
-
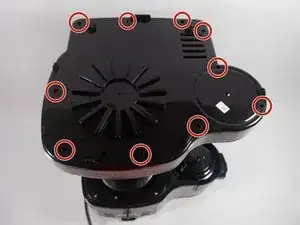
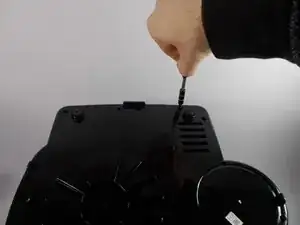
Now use a Y0 bit to remove all of the .46 inch long screws from the bottom.
-
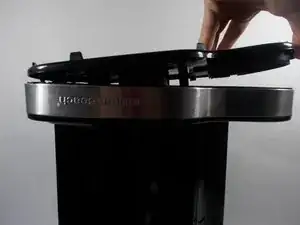
Lift the plate to remove it from the rest of the machine.
-
-
-
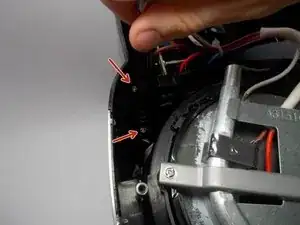
Once the bottom plate is removed, use a PH1 bit to remove the .525 inch long screws holding the motherboard bracket in the main housing.
-
-
-
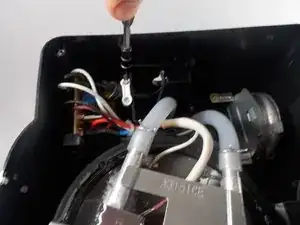
Using a PH1 bit, remove the two .425 inch long screws holding down the white power cord bracket. This will give you the slack in the wire that you need to work on the motherboard.
-
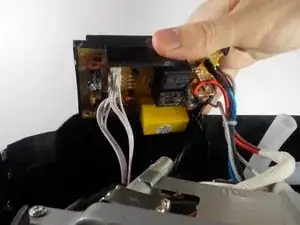
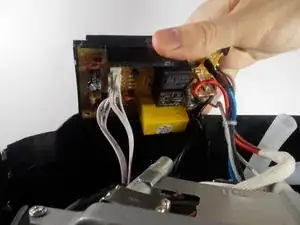
Carefully remove the large white connector that has multiple wires attached to it. This is the wire connected to the button functions on the interface of the coffee maker.
-
To reassemble your device, follow these instructions in reverse order.
Ein Kommentar
very informative and helpful. I am anal about trying to repair different appliances. I despise ‘throw away and replace’ philosophy. now I need to determine how to purchase a new motherboard. at this point, I draw the line is trying to diagnosis and repair one.…………
john -
