Einleitung

For more information on replacing the motherboard, please refer to section 10 in the service manual.

Werkzeuge

  1. fjgQk6mimMGXS5gZ
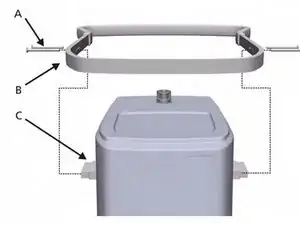
    • Remove 4 Hex Allen screws (A) from the Rail surrounding the Ventilation Unit.

  2. A2gshoWnH5kpeuED
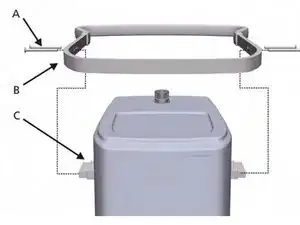
    • Remove the Rail (B).

  3. ZVDkF2bOlgkSwec3
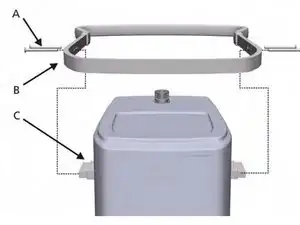
    • The Standoff Brackets (C) remain with the Main Cover.

    • Place aside in a safe location.

  4. L5QTBiKMAkJltAKI
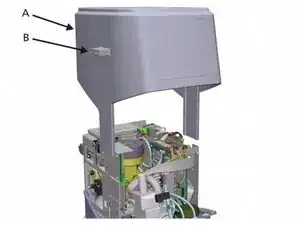
    • Lift the Main Cover (A) from the Ventilation Unit using the Standoff Brackets (B) attached to the Main Cover.

    • Place aside in a safe location.

  5. DYQMik5kXTQ6vjCL
    • First, we need to remove the ESM module. It is connected to 2 connector sockets. Disconnect and remove.

    • Take out the Ventilation Real-time Controller (VRC) SW chip

  6. wZei2yiSwGa5ZAk3
    • Install the ESM Module, by connecting the connectors (A), and the VRC SW chip on the new board.

  7. 6u1ZMQxyHu5tPG6u
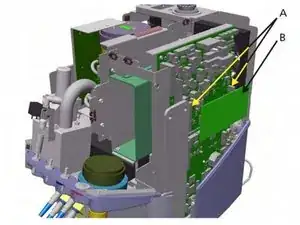
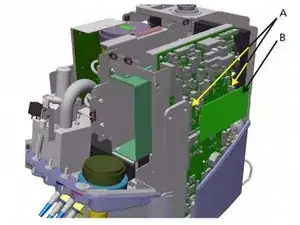
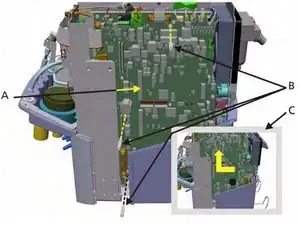
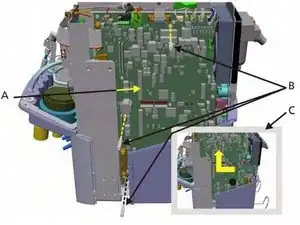
    • Disconnect all cables and connections from the board to the unit.

  8. YHAV1PMVYUxTxilV
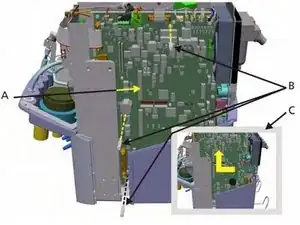
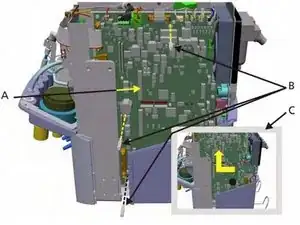
    • Remove the three Hex screws (B).

  9. oKCSIAlUYpZfTiJ3
    • Move the motherboard out then up away from the ventilation unit (C).

Abschluss

To reassemble your device, follow these instructions in reverse order.
Dane Dormedy

Mitglied seit: 09/04/20

349 Reputation

0 Kommentare